
 |
| Supplies! |
I got this idea from Pinterest (evil black hole!) which eventually led me back to this link. It didn’t have a ton of instructions or photos, so I followed it as best as I could imagine, but we had to make some adjustments. (I can’t take credit for much of this, I made my brother do most of the work. I’m more managerial than mechanical. The idea person! Hahaha!) I’m hoping our pains help you to make some better choices and improve on the idea even more!
I’m not going to list the materials and instructions separately because there were so many issues to think about when purchasing, I want to make sure you are fully prepared for the obstacles this project can present!
What You’ll Need to Think About:
Placement
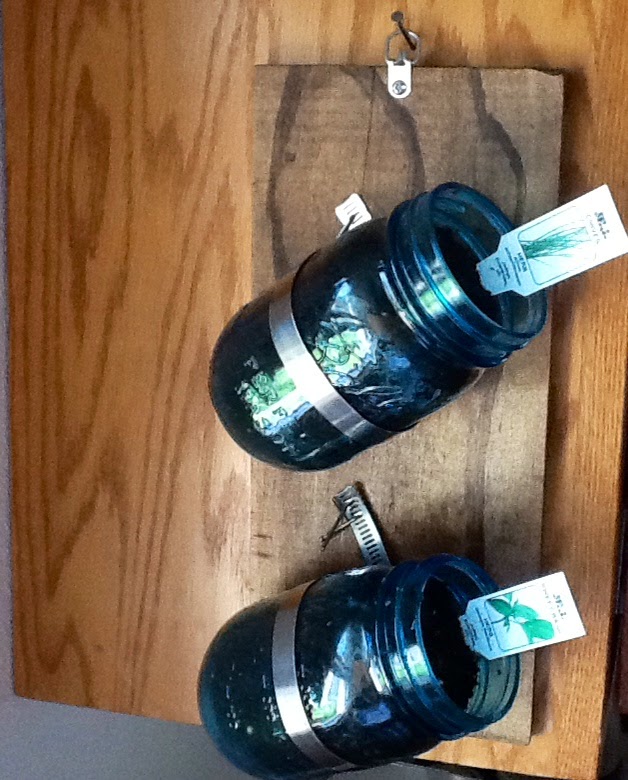
Of course you want them to be somewhere that gets good sunlight. My kitchen window gets decent light, so I did two pieces of wood with two jars each on either side of it, with their bases angled towards the window. Consider the placement you’ll need before picking any supplies out!
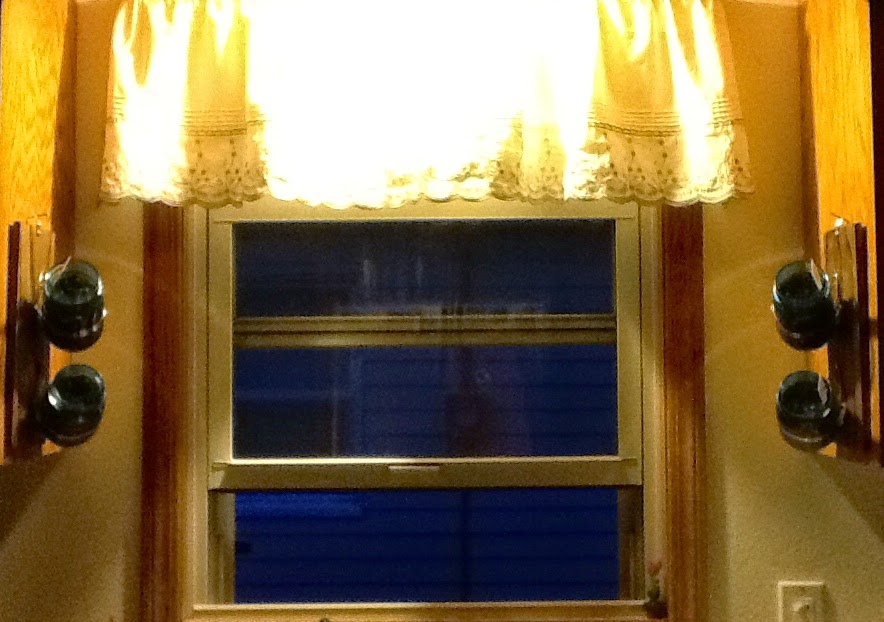 |
| Hard to get a good shot with the sunlight in the daytime, so here’s an evening shot, which I clearly am no good at! |
Pieces of Wood
 |
| Wood. Stained. |
To hang the jars on. I recommend them being thicker since the jars will be a tad heavy and full of dirt. Also, the things you need to hammer or screw into the wood…think about how thick you need it to be. I had thinner pieces of wood, so the screws on my hooks stick out of the back side a little bit. It’s not enough to bother anything, however.
Wood Stain or Paint
If you need to decorate the wood at all. I bought mine new and decided to stain it. The site I got the idea from used a little chalkboard paint in order to label her jars that way, but I just stuck some herb markers in my jars.
Hangers
Look in picture frame area of hardware store; I picked small D-ring hangers. You might have a good spot or better wood than I did and be able to attach it directly to the wall with no hangers, but I do like the option of being able to move them around in order to water them!
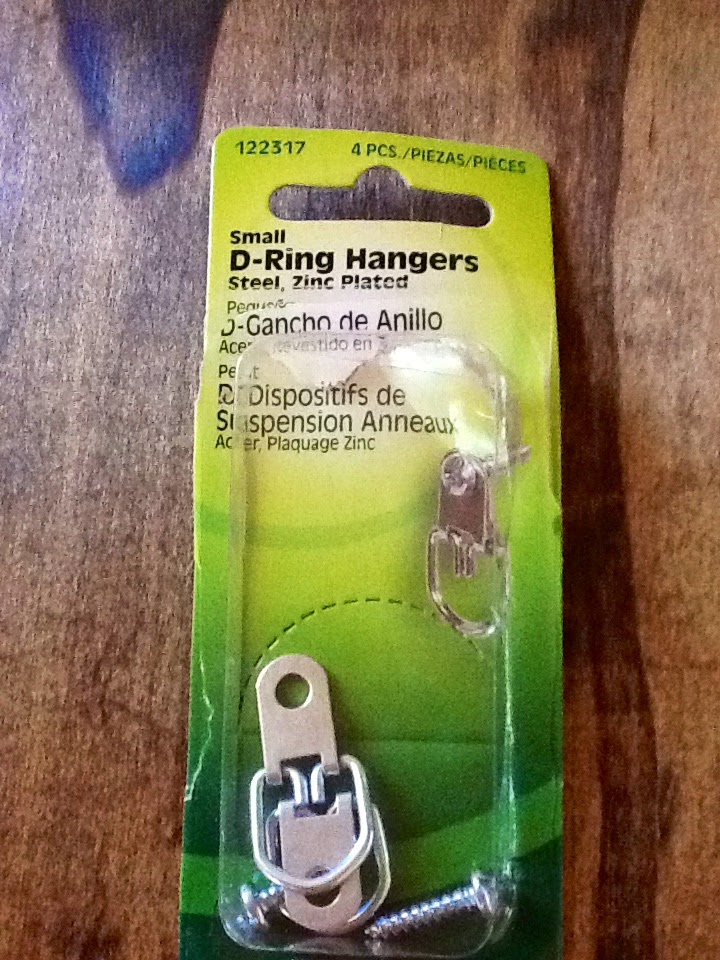 |
| D-Ring Hangers |
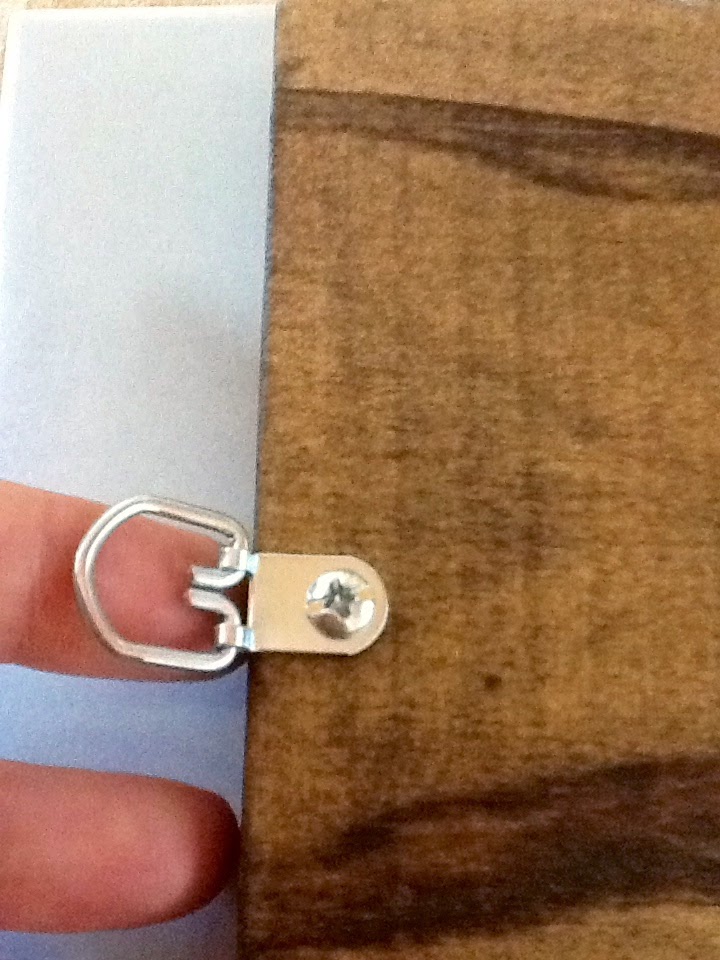 |
| D-Ring Hanger – attached! |
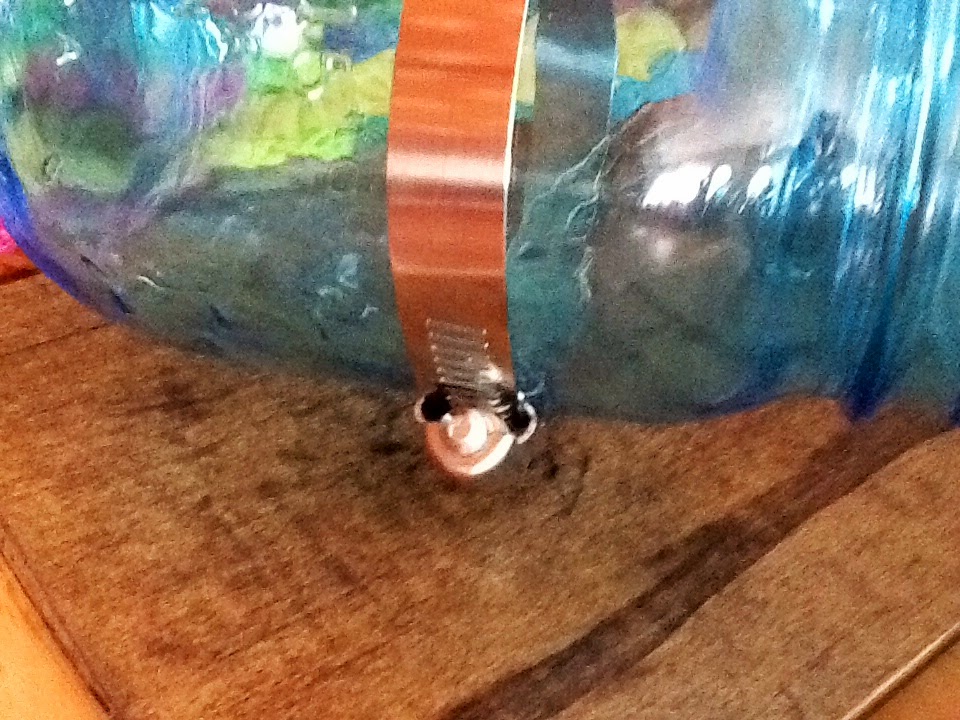
Pipe Clamps
This was the trickiest part, and if you can find something else to use, do it! Haha! We had trouble getting a drill bit to go through the little squares on the metal clamps, even though it was small enough. We were going to use screws to attach them to the wood, but ended up using a hammer and nails, which was a pain in the rear since the wood was so thin!
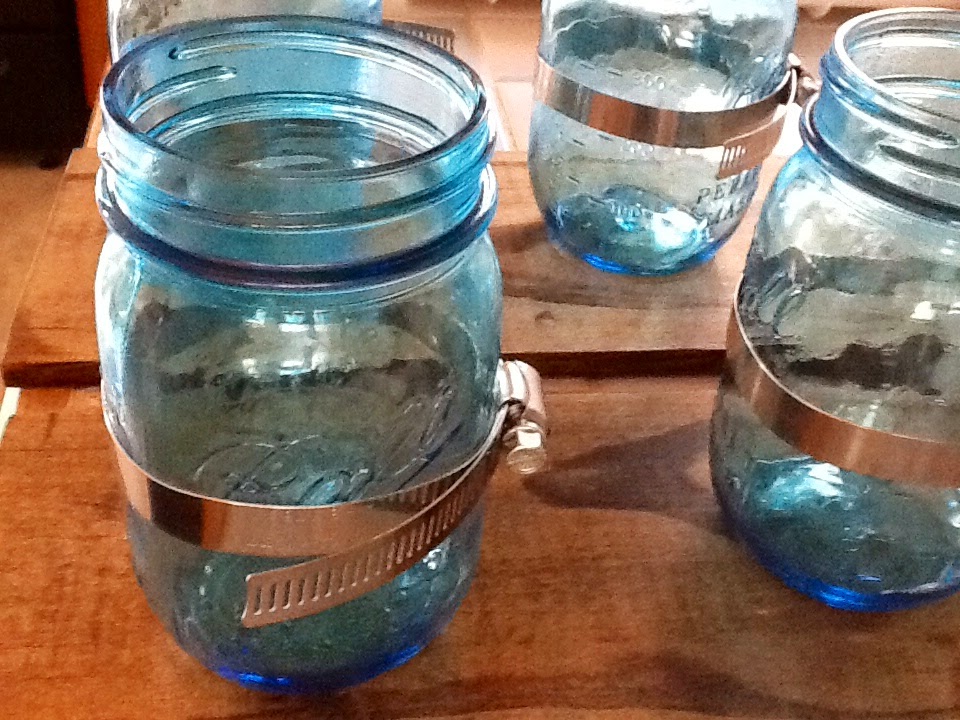 |
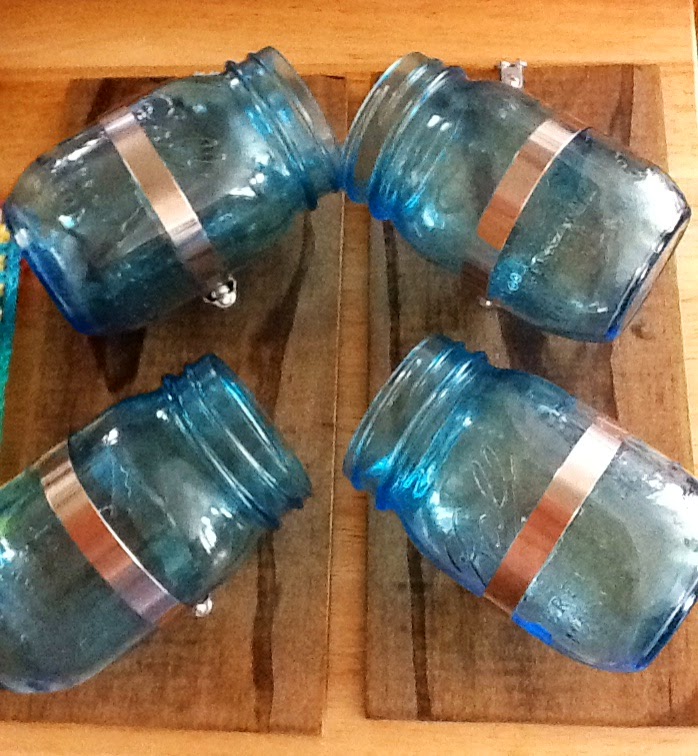
| Jars with clamps tightened to measure before attaching |
Measure and mark the clamps to show yourself how tight they need to be. You’re going to attach the clamps first, then add the jar and tighten. We had a rough time tightening the clamps from the angle underneath the jars, so consider that!! If you can find something better than a pipe clamp or a better way to attach yours, do it.
 |
| The screw piece was on the underside of this… awkward to tighten the clamp! |
Make sure you remove the (obnoxious) stickers from the pipe clamps if that’s what you use and you are buying them brand new. I am so thankful that I noticed them or I would’ve been really, really mad after we were all finished.
Mason Jars
You’re going to want a wide-mouth mason jar. I grabbed some of the Ball Heritage Collection jars in blue, which are 1 quart.
 |
| All done! |
Nails or Screws
…to attach things as mentioned above; choose accordingly!
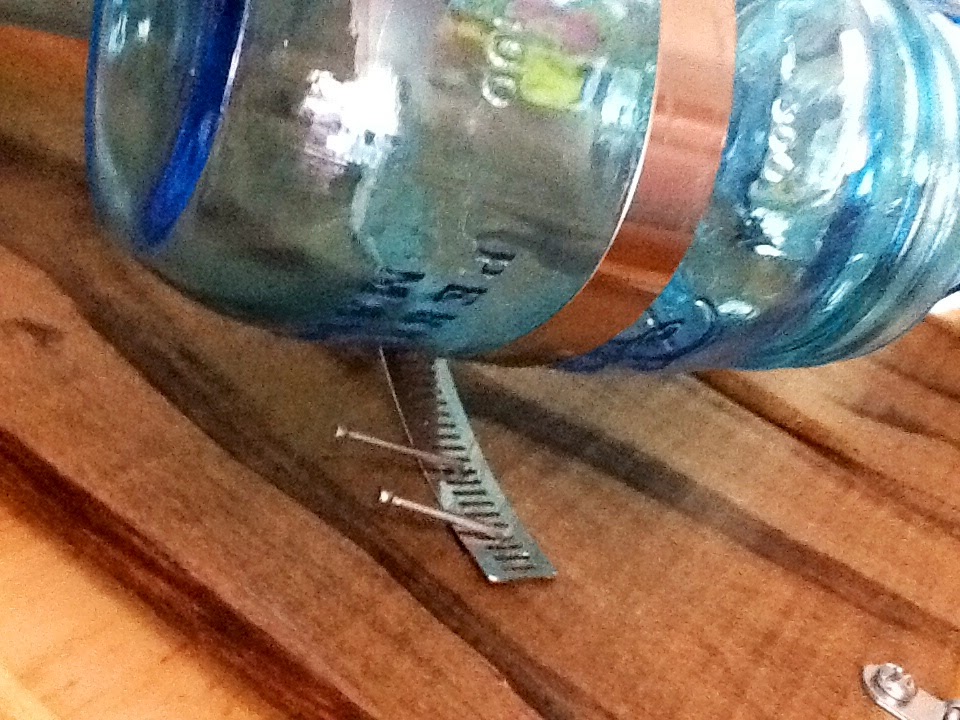 |
| We didn’t intend to use nails, but it worked. We hope! |
Potting Soil & Seeds…to plant in the jars when you are done.
And there you have it! I hope you have an easier time than we did. It all turned out OK in the end, and magically my basil has already started to sprout in less than a week! (What are these, super seeds?? Haha!) I guess they are getting enough sunlight. I’ll keep you posted on how they turn out, but I can’t wait to have fresh herbs, hopefully year-round, right in my kitchen! No more waste, just cut what I need!
 |
| I think they look good! |