Category Archives: Cleaning

Electric Stove Care

Electric Stoves

I don’t claim to be an expert at buying larger appliances like stoves, dishwashers or refrigerators. But I do know a thing or two about cleaning and care. A lot of people don’t know the the cons of owning a glass stovetop or not to use the self-cleaning function on their ovens. I do know how to take care and not ruin your expensive appliances, and also how to not ruin your food in utilizing them!

My clean stovetop!
My clean stovetop!

First I should probably start off by explaining the differences between a regular electric stove, a glass/ceramic top stove, and induction top.

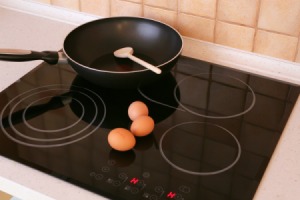
Glass/ceramic are the same thing. Ceramic turns to glass when fired, so that’s why you hear these names used interchangeably. These stoves are beautiful, and I recommend them – if you don’t ever plan to cook on it. 😉

Glass / ceramic stovetop

Why? They take forever to heat up. I had a customer come in and complain to me about his new copper-core cookware not heating up as fast as he was told it should. A co-worker of mine was dealing with the man and I happened to overhear his complaints. Yes, copper cookware should heat up relatively faster than normal aluminum-core cookware. So I stepped in and asked if he had a glass stovetop and he said that he did. “Did your other cookware take a long time to heat up, also?” Turns out that, of course, it did. So I explained to him it was his stove and not the cookware, because at the time I was actually renting a home with a glass stovetop and had a mix of aluminum and copper-core cookware, including the brand he was complaining about, and had the same problem.

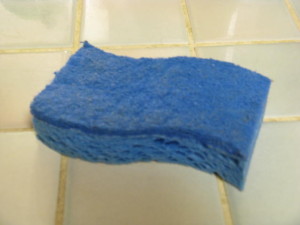
Glass-top stoves also require non-scratch sponges to clean them, and can be quite difficult to clean unless you feel safe using a razor-blade on it. My grandfather owns one and refuses to crack eggs in the pan on the stove – he takes the pan off of his stove after it’s warmed up and cracks the eggs away from the stove because he says he always ends up dripping a little on the stove and has a heck of a time getting it off later when it’s burned on.

Induction stovetop
Induction stovetop

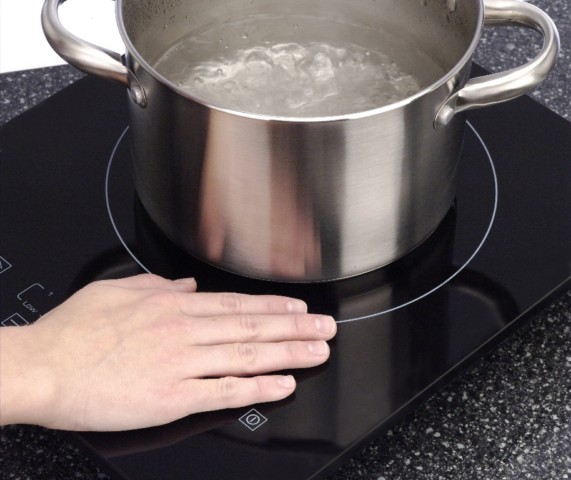
Induction stoves are not the same thing as glass-top. They are actually great if you can afford one! However, you do have to have relatively specific cookware in order to be able to utilize them because they work by magnetic induction. This means your cookware has to have a magnetic base in order to work on it. You will sometimes see people looking at cookware with a magnet in their hand and this is why. It only has to be magnetic on the bottom. The stovetop can actually be on ‘hot’ and you can pull the pan off and touch the burner and you will feel absolutely nothing!!! So you cannot use cast-iron cookware on an induction stovetop because cast iron does not have magnetic qualities. A lot of cheaper nonstick cookware will also not work on induction. Copper-core cookware actually works with induction the best – Chantal actually made their copper line specifically to work with induction.

Use and Care

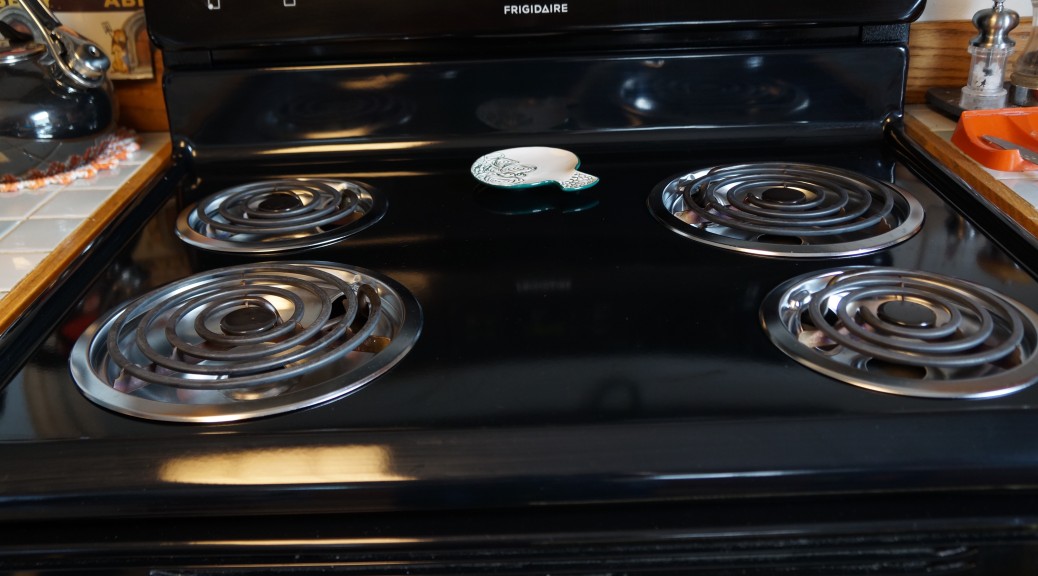
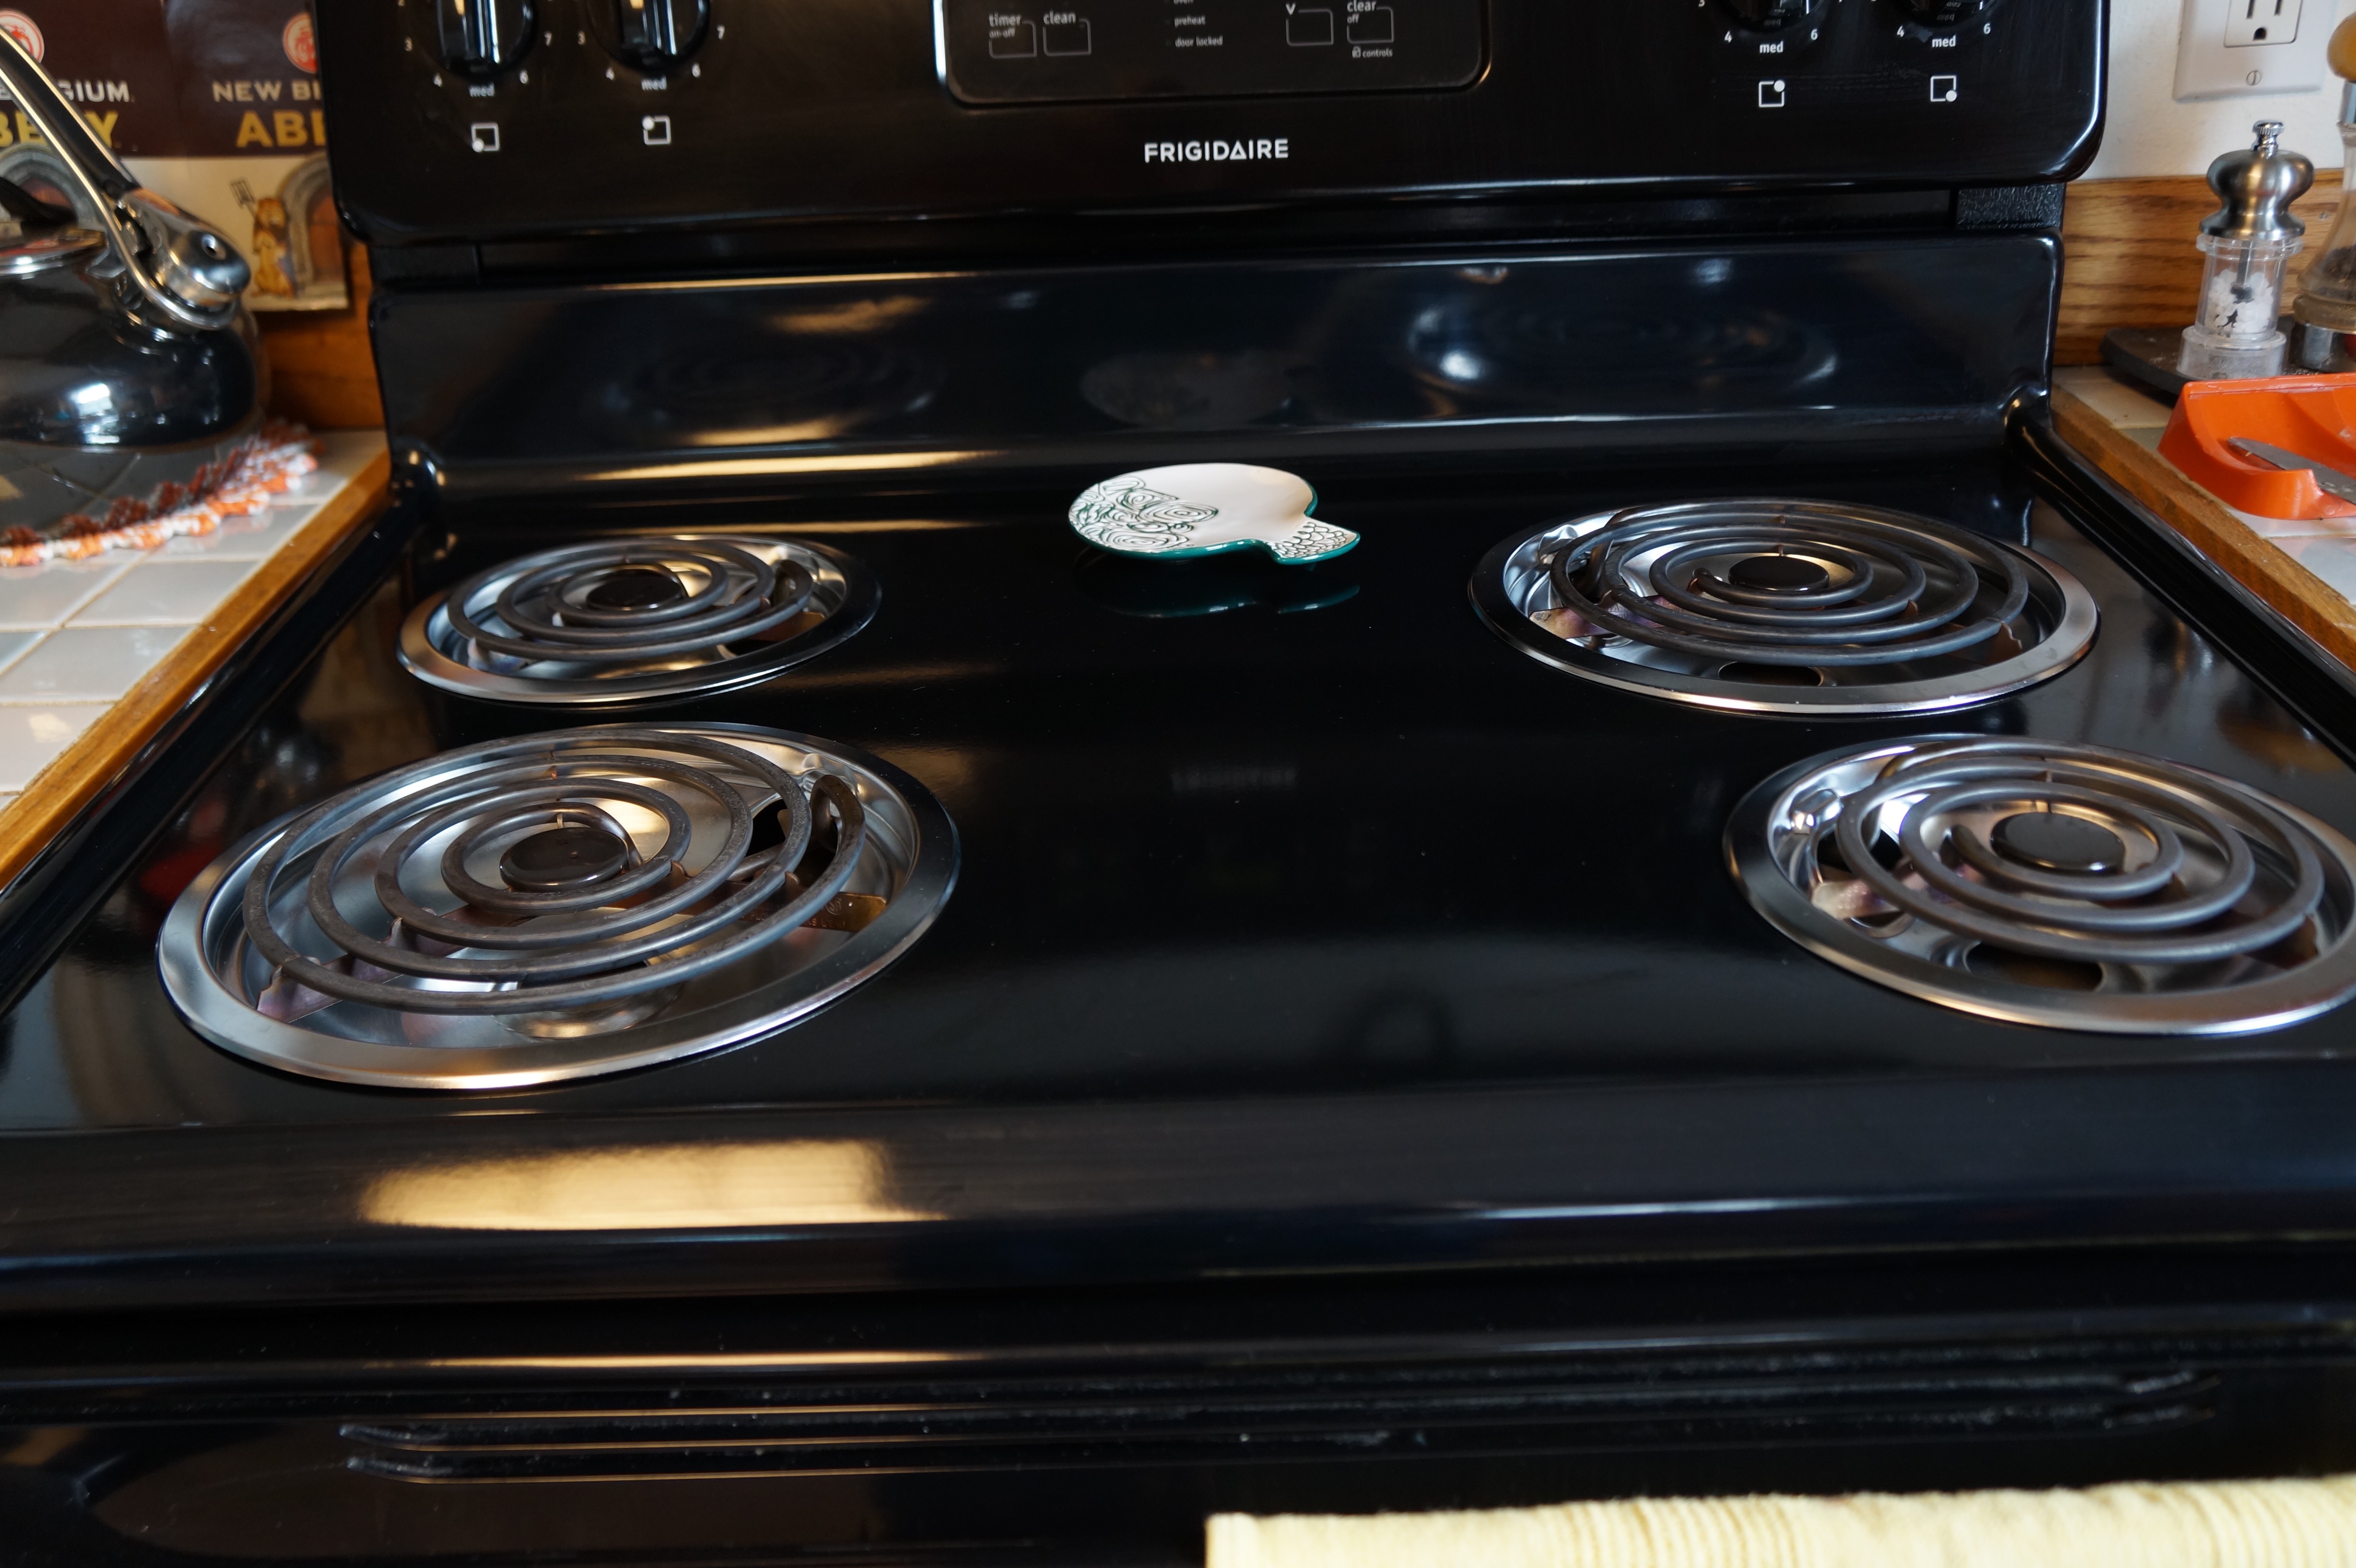
Alright, so there you have it on those ‘other’ options for electric. Of course we are all familiar with basic old electric stoves (unless you’re lucky enough to have had gas your whole life, which I have not, so I will not even pretend to give advice there, and am also thoroughly jealous of you!)

One thing you really need to know when cooking on an electric stovetop is that all cookware manufacturers heartily agree that stove manufacturers make them TOO HOT! So, you should never, ever turn any of your dials all the way up to the ‘High’ setting. You should be able to successfully sear meat on a ‘Medium-high’ setting. I know a lot of you are probably impatient like me and just like to jack it all the way up to get things moving, but you should really just set it at the temperature the recipe calls for (unless it says ‘high’ because of course you are now going to always read that as ‘medium-high’, correct???) and wait and let it come to that temperature that way.

My dirty stovetop
My dirty stovetop

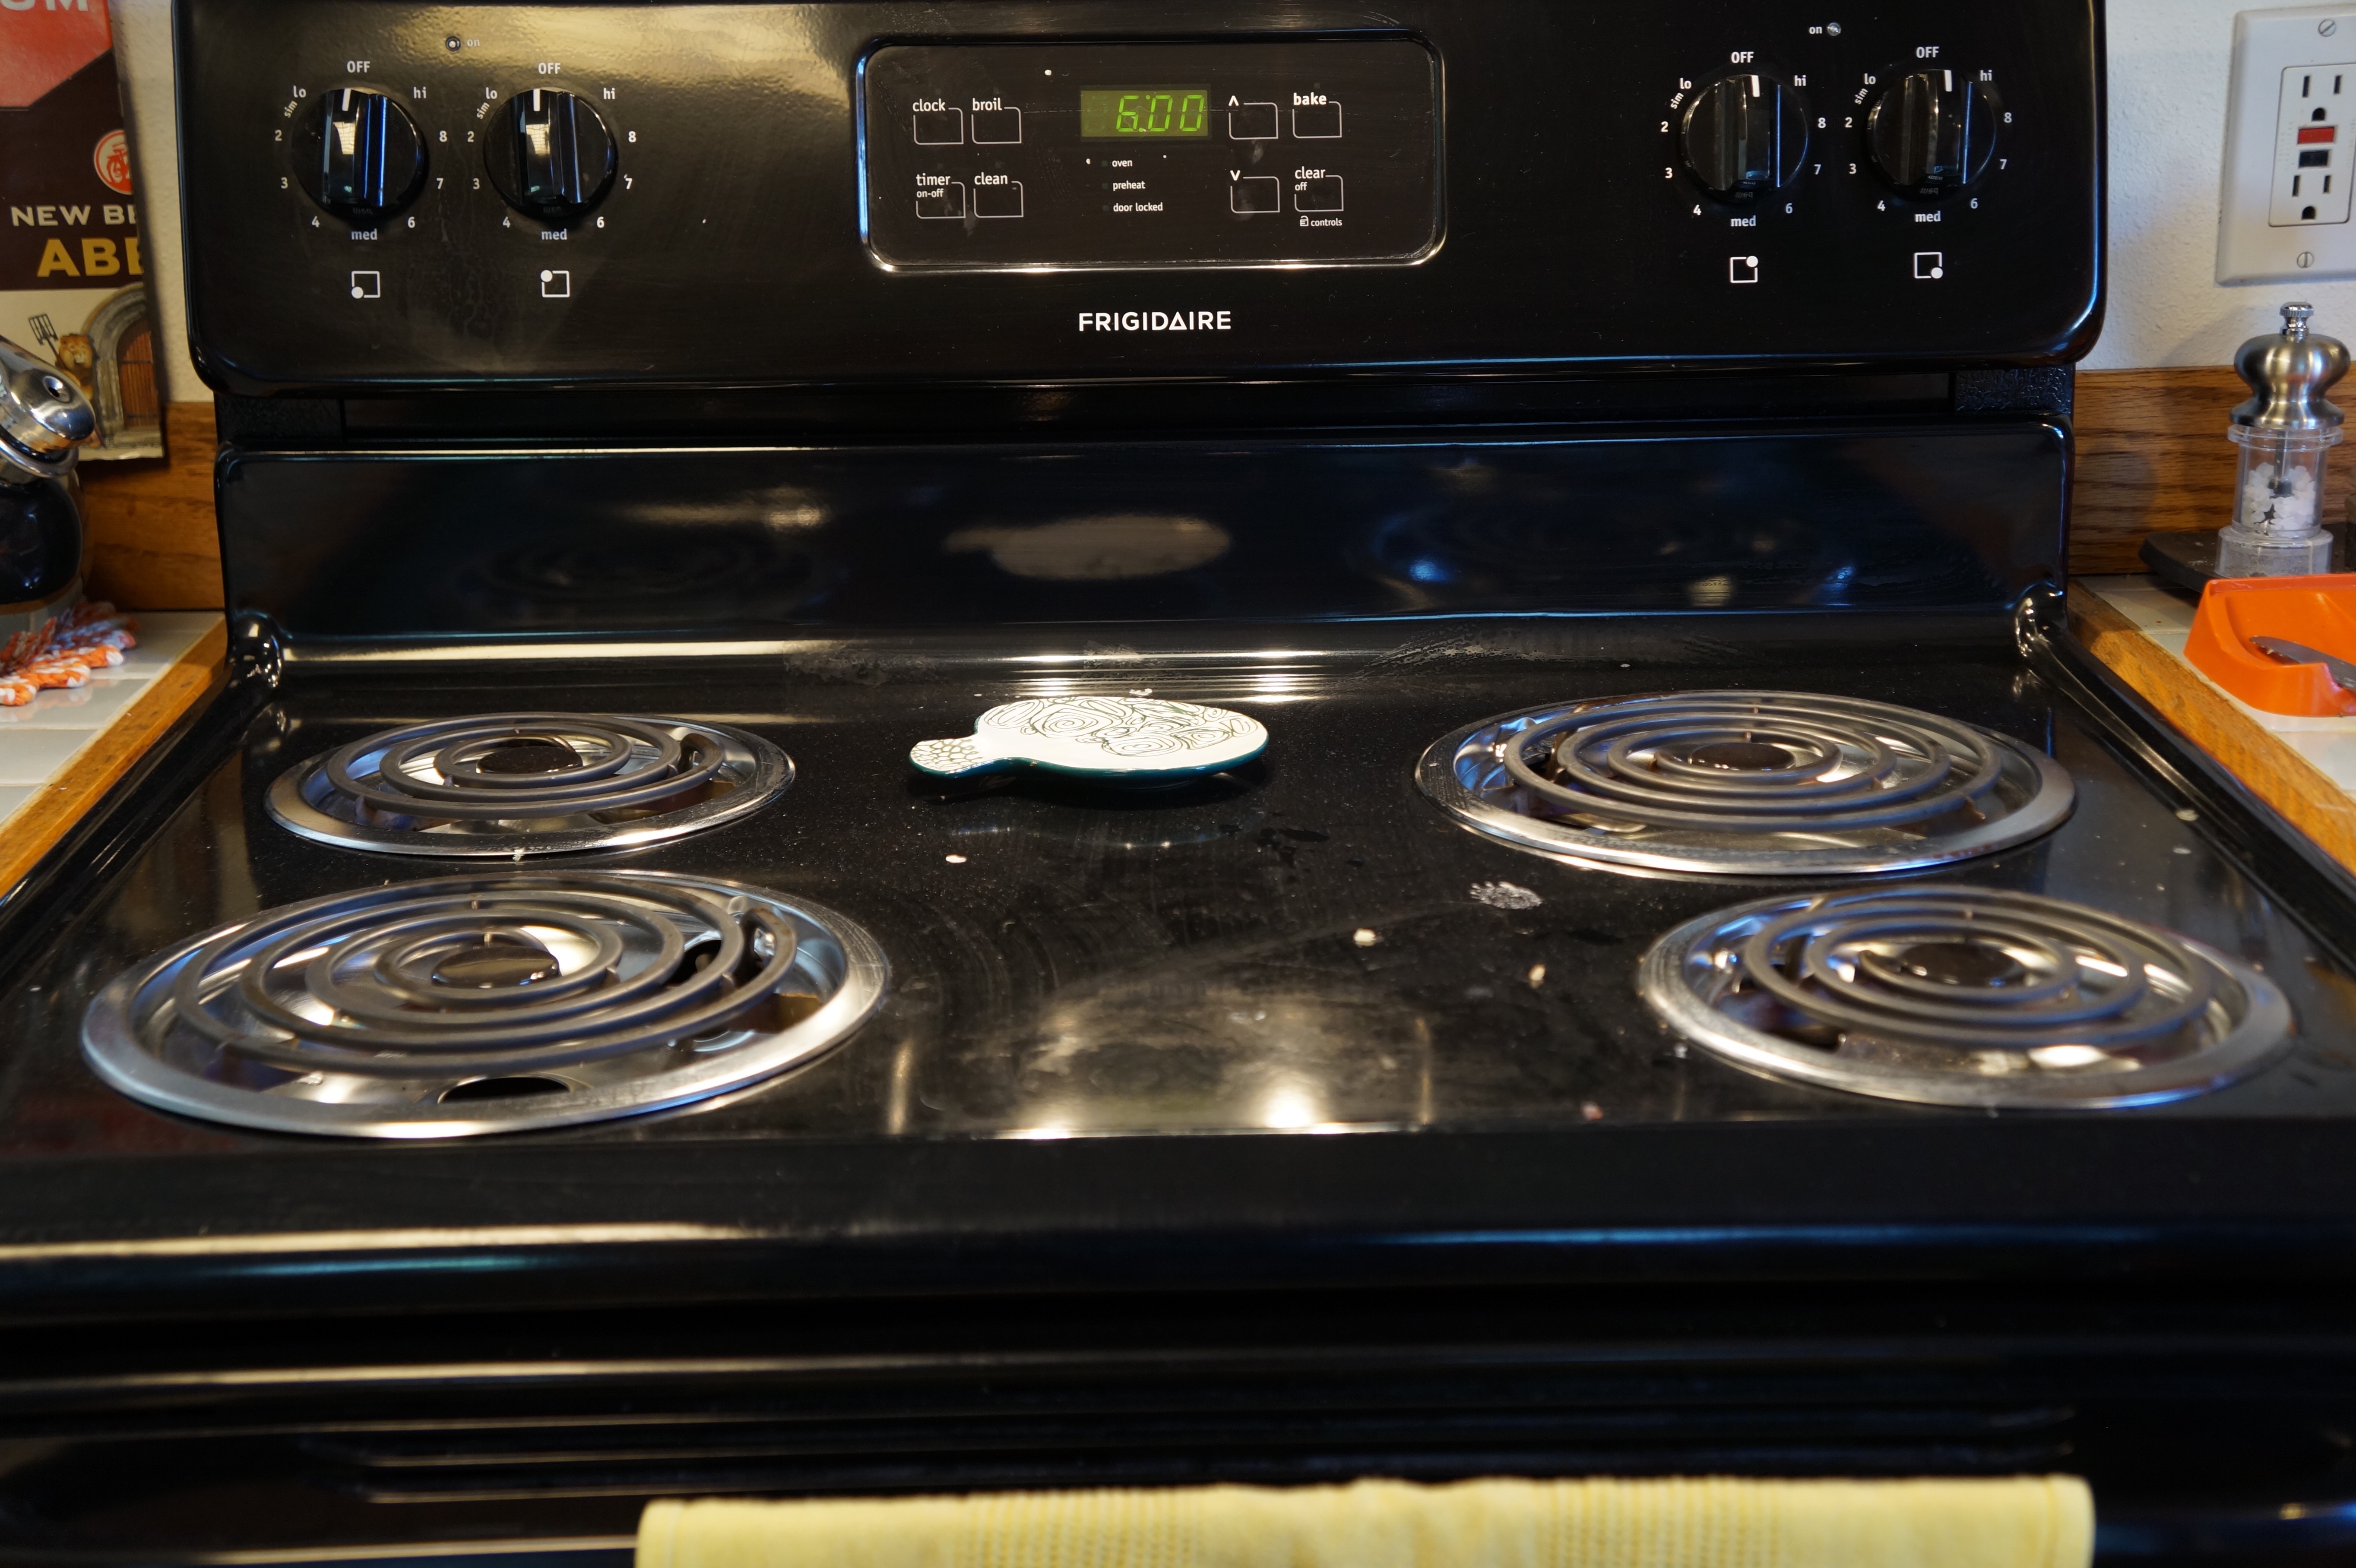
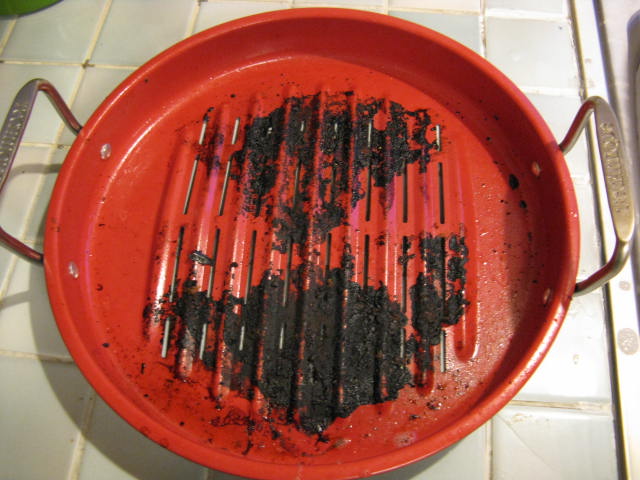
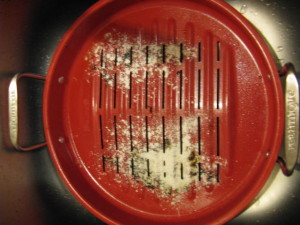
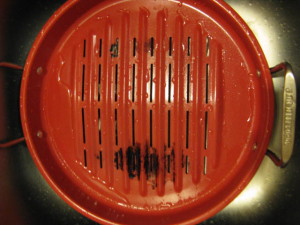
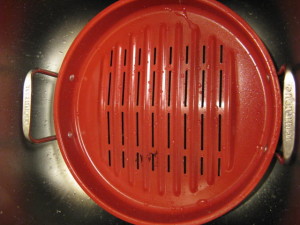
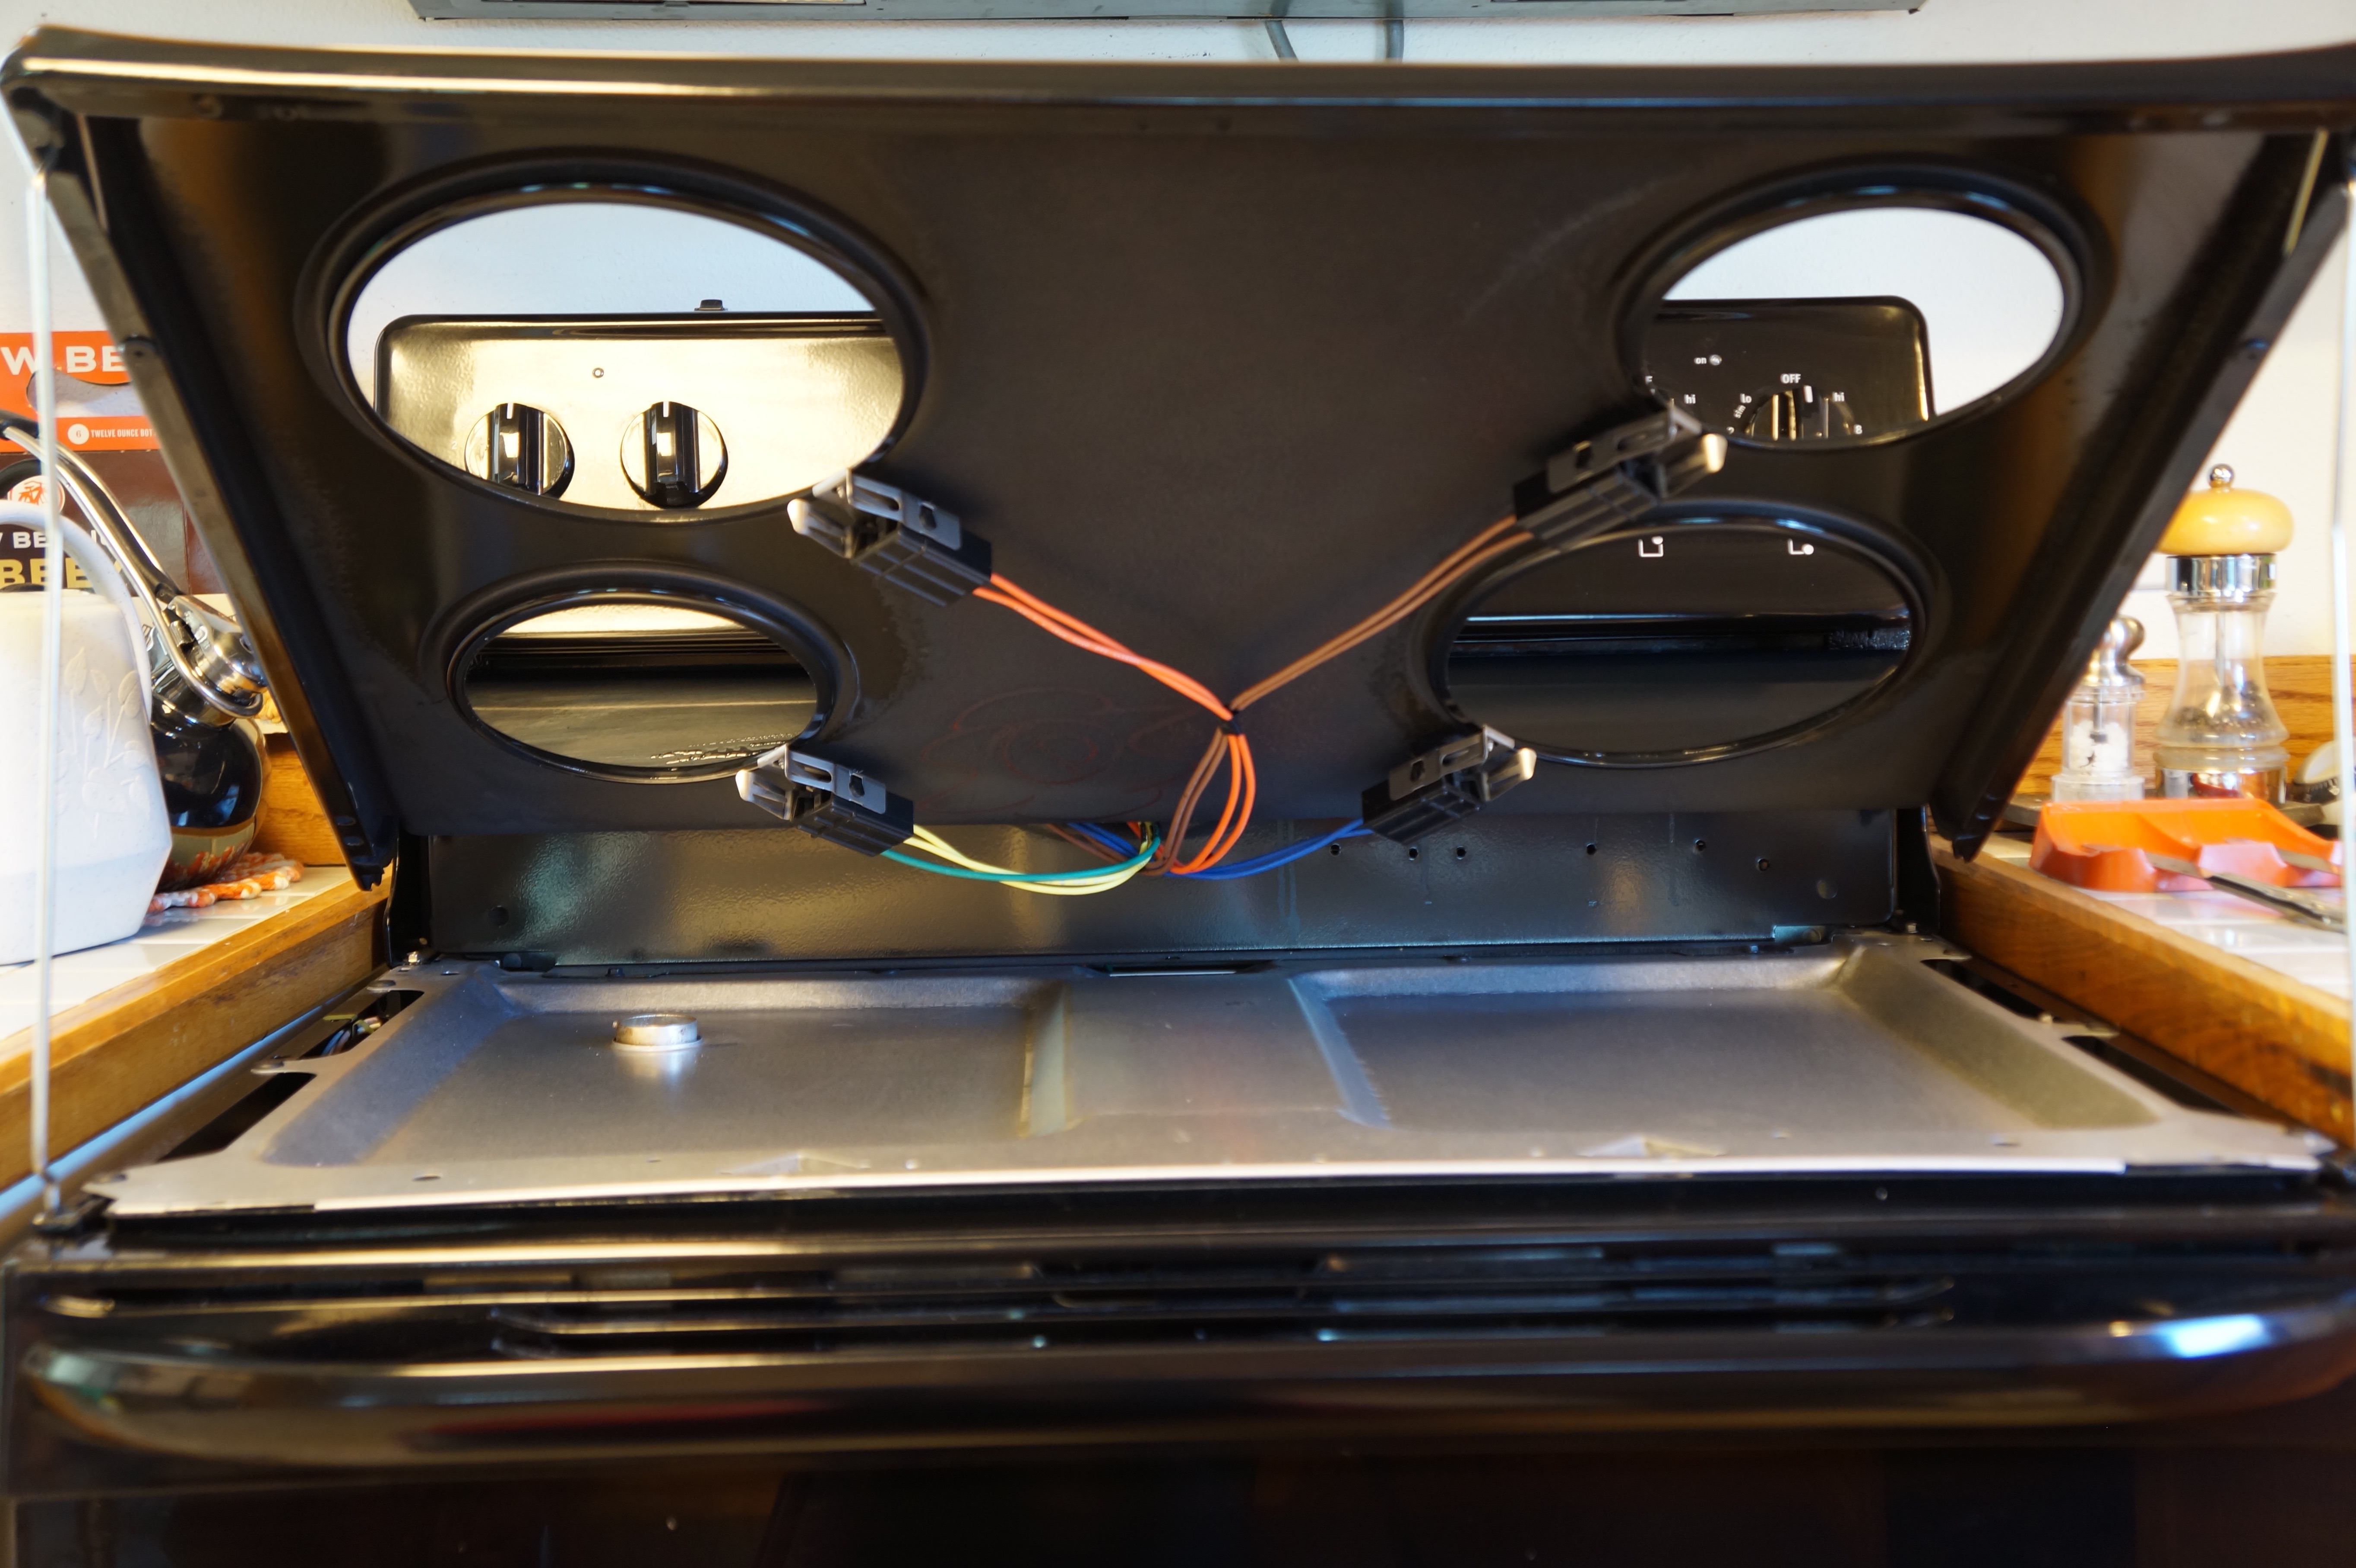
I take the burner plates off of the stovetop about once a month (or more if I make a huge mess!) and scrub them down really well. A lot of people don’t actually know that most stovetops lift up so you can clean under them. I wipe that all down and leave it open to dry for a little bit before assembling it again. This is where getting a name-brand stove comes in handy – easy to find burner plates to replace if you ever need to. You can actually find the plates at the Dollar Tree, of all places, but it’s not ever going to be guaranteed that they will be the exact right fit unless you get lucky or get them from the vendor. I believe Target and other stores of that nature also carry burner plates. These are both reasons why I had to purchase a new stove when I bought my home – the replacement burner plates did NOT fit it, and the top didn’t open up to clean underneath it. And clearly the previous owners didn’t understand the concept of cleaning a stove. I got it clean, but I couldn’t deal with my pans wobbling all over because the burner plates didn’t fit.

My stovetop lifted up

Now with the oven, what temperature you can go to will always depend on what type of cookware you are using. Most ceramic cannot go much over 400 unless you have something stronger that is high-fired, like Le Creuset or Emile Henry. Read your instructions! Anything over 500 or broil should be done in metal bakeware. I also strongly recommend investing a few dollars in an oven thermometer. A lot of ovens either don’t start out at the correct temperature to begin with or will at least change temperature over time. I remember with my mom’s old stove we had to always set it about 25 degrees lower than recipes called for because it got so much warmer over the many years she owned it.

As for the self-clean function – DON’T USE IT! Ever. Seriously!! When I bought my new stove two years ago the salesperson reconfirmed this notion with me. The self-clean function gets far too hot, and it will eventually burn out the electronics up above. This is the most common cause of broken stoves, people, so take heed! There are plenty of other ways to do it, and quite honestly, before I knew this, whenever I did have the opportunity to have an oven with this feature, I found myself doing the Easy-Off method first anyway because self-clean just bakes everything on harder. There is also the age-old trick of leaving a bowl of vinegar in the oven overnight to help loosen everything off. And I highly recommend getting an oven liner so that you really don’t ever need to mess with it. They are usually about $20 which seems high for something so small, but it’s worth the investment, trust me! You can easily wash them off in your sink with hot, soapy water and put them back into the oven.

Gas Stoves

OK, I only know that I dream about one day owning one and learning all the tips and tricks to share!! 😉

Product Review: Scrub Daddy

Scrub Daddy original

I kept seeing these cute little smiley face scrub sponges, the Scrub Daddy, on QVC, and wanted to know how well they worked but didn’t want to pay the shipping and handling fees since I already found my perfect scrubber in my favorite Spaghetti Scrub that I rave about in ‘My Favorite Cleaning Gadgets’ blog.

Well, didn’t they come out with a larger ‘brick’ version of the cute little smiley face, meant for bigger jobs called Scrub Daddy Heavy Duty? This was back at the end of winter/brink of spring and I knew my grill really needed a deep cleaning for the season. It was on a special one-time value and my mom said she’d split the pack of 5 with me, so why not?

The inventor of these was on that Shark Tank reality show, and these sponges are made from a special material that’s not supposed to scratch. What specifically caught my attention was he kept saying it was good on grills and grease. I then watched him clean a filthy oven with nothing but water, and it looked amazing.

The inventor and his invention…


Scrub Daddy Heavy Duty; one cut in half

It did scrub extremely well, I will not deny that by any means. And it did not scratch anything I’ve tried yet. However, the special material does NOT like grease whatsoever. I purchased a nice, used cast iron frypan at an estate sale that had been recently sandblasted and re-seasoned. Beautiful! (I have no patience with new cast iron so it is my new goal in life, to find nice, used pieces like this that are already broken in for me! :P) It was pretty clean, but of course I wanted to test out my new Scrub Daddy and see how much more grease it could pull off of this frypan. And it worked! Cold water, no soap, and it got a good little bit of grease off of the pan. (You can’t use soap on cast iron, remember, so another reason I wanted to try this.) After I was done, however, I couldn’t get the grease stain out of the sponge and it was literally the first time I used it. These are advertised as working and lasting for months. Hmm…

I tried another sponge on some old caulk that needed to come off the edge of my shower. For this task I used a bucket of cold water, the Scrub Daddy, and a paint scraper. I did get everything off, but I think the paint scraper did most of the real work. It was a tough call, but I was mostly annoyed that the Scrub Daddy wasn’t staying firm, as I felt like it would have done a better job if it had. They are supposed to stay firm in cold water for coarse scrubbing and soft in warm water for gentle. My experiences have all been that they are flexible in both warm and cold water, although it was a little more firm with the cold water than the warm.

Scrub Daddy Heavy Duty box front

The next thing I tried the Scrub Daddy out on was the car. It did much better than the soft sponge I have at getting the bugs off the front! That is one area I do recommend using it. I used cold water and Armor All Car Wash & Wax.

Alright, the time has come to try it on the grill. I have washed a couple of small grill baskets I put veggies into with the same sponge I used first on the cast iron skillet, so a little bit more grease has built up on it at this point. I’m really sorry I didn’t take a picture of it before using it on the grill because afterwards it had to go directly into the trashcan and I couldn’t touch anything because my hands were so caked in grease. So, yeah…again, the Scrub Daddy really did scrub most of the grease and grime off of the grill and grates. It just would NOT come off of the sponge, even using the ‘jet’ setting on my outdoor hose. And by the time I was done it was just pushing the grease around on both my hands and the grill so I did have to take an old Spaghetti Scrub and some paper towels out to finish the job. I have to say I have never gotten so much grease on myself scrubbing the grill before. And the Spaghetti Scrub or honestly, even the scrubby side of a regular sponge don’t collect grease like that until they are a bit more used and abused at the end of their life cycles.
My friend purchased the original Scrub Daddy (smiley face version) and really liked it for her dishes. She used it to peel zucchini (another thing they advertise about its scrubbing power is that it scrubs the skin off of your vegetables!) and said little pieces of zucchini are unfortunately now stuck in the sponge material that she can’t get out so she will not be using it for that again. You might be able to see in my picture the tiny flecks of white caulk that are stuck in mine.


Another thing I feel I should mention was that they advertise that you can cut the Heavy Duty “bricks” in half. One of the sponges I immediately did so with because I was splitting a set of 5 with my mom, so we decided to split the 5th one literally in half. Well, there was a huge air bubble in the middle, so the sponge was going to break down faster than normal. Luckily QVC’s  customer service took care of it and sent me a new one immediately. Let’s hope you’d get that same service if purchased elsewhere, too!
Back of Scrub Daddy HD box

My overall feeling is that if you don’t have access to the Spaghetti Scrub (I did see these at World Market!!) and you do have access to the Scrub Daddy, I would totally go for it. Their site says they are sold at Bed Bath & Beyond, Walmart, and a few other retailers. I would think it would be great to use the same way that I already use my Spaghetti Scrub on the dishes, and I think it would also be good for cleaning soap scum in the tub. Like I said before, I also liked it on the bugs on the car!!

I would just make sure to keep the Scrub Daddy away from anything that has any amount of grease on it, particularly from a grill. I am curious to hear if the original one works any better than the large one since they are supposed to be the same, and I also wonder if the grease inside of the oven will do the same as the items that had grill grease since I watched him clean the oven on TV with no problem!!! Looking at the Heavy Duty product description on their website I now see in parenthesis “solvents, grease, oils and other substances may resist rinsing”. Ugh!
Have you tried the Scrub Daddy? Which one? What do you like to use it on? Did you have any grease troubles like me?!


How I Learned to Stop Worrying and Love the Dishwasher

I will admit to you that a lot of issues with kitchen wares arise out of putting them in the dishwasher. I grew up without a dishwasher, so I’m pretty great at hand washing them and don’t have an issue doing them that way. I’m also pretty fast at it so it doesn’t take up hours of my day. 

sexist_dishwasher_adI have used dishwashers since then. I’ve known people to have lovely looking dishes come out of theirs. I’ve lived with people who bought cheap dishwasher soap that didn’t work and had nightmarish issues with them at jobs. But now that I understand them a little bit more, how various products react in them, and have been using one in my own home a little more regularly – I have learned to stop worrying and love using my dishwasher!

The Basics:

  • Don’t put things in the dishwasher that aren’t dishwasher safe. They usually say that for a reason.
    • Cheap plastics leach BPA, some ceramics aren’t strong enough to handle bumping each other with the shaking motion of the washer, and certain finishes can’t handle the harsh environment, etc.
  • Pans on the bottom, plastic on the top. Some items will specify they are top-rack only. The heating element in the dishwasher is on the bottom, so this is to keep the item away from the heat.
  • Do not lay knives down on the top rack! If they don’t fit in the utensil holder, hand wash them.
  • Wood does not ever go in the dishwasher. (Epicurean brand can because it’s a special compressed wood that is dishwasher safe.)

Dishwashers get EXTREMELY hot, so that’s the reason a lot of items can’t go in them in the first place. They are the problem with plastic leaching BPA, so if you don’t have a dishwasher you really don’t need to worry about it. Plastic baby bottles are almost never dishwasher safe and unfortunately a lot of parents try putting them in on “sanitize mode” which is usually the hottest setting on the dishwasher. Not a good idea!

Notice the heating element is in the center of the inside of the machine.

I have overcome this issue by sticking to the lower-level settings on my dishwasher. I have a couple of settings above “normal wash” and I have never touched them. If you have anything dirtier than that it’s not even worth trying in the dishwasher, in my opinion. Whatever is stuck to the pan will just get baked on inside of the machine.

Which brings me my next tip – turn off the “heated dry” setting if your dishwasher allows you to. This is just a waste of electricity (in my opinion!) that literally just bakes the dishes after they are washed, so if anything is still stuck to them, it just got baked on harder. The dishes are hot and usually still moist anyway if you do use it, so what I do is turn it off and when the wash cycle is over I just open it up and pull the racks out so they can air-dry. The plastic storage stuff doesn’t seem to dry well so I pull them out and put them in the counter dish rack to dry. Of course this is easiest when done later in the evening so they can dry overnight.

dishwasherYour dishwasher shakes. A lot. Think about your dishes getting bumped around into each other inside of that thing for an hour while it runs. This is why ceramic dishes chip in the dishwasher, because they bump edges with each other. Same with your nonstick finish, if something is bumping into it in the same spot over and over – chipping. I worry about my ceramic bowls even though I put them on the top shelf and they are a really good brand name, so I put the dishwasher safe plastic items between all of the ceramic items to try to avoid them bumping into each other.

The worst is if you put your sharp knives flat on the top rack – they shake and cut into the plastic rungs. This is what causes  your flatware to rust, when the plastic coating is exposed inside of your dishwasher. You can sometimes remove this staining with Barkeeper’s Friend but usually you will end up having to replace all of your flatware and also replacing the racks inside of your dishwasher, which is very costly.

As I already said, if my pans are really dirty, I just resolve to hand washing them. I let them soak overnight and wash them with any other items I have that are not dishwasher safe.  Sometimes you can get away with scrubbing the pan with a dish brush or a scrub sponge and getting all the big stuff off of it so it is dishwasher-ready, however. I pretty much end up cleaning them first if I do this because if anything is stuck to the pan, it will be baked on in the dishwasher, usually. And if it does come out this way, dirty, resign yourself to hand washing them at that point – putting them in for another dishwasher cycle will not get it off!

happy-lady-with-dishwasherMy motto is, “If you love it, hand wash it,” so even a lot of the things I own that are dishwasher safe – I still hand wash. Some items I will throw in the dishwasher every now and again and it’s not the end of the world, but some little thing will happen that reminds me that I do indeed love it and I better wash it by hand next time. And actually, sometimes putting your stainless steel Kitchen Aid mixer bowl or stainless pot in the machine actually helps bring back its luster – just not every time so I only do it every handful of uses. One of my dearest kitchen store friend (and mentor) had the best saying about dishwashers: “It’s called a dishwasher for a reason. It’s not a pots and pans washer. It’s not a glassware washer.” So keep that in mind when putting items other than dishes in that machine, even if it does have special settings for those other things.

Speaking of glassware, I don’t put anything with a painted design in the dishwasher, nor any stemware. If you have really inexpensive, sturdy stemware like Libbey, that will probably hold up. Anything shaped like a martini glass is just asking to break because of the bumping. Luckily most stemware is too tall for most dishwashers unless you purchase one that has specific glassware settings. Use at your own risk! I find that the glassware tends to come out with a teensy bit of spotting, but maybe that’s because I don’t steam clean them afterwards with the “heated dry” setting!

If you just can’t stand to hand wash, make sure you read the labels of what you’re buying and avoid items that aren’t dishwasher safe. There are still kitchen items that you cannot find dishwasher safe, and I’m sorry, you’re just either going to have to not use it, hand wash it, or buy really cheap so you can afford to keep replacing it because you put it in the dishwasher anyway. 😛 (Meat tenderizer is the item I know you can’t find as dishwasher safe. Even the OXO one can’t go in there – it’s a kind of metal that will oxidize. All the generic metal meat tenderizers I have seen are the same kind of metal so there must be a reason for it.)

Cascade Complete Pac

My last tip will be on dishwasher detergent. The only thing I have found to work almost all the time are the Cascade dishwasher pacs. They now make a few different versions of this, and I find the Cascade Complete work the best. (Although now there is a “platinum” version I will have to try!)

Just use your best judgement, and the dishwasher can be a great help in your kitchen without costing you a fortune in replacement costs if you’re smart about how you utilize it. Of course spending the extra money for more durable kitchen wares always helps, but clearly we can’t always afford that. So the Dollar Tree items…those get hand washed in my house. 😉

And remember…if you love it, hand wash it!

Leave dishes to air dry, like this!

Happy Cleaning! 🙂

Read more about My Favorite Cleaning Gadgets.

My Favorite Cleaning Gadgets

I mentioned all of these in the “Baking Soda Bath” blog, but here is an official shout-out to my favorite things to clean with. Of course everyone has their own way to do things, and different things work for different people. I’d love to hear what other products you love to clean with!

Spaghetti Scrub

Spaghetti Scrub’s website domain name says it all—goodbye, detergent! These scrubs are completely natural, made of either corn cobs (harsher; not for nonstick or glassware) or peach pits (safe for the latter). Naturally color-coded as yellow and pink, respectively. 🙂 They claim that you don’t need to use ANY detergent unless something is really greasy, then you might need a dab. I still use dish soap, but it’s very mild and it doesn’t suds up quite as crazy as the big name brands do, so having the spaghetti scrub really helps me cut through the grease if the suds start to run low! I can also wash my wood cutting board and knives with it using only water, which is ideal for these types of items.

Peach pit Spaghetti Scrub

Since I do keep a few nonstick things around, I only purchase the pink ones. I do have to admit that I was extremely skeptical at first! We purchased a box for the store I worked in and used them in our break room. They come in a box of two, and these things LAST! We used it pretty heavily (you’d be surprised by how many pans we’d wash for customers…plus our own dishes from lunch and store demonstrations), and I just started to realize how well it scrubbed and how little detergent you really did need! It doesn’t totally work for wiping down counters, though, so I still crave a sponge for those jobs. I use the scrubby side of a sponge more than the regular side, and those wear out pretty quickly with heavy use like that, so the Spaghetti Scrub is a great way to make my sponges last SO MUCH longer than they used to. Things also don’t seem to stick to it like the scrubby side of a sponge can when the job is really dirty.

Point is, the price may seem a little steep the first time you buy, but they last forever and do a great job, so you won’t remember how you did things without it!

Mrs. Meyers Dish Soap

Mrs. Meyer’s dish soap

Mrs. Meyers cleaning products are probably the least expensive natural items you can find and it’s starting to get easier to find in major stores! With a lot of the national brands, personally, my skin gets irritated and I have a hard time remembering which ones do and which ones don’t. I have been lucky enough to have been able to try a few “fancy” brands and Mrs. Meyers liquid dish soap (absolute favorite is the honeysuckle scent!) is still my top pick.

Granted, if my dishes are extremely greasy, Mrs. Meyers might not suds up as crazily as the big brands still would. That is probably another reason I like having the Spaghetti Scrub on hand, since you technically shouldn’t need soap with it unless something’s super greasy. But even without the Spaghetti Scrub, I was still using Mrs. Meyers and loving it. They make great scents, too!

Insider tip: Caldrea is the same company! Their scents are a little too overwhelming for me but I do love that the sets come in a little caddy.

Casabella Dish Brush

I was never raised to use a dish brush. I’m unsure if they made them safe for nonstick back when I was growing up, but that’s the only thing my mom and I can think of as to why she never tried one before. Long before the Spaghetti Scrub was on the market I decided that I use the scrubby side of my sponge too often and wear it out pretty quickly. Once I bought a dish brush, that ended, and I soon realized that it’s a heck of a lot easier to pre-scrub a dirty pan with just a dish brush and water before dunking it in the dishpan and ruining the soapy water! I like to keep it in my arsenal even though I also keep the Spaghetti Scrub on hand. The Spaghetti Scrub isn’t as good as the dish brush for pre-cleaning because if it gets too greasy it really needs to be rinsed in soapy water, in my opinion, whereas a dish brush is usually OK with just a rinse.

Casabella dish brush

The Casabella dish brush comes in fun colors, is relatively inexpensive, and safe on nonstick surfaces, so that’s why it’s my top choice. I don’t know that I would trust anything cheaper with my nonstick unless I really trusted the brand name like I do with Casabella.

Norpro Pan Scraper

Norpro pan scraper

You can find flimsy little plastic pan scrapers for less than a dollar, but I stepped up my game and grabbed the Norpro pan scraper (for a whole dollar!) as soon as it came into our store. We used pan scrapers for EVERYTHING around that place, so I quickly learned their versatility and adopted it into my home. I also keep one at work for random office administration emergencies—you may not be surprised how handy it has been! The Norpro is a thicker, larger pan scraper with a very thick edge that is a comfortable spot to grip it at.

o-cel-o Sponge

Non-scratch o-cel-o sponge

A sponge is a sponge, but generally o-cel-o is what you find in most stores. Blue means scratch-free, although they sometimes make other fun colors, too, that are scratch-free. The package will actually tell you if it is or not. I have to have a sponge around because you still need to sop up messes, and a dish brush or Spaghetti Scrub just can’t do that for you. Some people prefer a dish cloth because they feel a sponge holds germs more, but I think they both have that potential if you don’t keep them out of the sink where people are dumping things all over it. A good suggestion I came up with to ensure your sponge stays out of the sink is to buy a soap saver as a “sponge rest”. I did this at my office and it’s gone over swimmingly!

Barkeeper’s Friend

Barkeeper’s Friend is an inexpensive product that’s very similar to baking soda and Comet that you should always have on hand, because you can clean anything with it! It’s safe for nonstick and glass, and actually sucks grease out of porous nonstick surfaces. They now make a liquid formula, but the original powder and a little water go a long way. I use this to get sticky things off and stains out, amongst other uses! See “Baking Soda Bath” blog.

Barkeeper’s Friend

Cascade Complete Pacs Dishwasher Pods

Cascade Complete

While I am not a huge proponent of using the dishwasher (ranty blog on its way!), the Cascade Complete Pacs are the only dishwashing product I have found to actually clean the dishes and not leave a residue. I once lived with a roommate who demanded we use the dishwasher and I was always running the thing 2-3 times trying to get the dang dishes clean! Another friend heard my dilemma and immediately bought me a giant pack of the Cascade with gel pods from Costco, and the rest is history!

Casabella Sponge/Brush Holder


After I decided that I couldn’t live without a dish brush, then came the dilemma of keeping it out of the sink and relatively dry and clean. I first tried one of the aforementioned Caldrea soap/lotion set caddies, but it wasn’t tall enough. I searched high and low, and finally stumbled across the Casabella Sink Sider Faucet Sponge Holder – at Ace Hardware of all places! (Our kitchen store didn’t carry it, and I lived near one of the Ace Hardware stores that also sell housewares—these stores are heaven if you can find one!! My father actually worked for Ace for many years so I always joked that it was like his store and my kitchen store had a baby together.) The only thing I wish I had thought of sooner was the fact that it comes apart for cleaning, which you should do to keep water buildup out of it. (Yes, you need to keep your cleaning products clean! This goes for your dish drying rack, too.)

Casabella faucet sponge holder


Veg-Hog Veggie Brush

Veg-hog vegetable brush

The Veg-Hog Veggie Brush by Boston Warehouse (Animal House) is not only just plain adorable, but very functional, just like all of their products. The Veg Hog has actually been rated, which is just hilarious to think about rating cleaning supplies, but this baby makes headlines!

Another veggie brush that just feels perfectly ergonomic, at least in my hand, is this Vegetable Ring bamboo brush by Full Circle. The circle shape seems weird, but it feels ergonomic!

The only other product I am hoping to add to my arsenal again is the Chef’n Sudster. They’ve changed the design a teeny bit, but it looks the same and I thought it dispensed just the right amount of soap for washing just one dish or two at a time without having to fill up a dishpan. I did knock or drop it into the sink a LOT, which is what broke it eventually, so there’s that to consider. Looking at the new design, it actually looks less prone to breakage. Now I really want to buy another one!

Cleaning Pans With a Baking Soda “Bath”

Baking soda or Barkeeper’s Friend are both safe on almost every surface and can be used to clean a whole lot more than pots and pans. I use this method on everything that has something that just doesn’t seem to want to come off— it even helps with stickers that just won’t come off of something!

The baking soda bath is also GREAT for nonstick cookware, when you think it’s “not nonstick” anymore, it generally means the pores are all clogged with filth.  Leaving the baking soda concoction on it helps draw everything up out of those pores!

I used a grill pan as my example so I can show you how well this method truly works. And it’s cheap! You don’t need the specific cleaning tools I use, aside from the baking soda, but I prefer what I use and feel they hold up to rough cleanings like this and keep on keepin’ on! (So it’s what I most highly recommend!)

Dirty grill pan!


I usually save my ickiest pans for the end of a load of dishes, that way if I need to let them soak, I don’t have to waste any more water. I will generally take one pass at something before resorting to the soak, just to loosen up anything I can to start it off on the right foot.

I didn’t soak this pan before going for the baking soda bath, but a lot of times I do, especially because I’m hoping I don’t have to resort to this method and that the soak will do the trick! This particular pan actually had several uses of buildup on it before I tried getting it clean. It’s a grill pan—meant to be ugly! But it proves my method swimmingly.

The first layer of baking soda is applied…


I washed this pan in mostly greasy leftover dishpan water. Rinsed it off and immediately applied a layer of baking soda. Move it around with your fingers, drizzle more water on it, etc. as needed. Try not to just pour more water on it because you will end up dumping most of your concoction down the drain! You want it paste-like. Let it sit—the longer the better, so go ahead and start wiping down the counters and sweeping the floor.

Not looking too bad after the first scrub-a-dub!


Implements of war!

 Take the scrubby side of a sponge, a dish brush, or in my case, a Spaghetti Scrub, mix with elbow grease, and scrub that baby! Rinse your sponge throughout to get maximum scrubbing in. Depending on how dirty the pan is, you might have to repeat this step a few times. This grill pan in my example seemed like a lost cause after one round, but was almost totally clean after a second bout. I left a tad bit of a stain to ensure to you that it wasn’t a second pan or anything sneaky like that! When you’ve finished it up, I recommend washing the pan thoroughly in warm, soapy water to get rid of any residue from the baking soda or Barkeeper’s Friend.

Finished product! Like new!


Norpro pan scraper


I also like to break out a nylon pan scraper when doing something heavy-duty like this. This particular pan has ridges, so I didn’t really use it much this time around, but generally I will use this before even grabbing the sponge or dish brush. You can find flimsier, cheaper ones, but this one by Norpro is only a dollar and is extremely sturdy!

Read more details about my favorite cleaning gadgets here!