I figure that it’s about time to admit my mistakes, and also what I’ve learned from the projects I’ve attempted this season. While they were small undertakings, I still didn’t do very well! But this is how we learn, right?
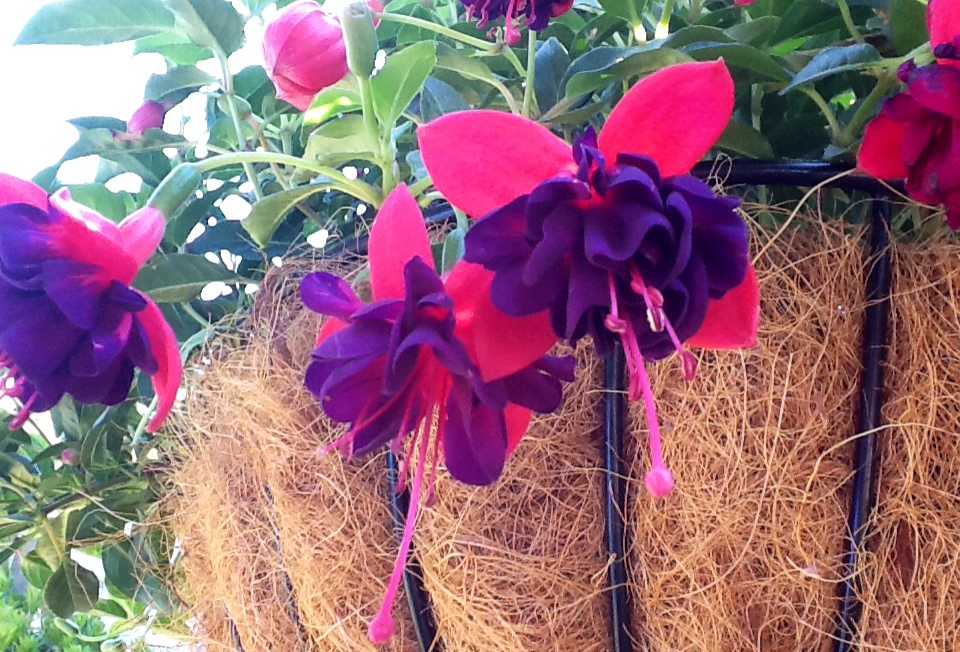
Fuchsias in Hanging Baskets

The Winston Churchill fuchsia variety is hanging in the back yard, and getting the perfect sunlight. The Dollar Princess variety I had put out front and just wouldn’t admit that it was getting too much sun. After a few scorching days where even the ones out back were injured, I finally admitted defeat and moved the Dollar Princesses to the back yard, and what’s left of them are doing much better than they ever did out front – the color is much deeper and prettier than I thought!
Fuchsias are very touchy. When it rains, it might not have rained enough, which is usually the case in the Pacific Northwest. When it’s hot, you might need to water an extra time or two. You definitely cannot leave them for a day without watering, particularly when it’s warm out. I feed them fairly regularly and I believe the spray mixture I’m using is correctly measured.
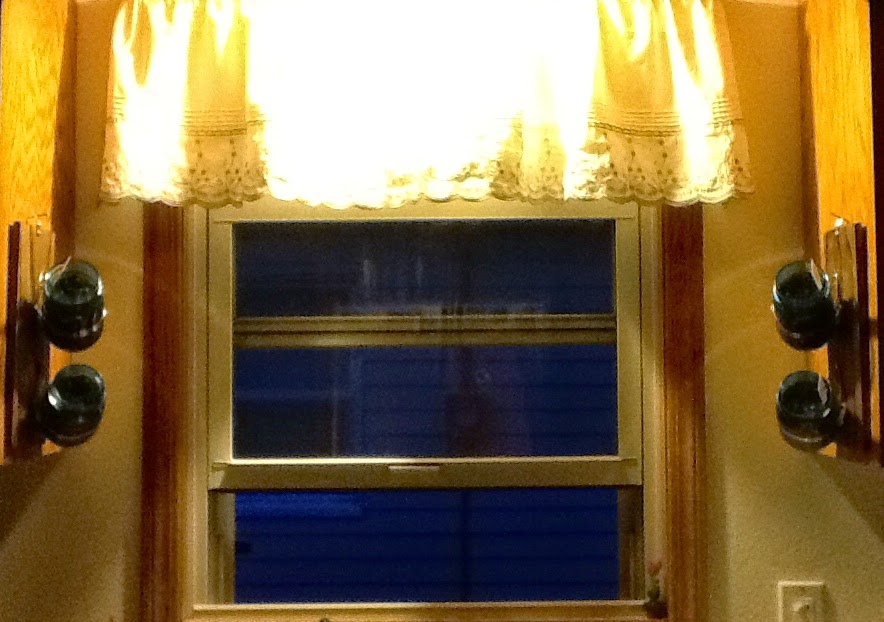
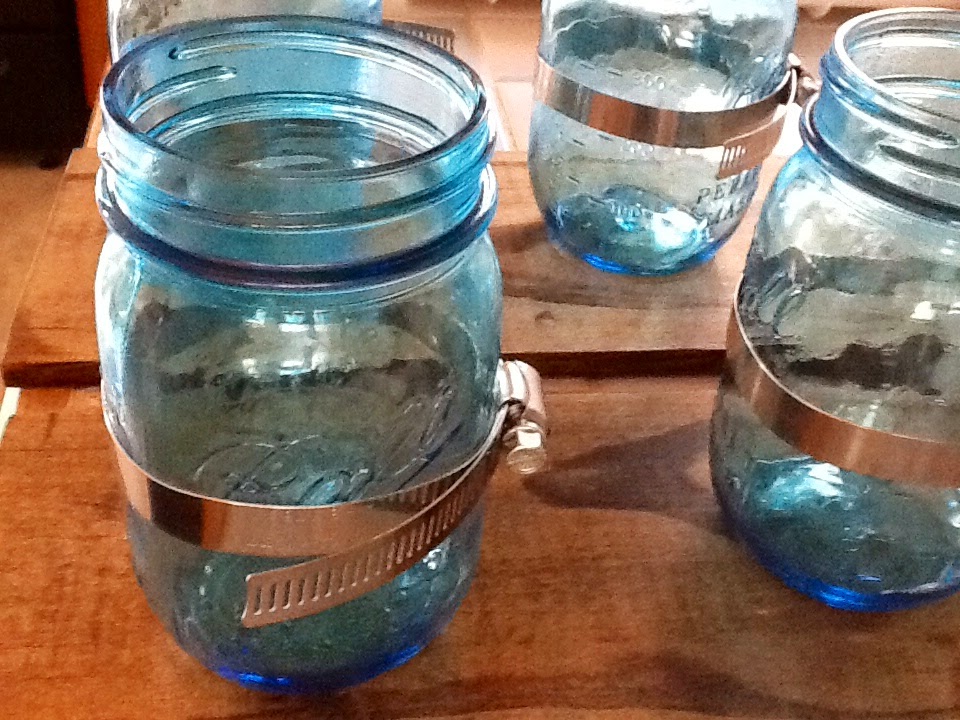
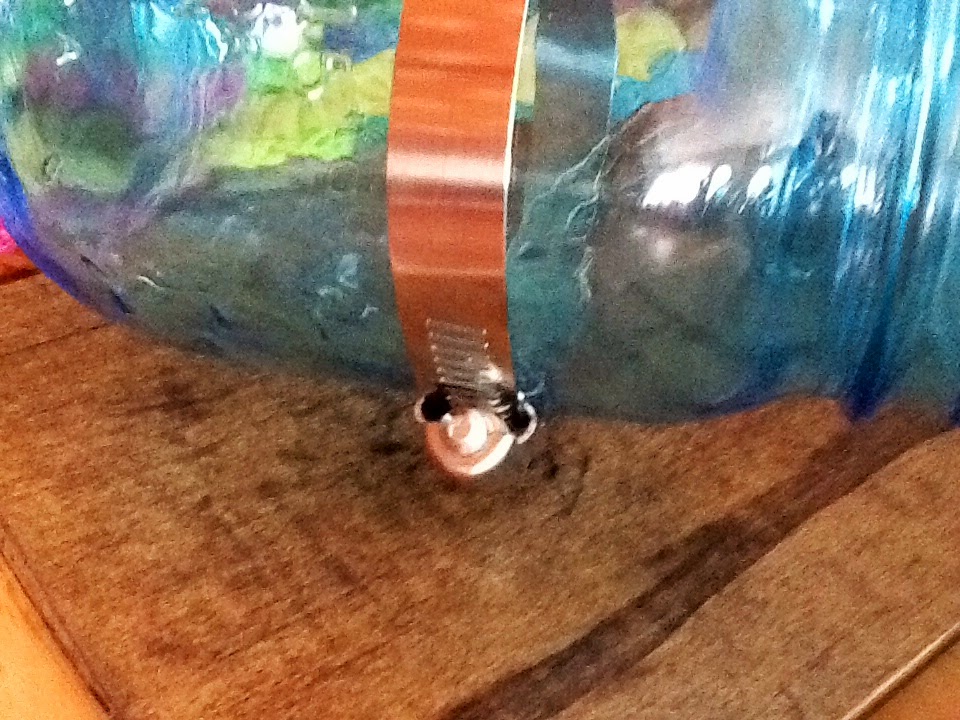
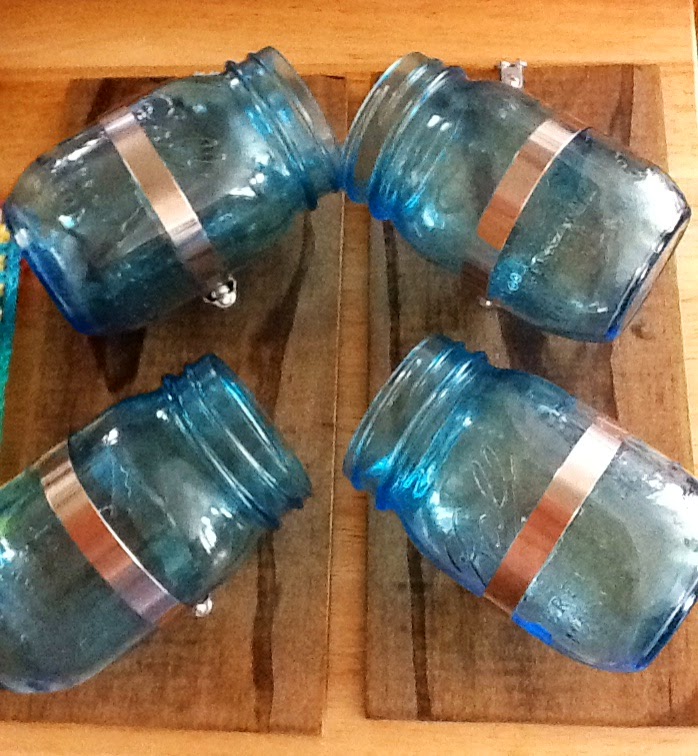
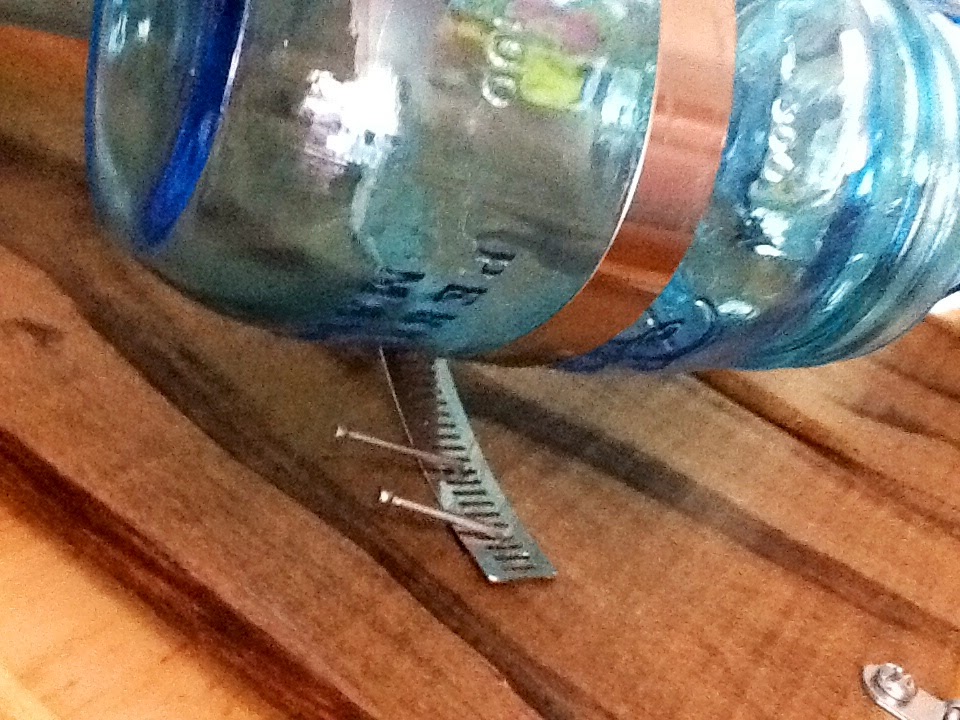
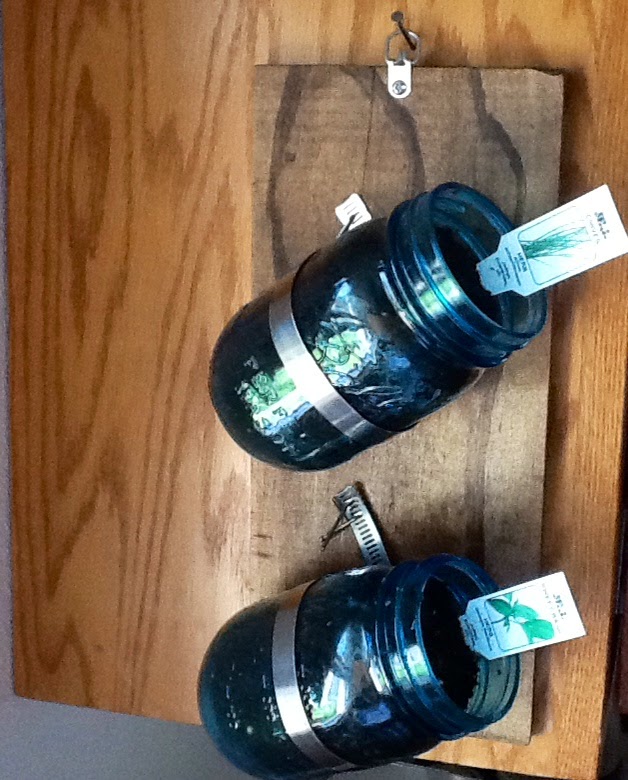
Mason Jar Indoor Herb Garden
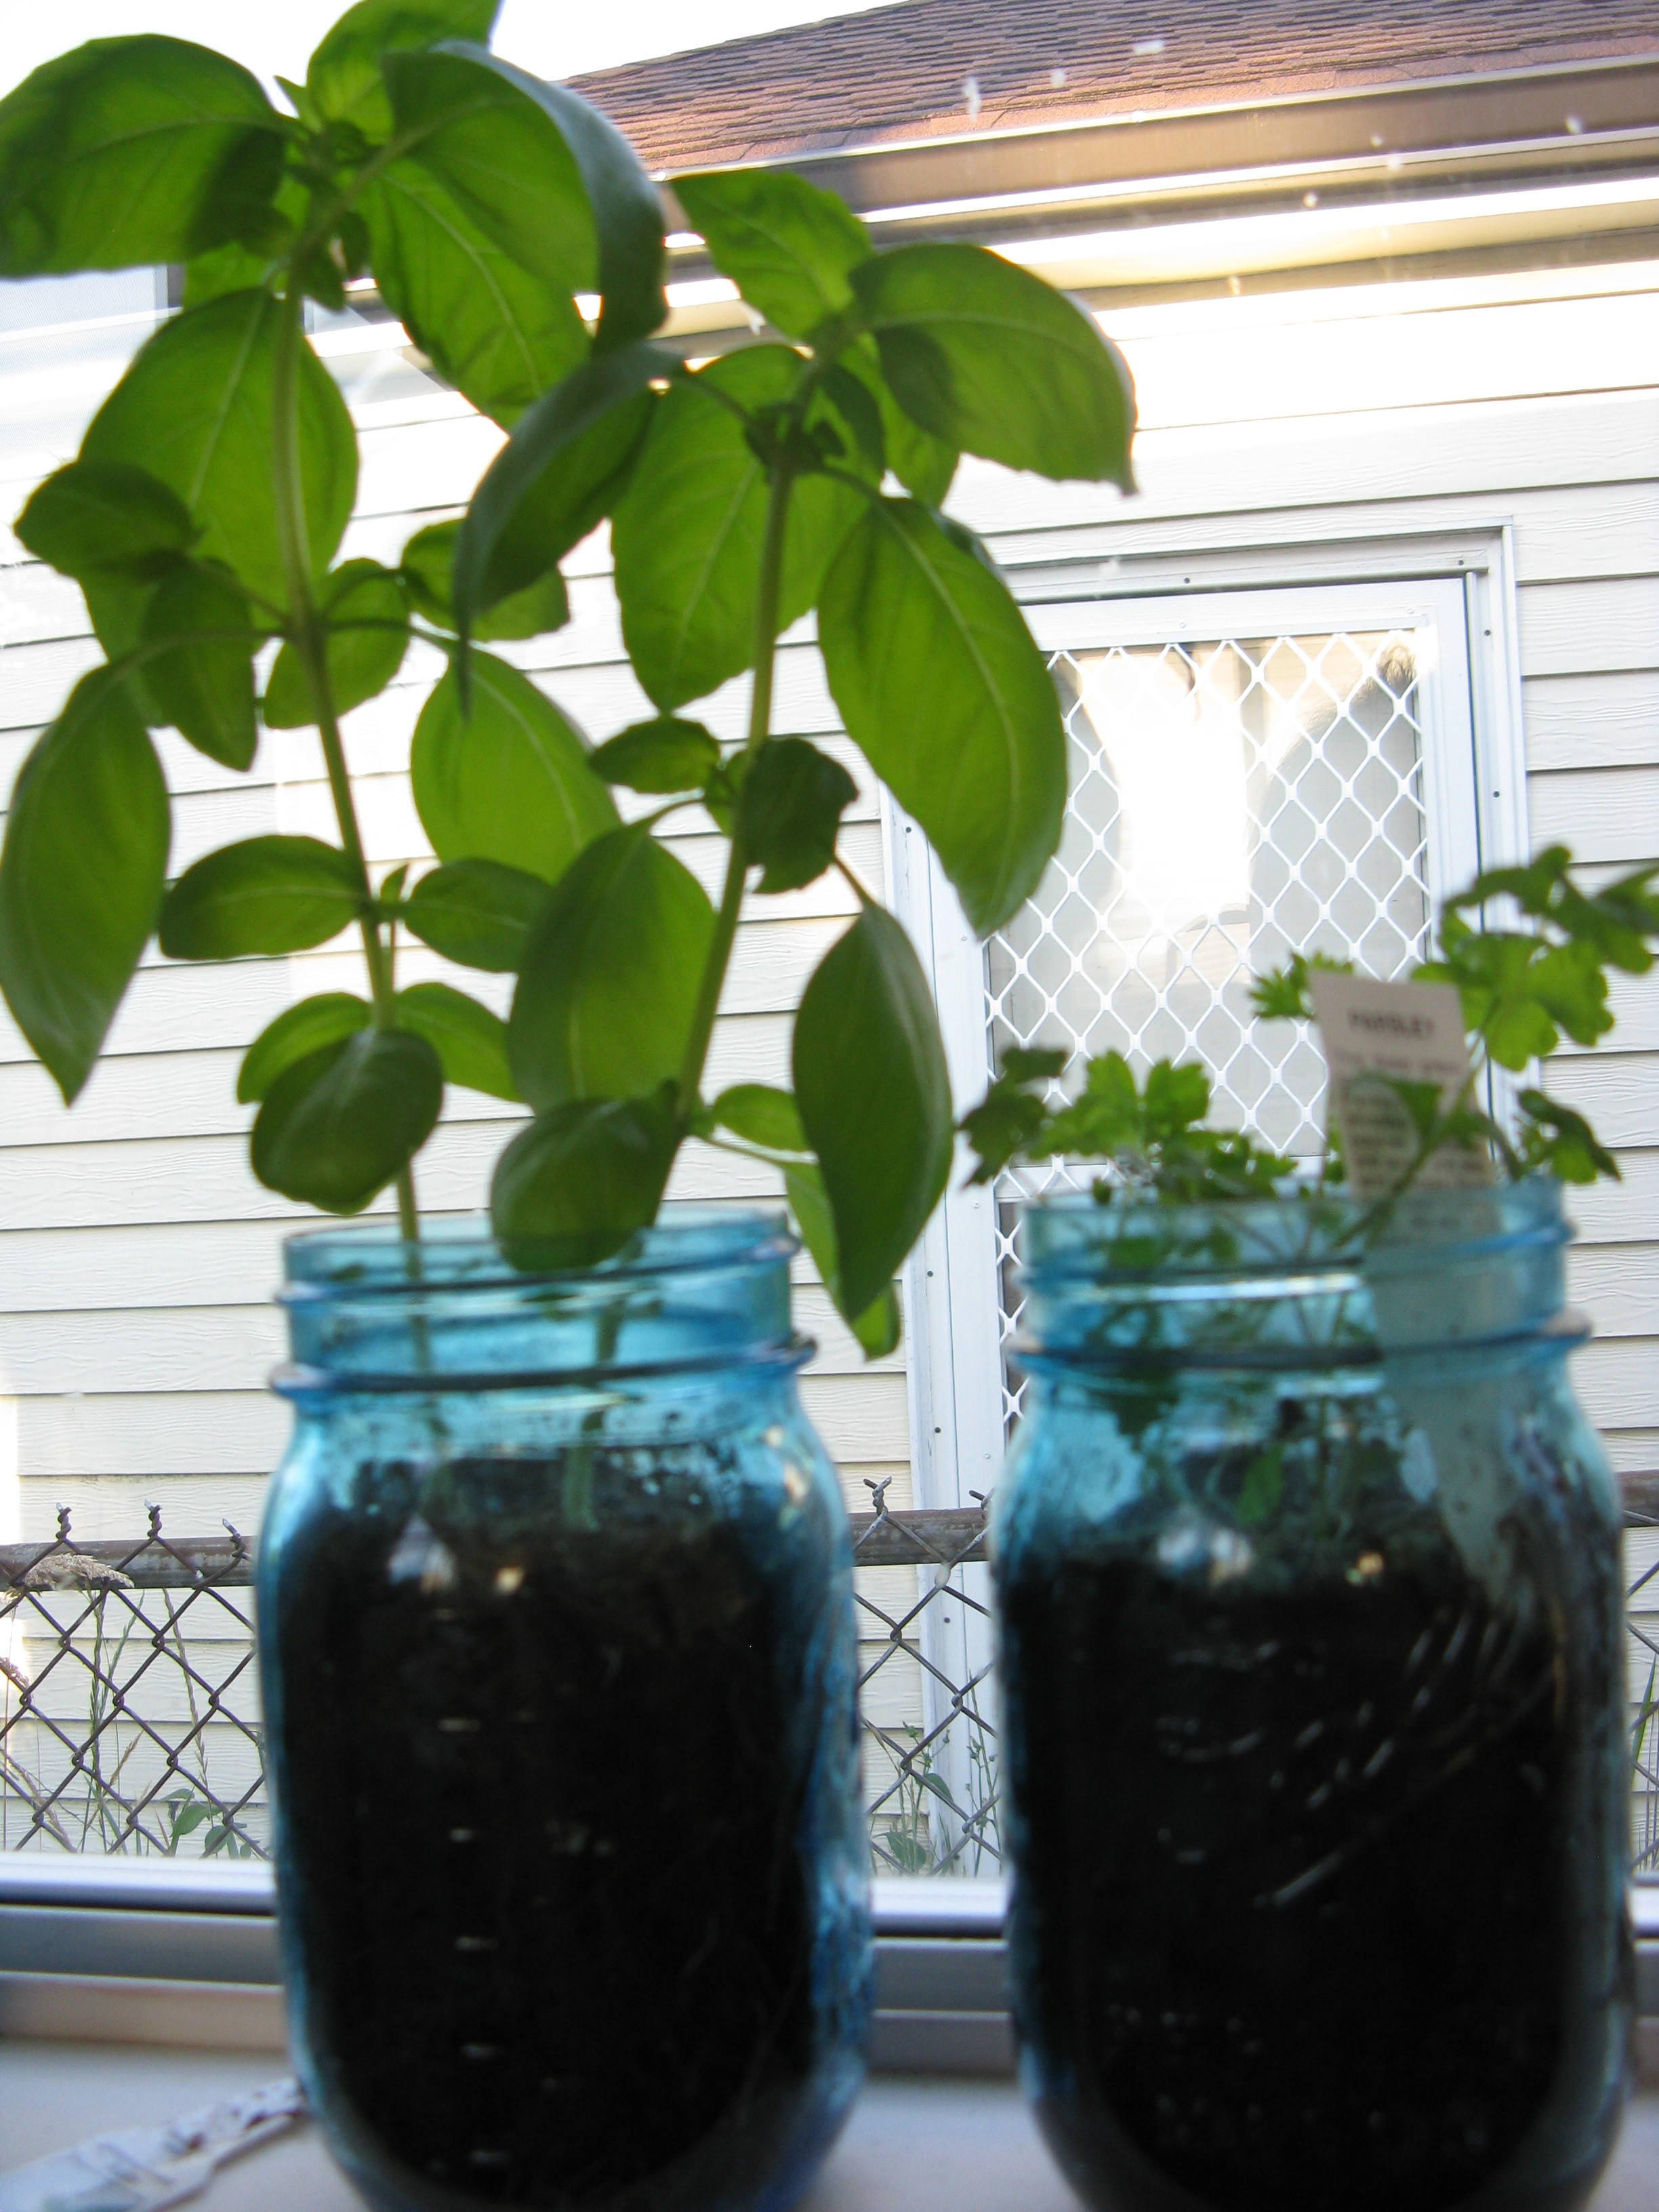
This hanging herb garden project was a big whoopsie from the get-go, with the poor instructions I was following being the first part of the problem. The second issue was my placement. They weren’t getting proper sunlight where I mounted them.
Another issue was drainage. A good tip to add to the original plans might be to put rocks in the jars first, below the soil, to help with drainage, and also so you can see if you’ve overwatered!!! Whoops. I have since taken them off of their wood mounts and placed the jars straight in another window sill where they get full morning sunlight. 😉
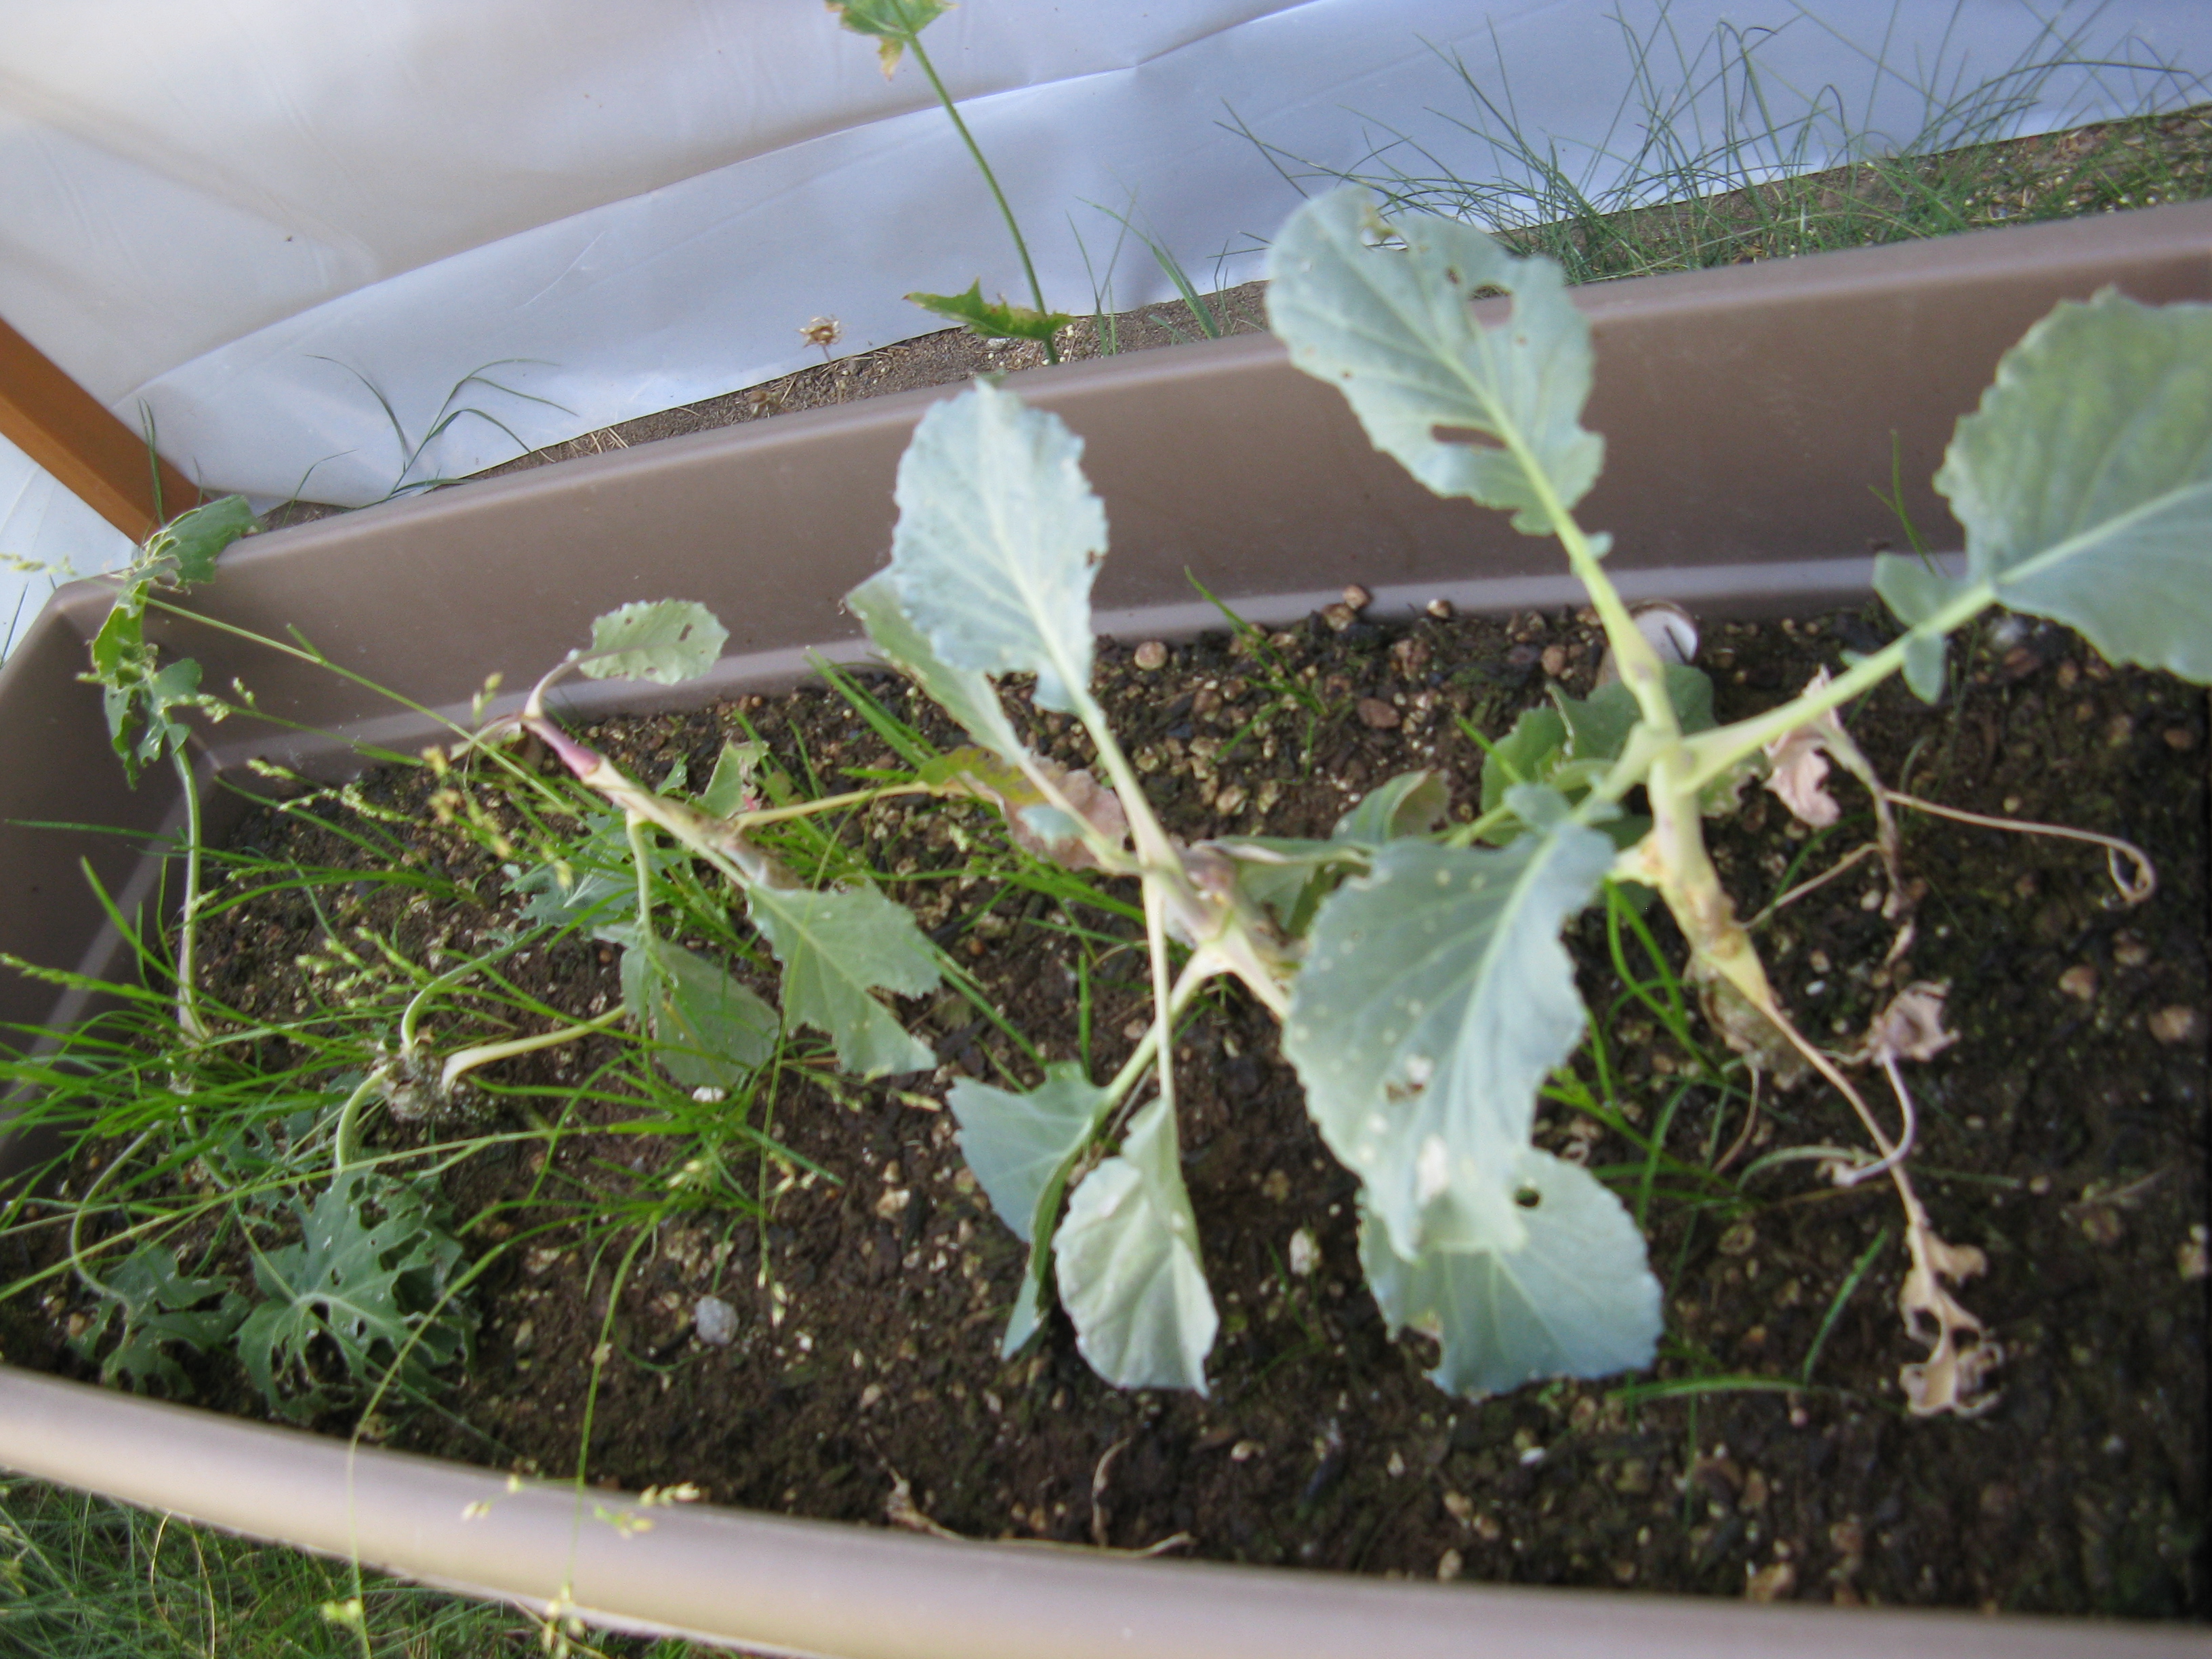
Brussels Sprouts vs. Cabbage Moths
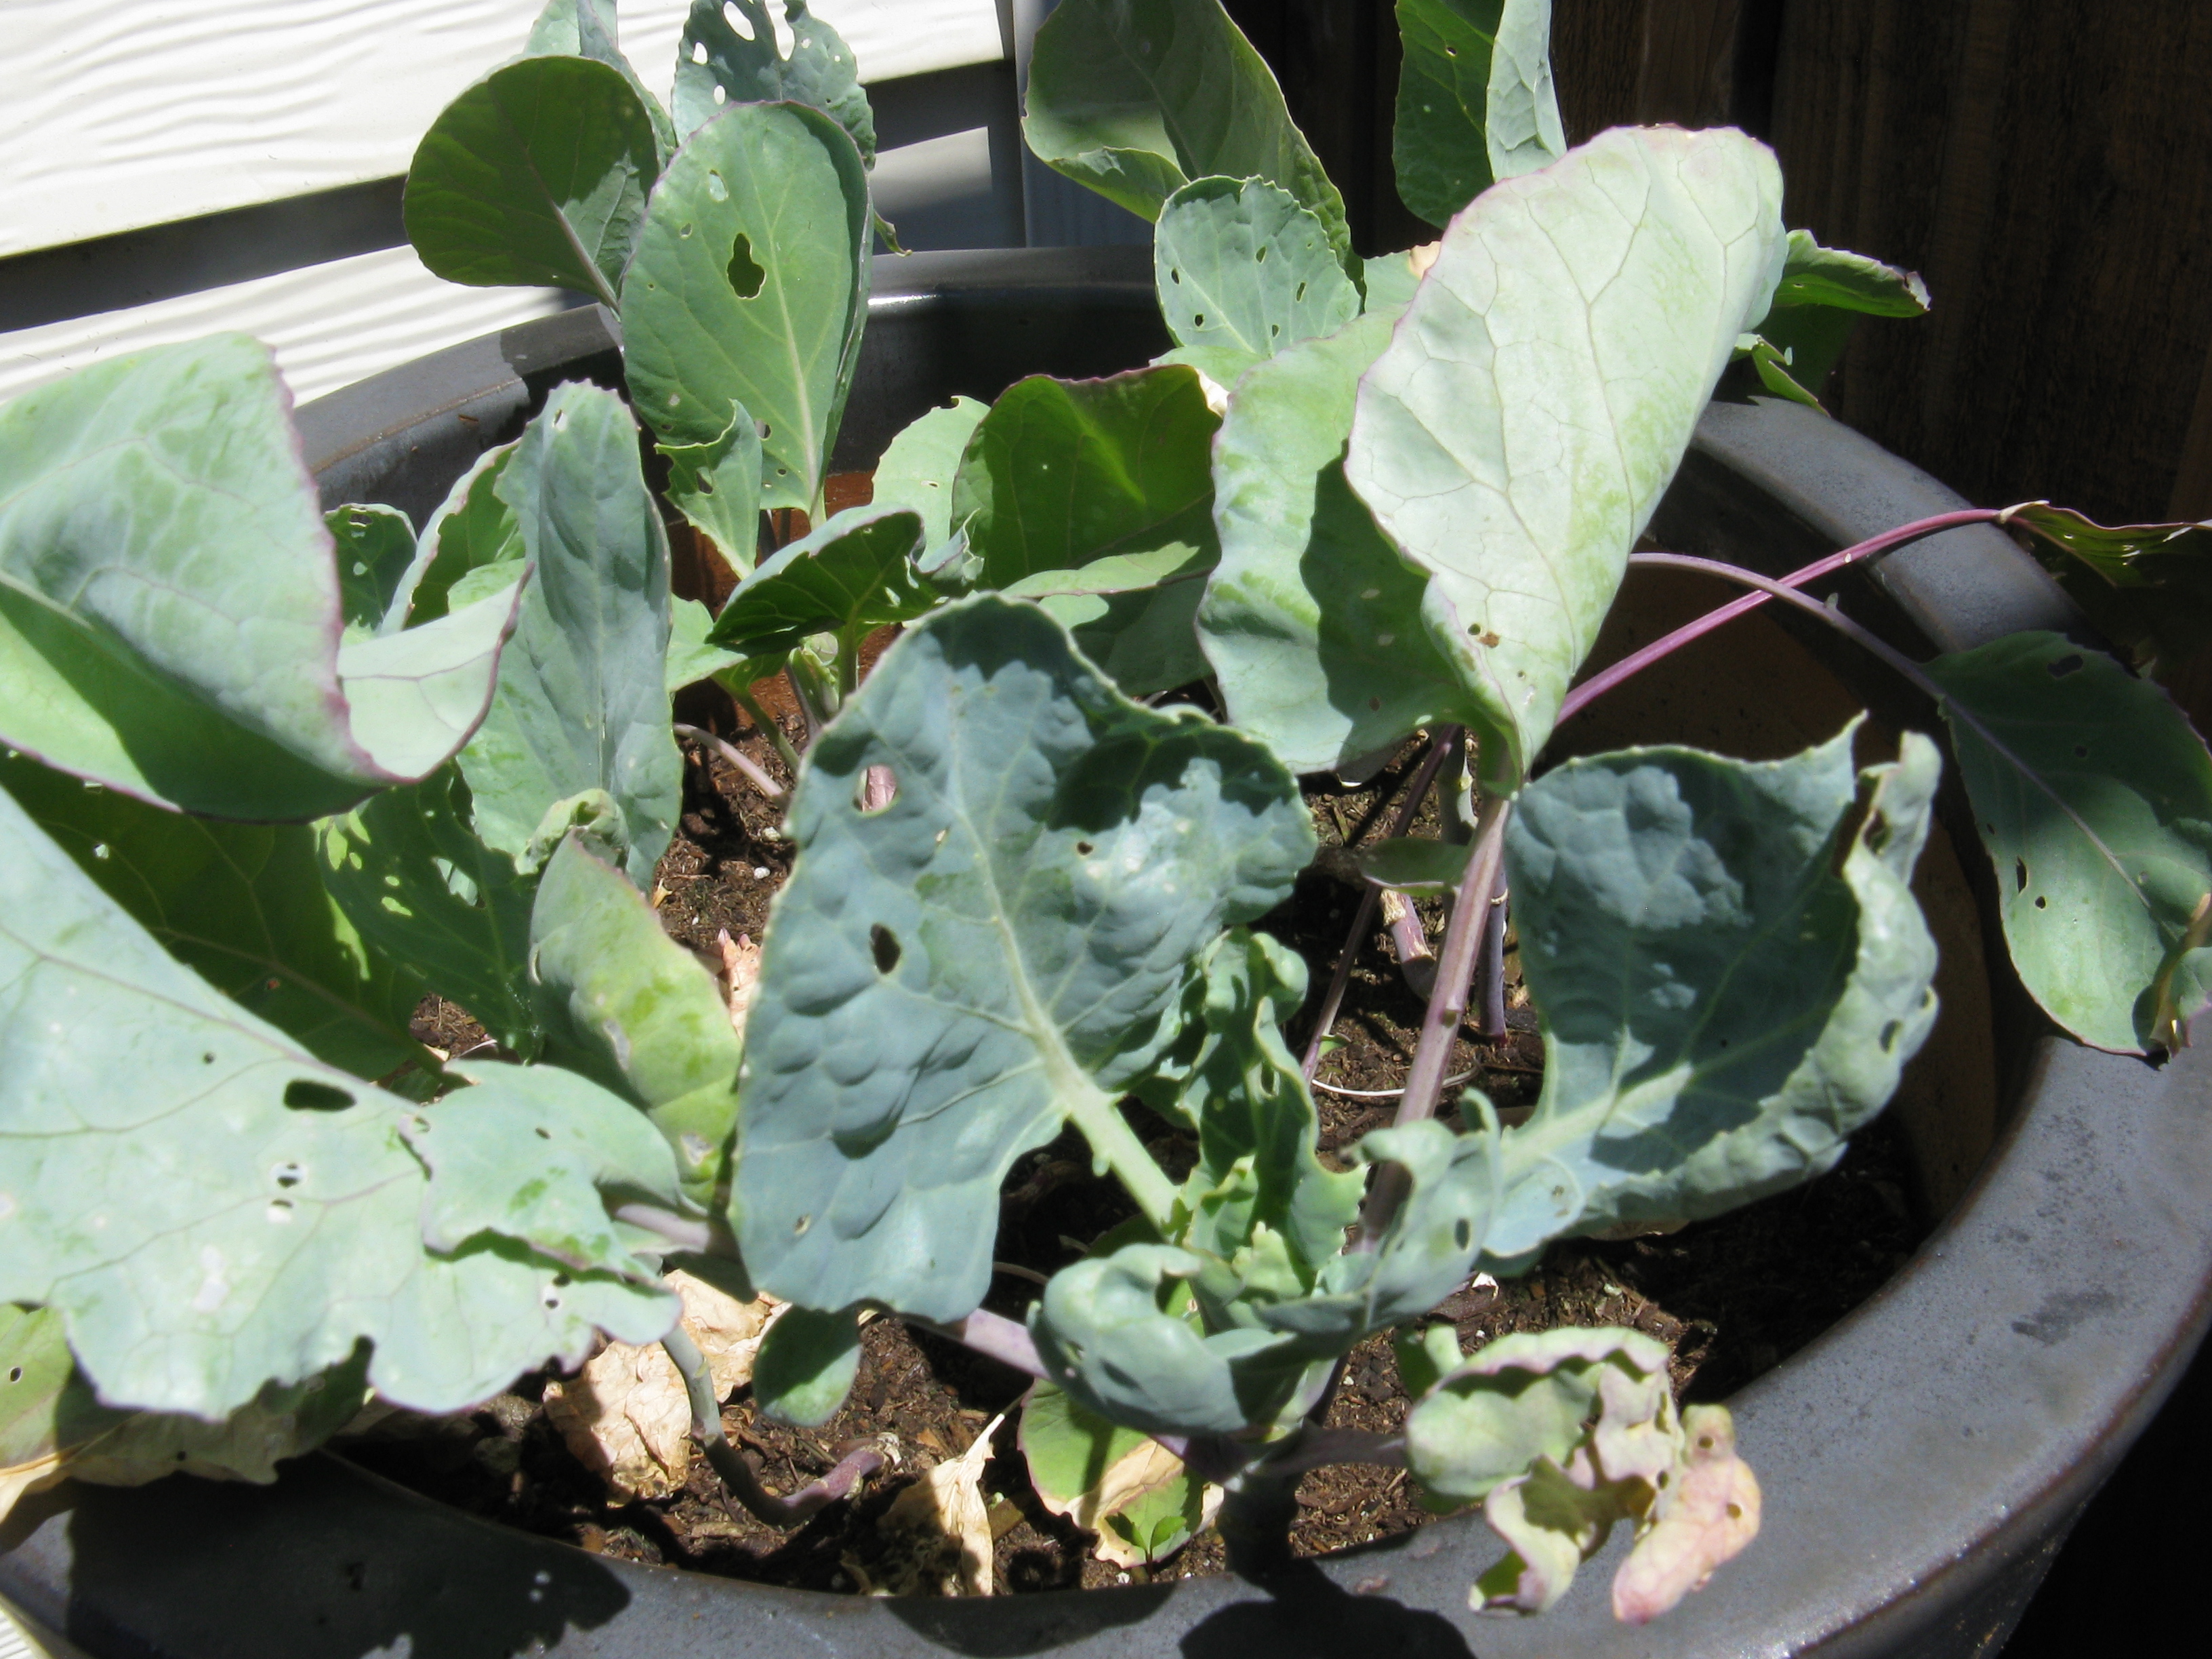
Oh, the Brussels sprouts…I have lost that war so badly it’s not even funny. I QUIT! And to make matters worse, the cabbage moths also got my dwarf kale and broccoli, too, and those were in cages to protect them from critters (obviously not tiny butterflies!). I am going to have to research and see if I can plant something that is a natural deterrent for cabbage moths if I want to grow any produce they enjoy next year. 🙁
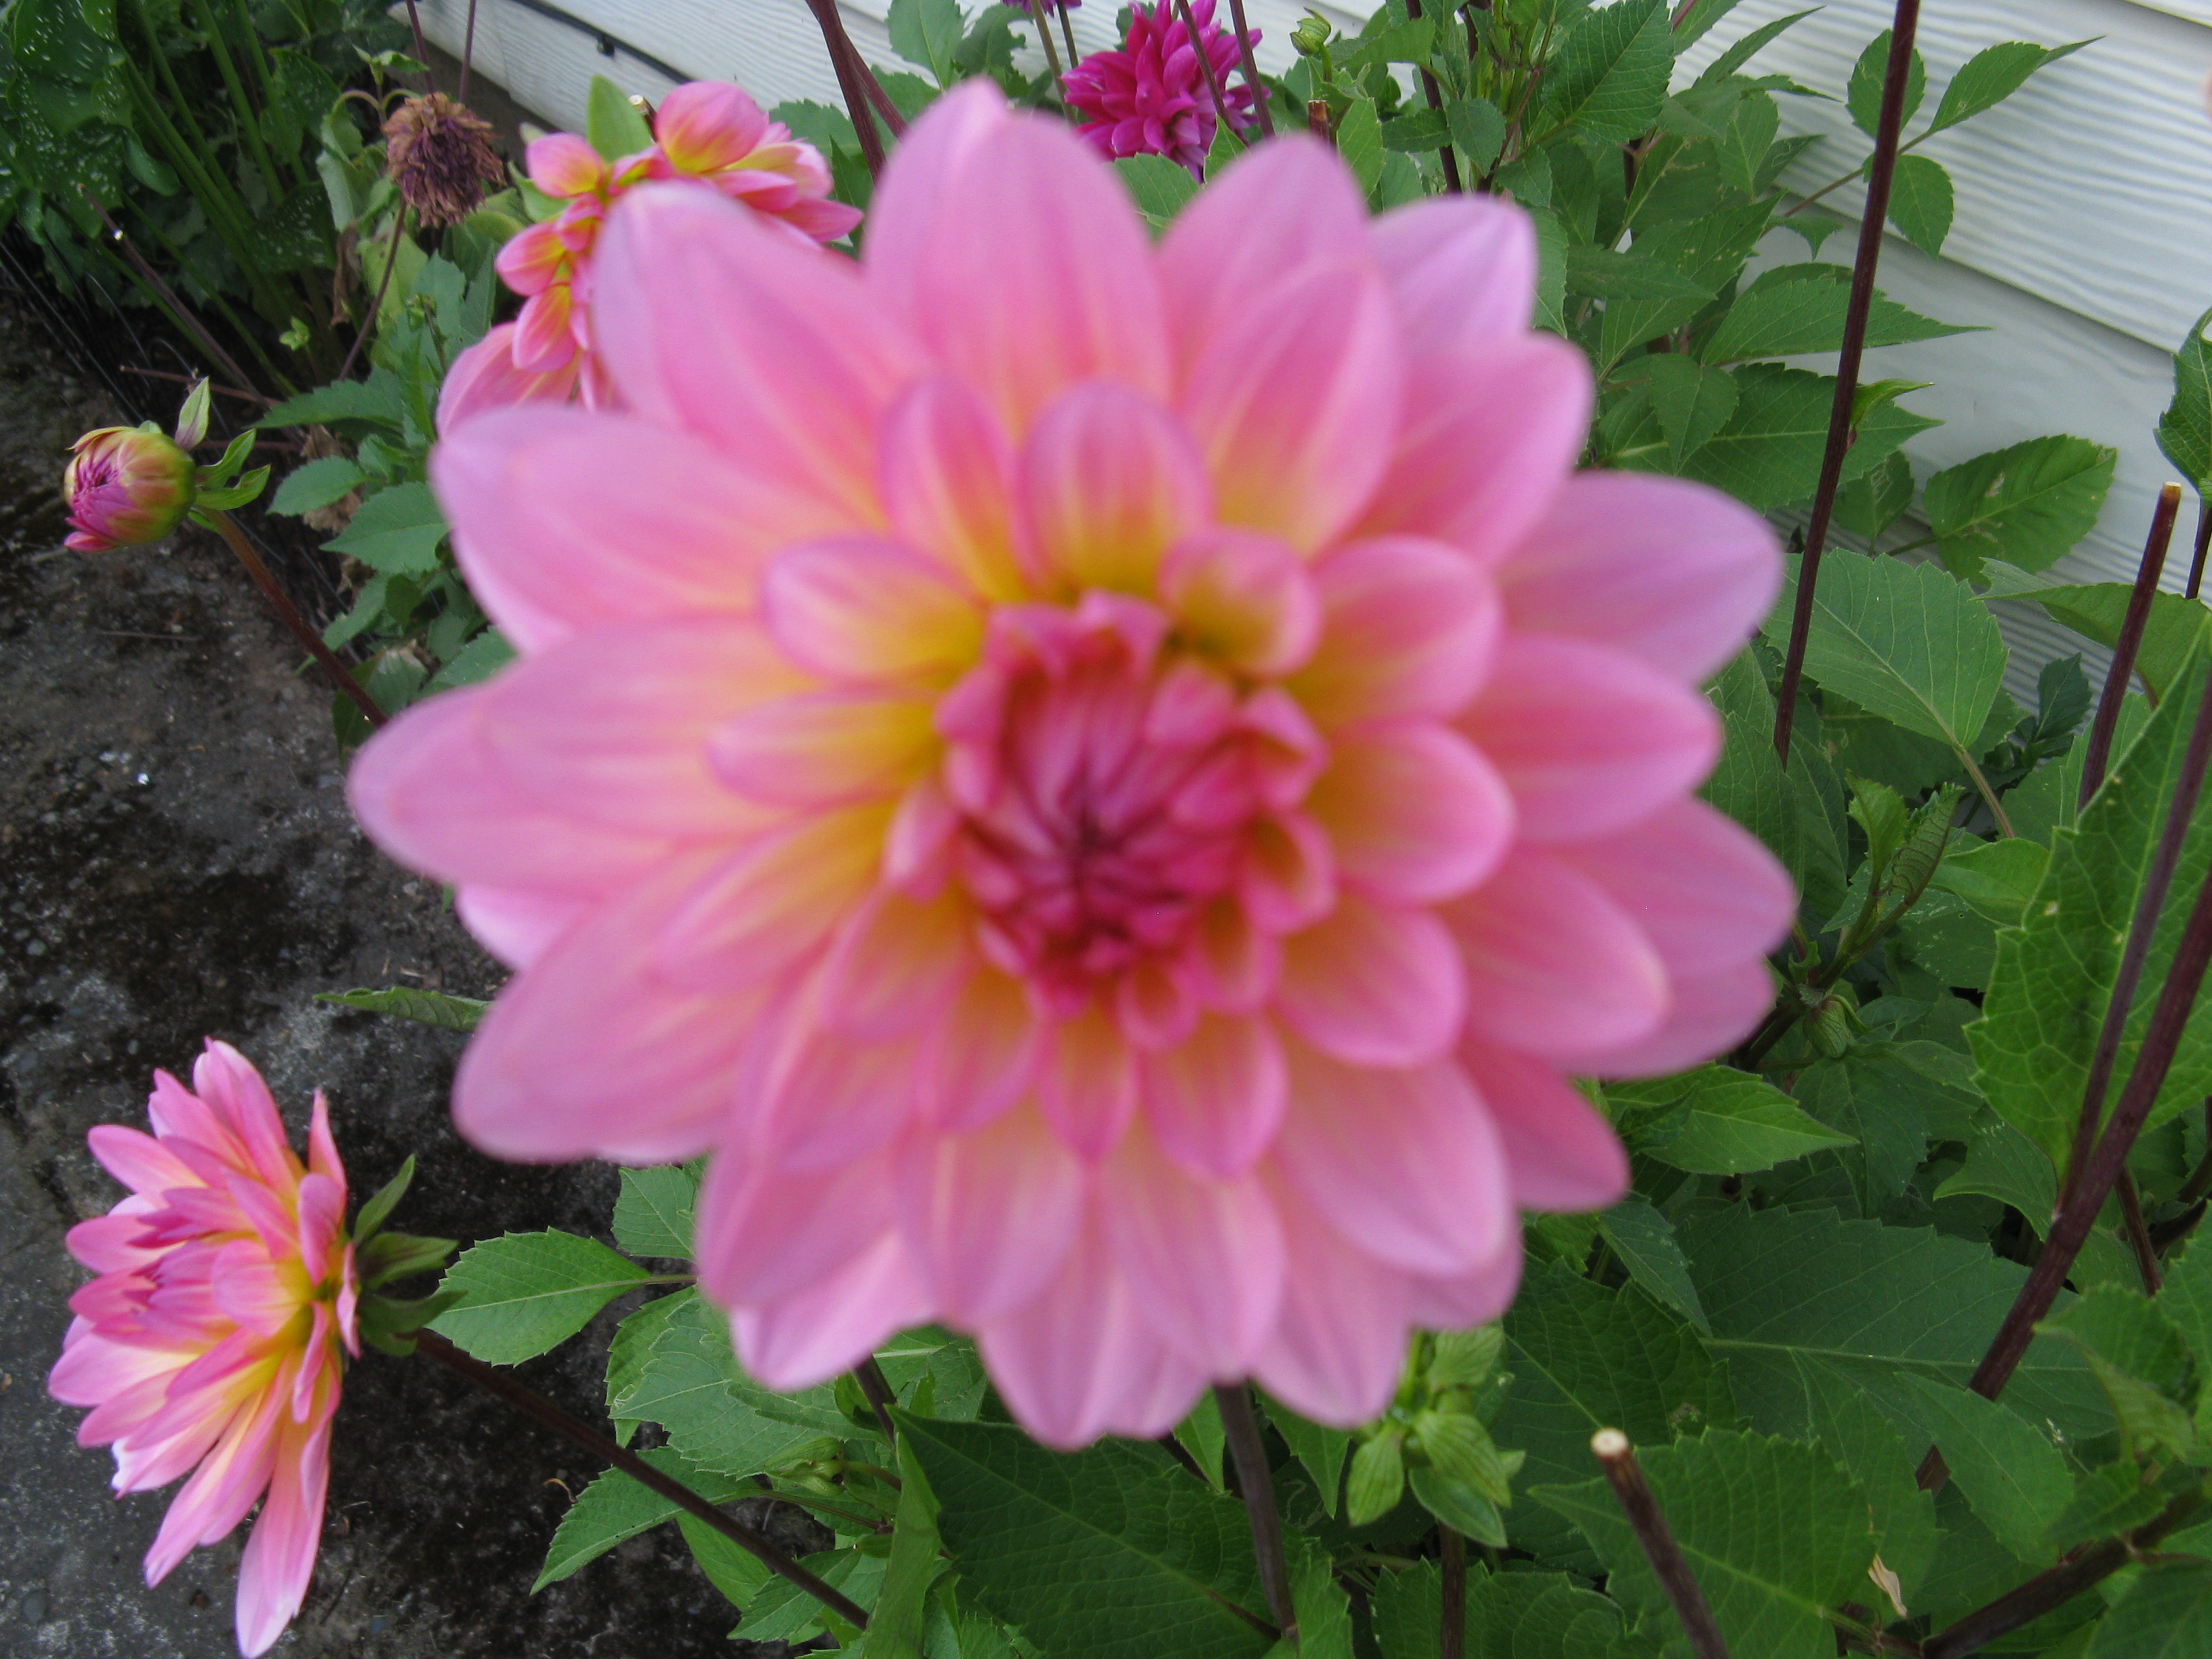
Pink Dahlia Murder Recovery!
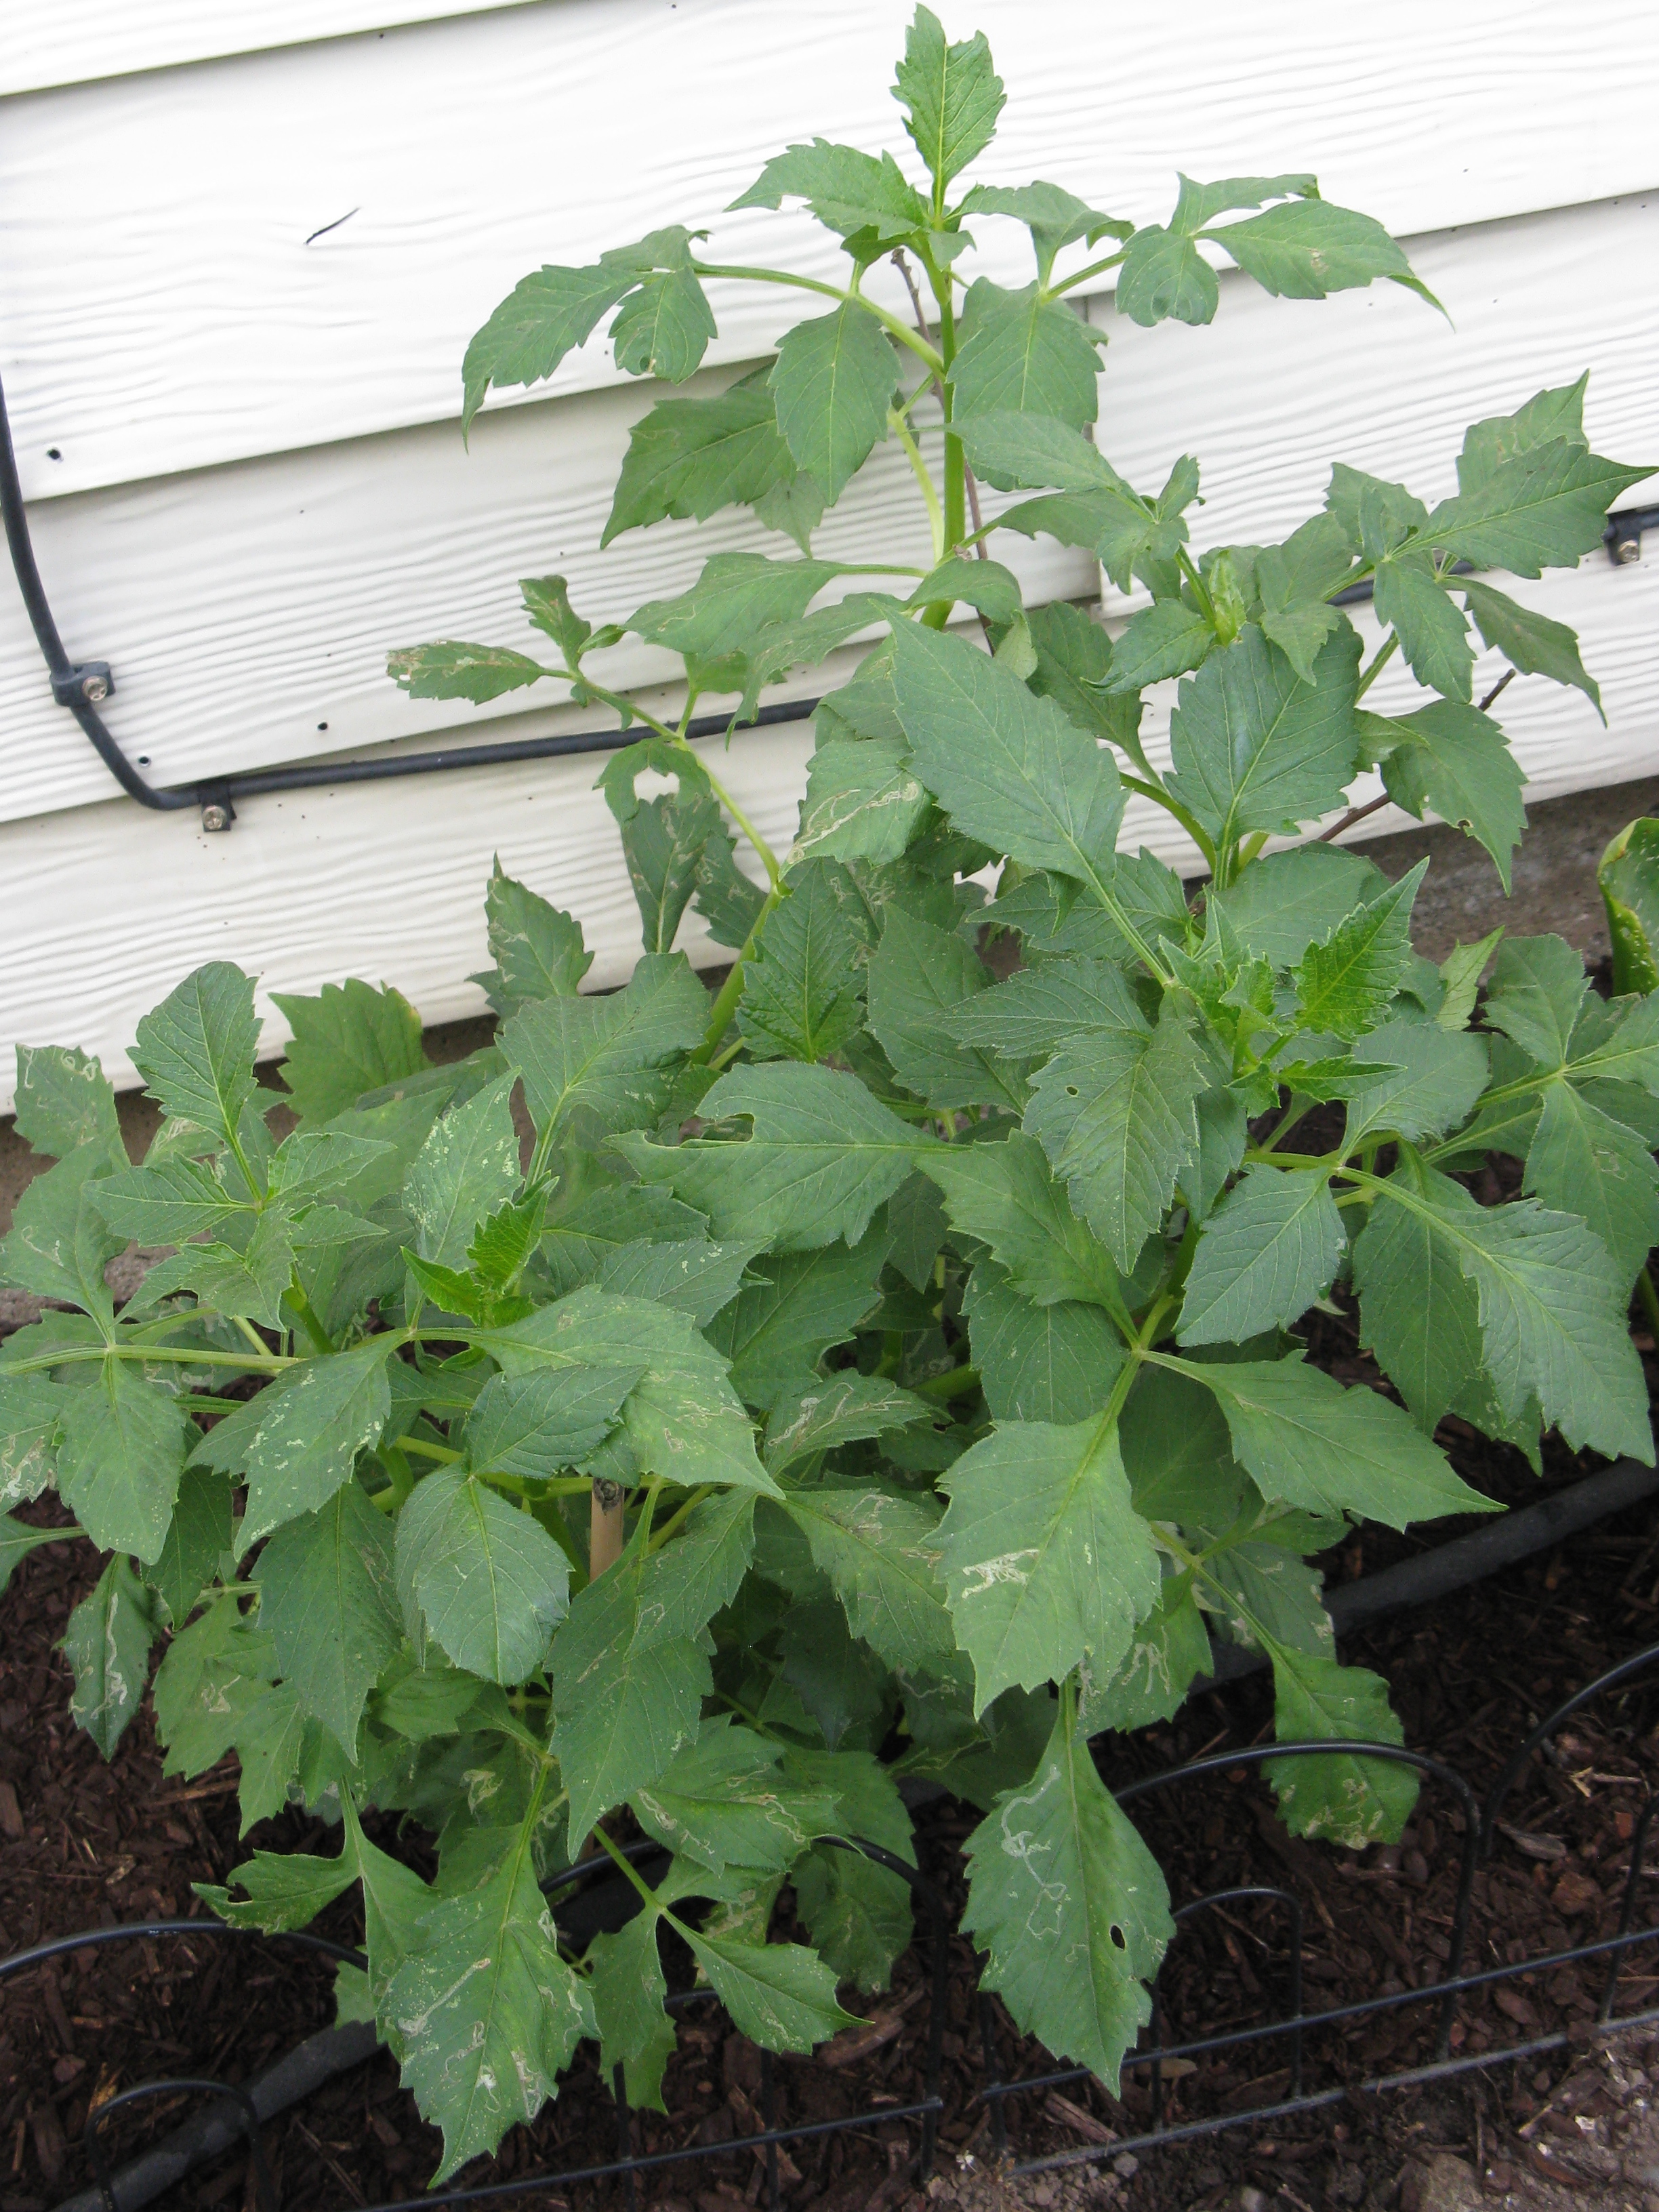
I’m still caring for my dahlias, which DID spring back from the slug massacre, I am happy to say! I had a black walnut tree trying to grow and drown out one of the dahlia bushes (thanks, squirrel!!) so I pulled that out the other day and am hoping that dahlia survives. I am not 100% on knowing my dahlia leaves yet, so I had let the tree grow far too large, unfortunately, before asking for help identifying the thing.
I also had one dahlia plant not grow at all this year. I discovered from a friend that the tubers actually need to be dug up yearly, so who knows how long it has been since these have been dug since I did not do it last year. I dug them up anyway, pulled out the icky looking tubers and am hoping that maybe next year the ones I replanted will spring back. *Fingers crossed!*
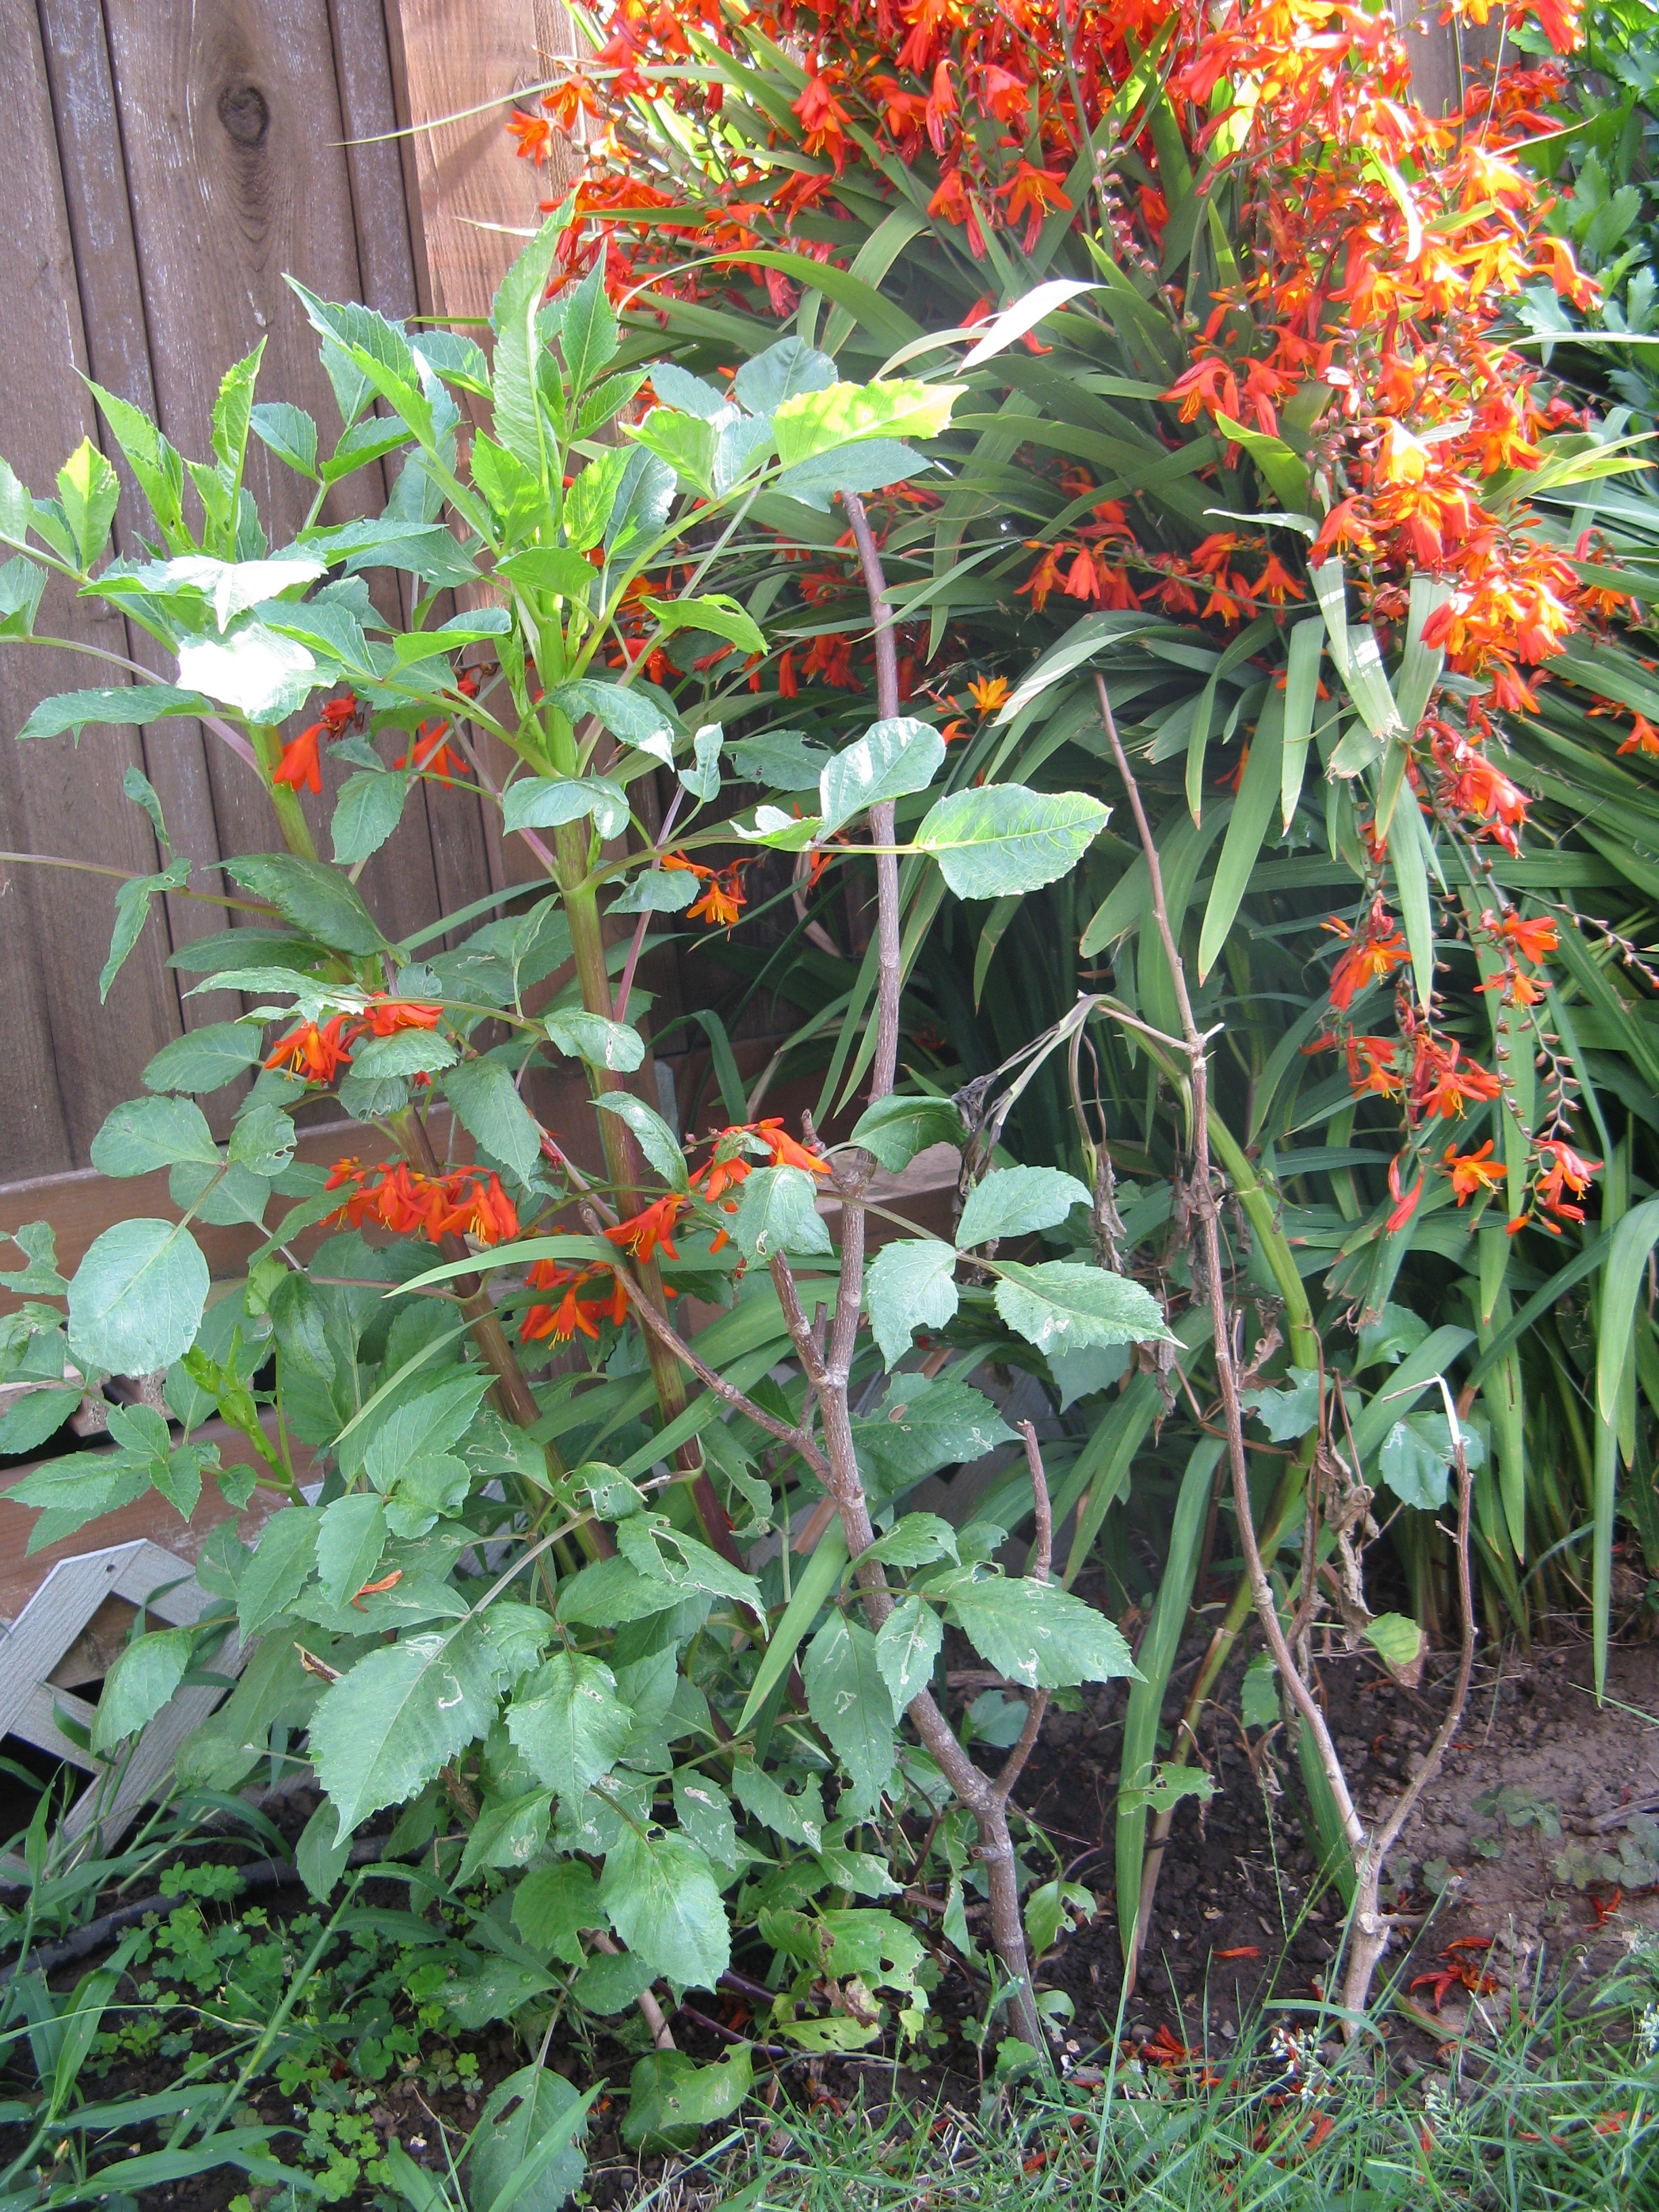
Another dahlia bush was being drowned out by my over abundance of crocosmias. I tied the crocosmias out of the way since they are blooming and the bees are loving them, and will dig them out completely post-bloom. It seems like the affected dahlias are starting to stand up straight again and I am hopeful for a few flowers before summer is over!

***
That is probably the end of my gardening “projects” for 2014. I will be armed with Sluggo and better produce planting information next year since we hope to have built at least one raised bed and do this gardening thing for real!! This year was just a test with the produce I did attempt to grow, and I’m glad it wasn’t full-fledged or I would have been sorely disappointed. It would have been my own fault for not researching more, however!

I will be digging up as many bulbs as I can as things die out at summer’s end (these crocosmias are never-ending, I tell ya!), and I definitely plan to get at ALL of the dahlia tubers to try and ensure their livelihood next year! I am smart enough to know that my yard will never be done, but am happy with the progress I have made this year. It’s fun to look back and see what it used to look like when we first moved in and how much I’ve already accomplished!