Tag Archives: kitchen aid

Electric Hand and Stand Mixers

Electric Hand Mixers
I’m not really going to recommend one brand over another in this category, as I think most manufacturers make very similar product and since they aren’t built to last, I wouldn’t necessarily consider spending a ton of money on one, and a cheaper one like OsterBlack&Decker or Proctor Silex will probably do the trick. I will say that if you are spending more money on a more expensive brand name, that I don’t think it’s worth the extra money for anything over 7 speeds. I know a Cuisinart and Kitchen Aid both make 9-speed mixers these days, but most people don’t really use even the 7 speeds let alone 9, which gives you one lower and one higher speed to utilize.
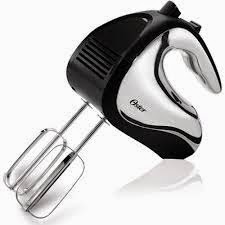
Oster hand mixer
Accessories for these also seem to be somewhat of a joke. Most folks who have gotten accessory pieces with their Kitchen Aid told me that they didn’t work well if at all, and if they did work, broke within a year (specifically, the whisk!). The motor on these isn’t really strong enough to handle dough, so having dough hooks for this might end up burning out your hand mixer. Don’t base your purchase off of the accessories you’re receiving as part of the “deal”!
I had this model and loved the storage feature!
Electric Stand Mixers
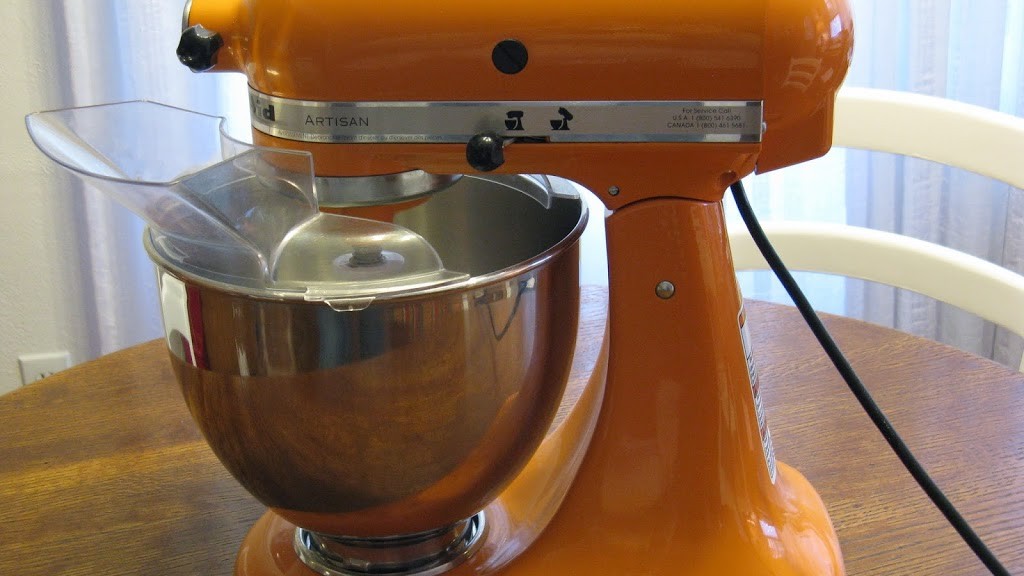
When you do find you need a little more power, it might be time to step up into a stand mixer. There are quite a few brands on the market so this can be a tricky item to shop for if you don’t know what you’re after. I personally only recommend Kitchen Aid’s stand mixer, and with that I also say anything less than a 5 quart/325 watt machine is not worth your money!! (There is a 4.5 quart tilt head stand mixer that has the same body as the 5 quart but a smaller motor and mixing bowl. This is usually the one you see at Bed, Bath & Beyond or Target.)
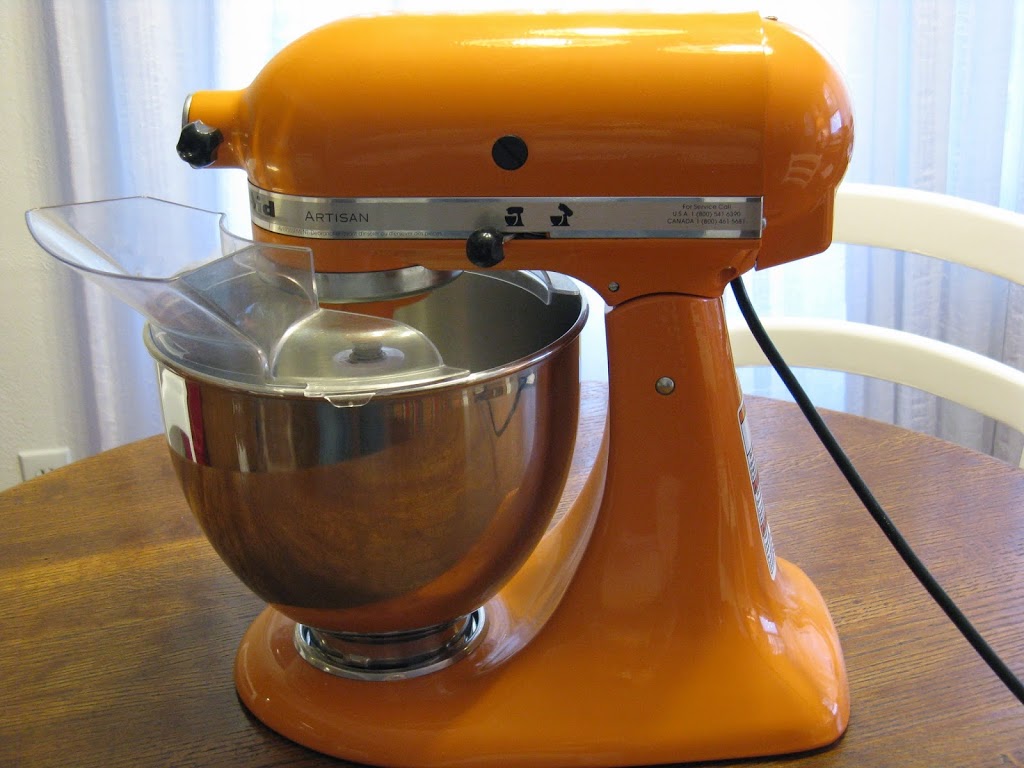
My beautiful tangerine 5 quart tilt head Kitchen Aid mixer!
If you’re spending the money, you at least want the power, and there are some basic cookie doughs that will really work your machine. Why worry about overburdening the machine when you don’t have to? Get the 325 watt and don’t worry about it!
These machines will tell you how much “flour power” they have (or for people like me, how many batches of cookies you can churn out!), so that might help you to determine what size fits your needs best. I would say that if you regularly only make single or double batches of baked goods the 5 quart should be large enough for you. If you are constantly making several huge batches of baked goods for your kids’ school or are running a very small business that requires a bit of baking you are probably leaning towards a 6 quart. (NOT a small bakery!! Commercial-grade, people.) Kitchen Aid’s 7 quart is newer to the market so I am hesitant to recommend it yet, as I normally say anything stronger than that you need to be looking at commercial mixers, like Kitchen Aid’s 8 quart.
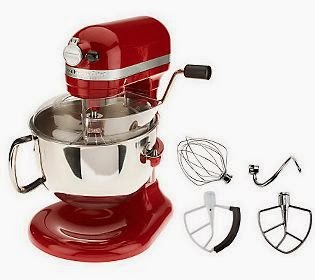
Kitchen Aid 6 quart bowl lift stand mixer
I prefer a tilt head, which you can only get on the 5 quart or smaller. The 6 quart comes with the “bowl lift” feature, which you can also find on different 5 quart models. I personally never feel like the bowl attaches properly with the bowl lift, so it doesn’t feel secure to me. I know it is secure, I just don’t like it! My recommendation is to go into a store and play around with the machines, practice taking the bowl and beaters off and on and see what feels most comfortable to you. Ask the salesperson if they are able to show you how to put attachments on the machine! I am serious! All of these things sound weird and trivial, but if you’ve never used one before, it can be kind of daunting!
Breville has a stand mixer, however I unfortunately have no experience with their products but know they are extremely reputable. The other thing is that nobody has had one for 40 years yet to say “these babies last 40 years!” like the Kitchen Aid, so until that happens, I am going to keep on keepin’ on! (I’d say once somebody has had one for a decade, we’ll call them solid – haha!)
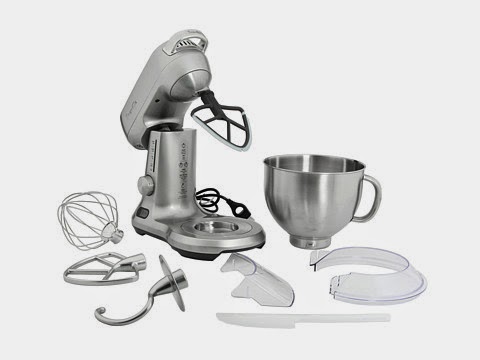
Breville Scraper Mixer Pro
I do NOT recommend the Cuisinart stand mixer! Repeat this mantra – “Kitchen Aid stand mixer, Cuisinart food processor!” (We’ll discuss food processors in another blog, I promise!) They tried to overcome the very minor complaints with the Kitchen Aid, but I don’t think they succeeded. For one thing, when they were first introduced I got to attend a big demo event because they launched a lot of new items that year. The rep for Cuisinart kept saying the model she was demonstrating to us was not the “official” one for sale but a prototype – yeah right! She had a lot of issues getting it to even work at first, and once we started using one in the store I worked at we realized more of its shortcomings. It’s available in 5 and 7 quart models in various colors.
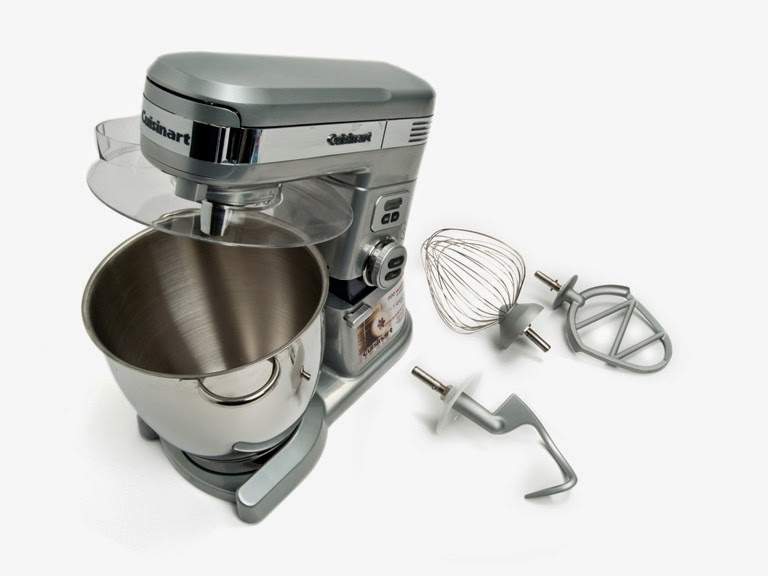
Cuisinart stand mixer
The pouring shield attaches to the tilt head so you don’t need to find somewhere to set it down like with the Kitchen Aid shield. However, anything you may have “spilled” in the pour spout of the pouring shield when dumping it in the mixer will drip down onto the machine when you lift the tilt head up to retrieve the bowl. Our example was vanilla…dripping all down the side of that beautiful white machine! Extra cleanup is never good in my book!
The one really cool feature of the Cuisinart is the digital countdown timer with auto-off, which Breville has incorporated into their Scraper Mixer Pro. I unfortunately think adding something digital to the mixer is going to reduce its lifespan, but would assume that the mixer itself would continue to work despite a digital timer feature “wearing out”. I think that’s another reason the Cuisinart doesn’t seem to have the power it should – they added an extra “outlet” for a variety of attachments, most appealing to consumers being the blender and food processor attachments. The food processor attachment is surprisingly different than a food chopper of the same size (3 cups) in freestanding form. Those choppers only do one thing – chop. This attachment actually has slicing and shredding discs like a real food processor. There is also a meat grinder attachment that is very similar to the Kitchen Aid one.
Electric Stand Mixers with Detachable Hand Mixer
Some people like the idea of the stand mixer with the hand mixer piece that detaches. I’m not sure that these will have the “reach” that standard stand mixers claim to have with their planetary mixing action. These have two separate motors, one that powers the hand mixer portion with the beaters and the other that spins the bowl, which should force the mixture to combine at least almost as well. Be careful – some inexpensive stand mixer models look like they have a detachable hand mixer but they don’t, it’s just a design illusion. I’d definitely recommend the stronger motor, at least 325 watts, because like I mentioned in the hand mixer section, the motors on those little guys aren’t going to be strong enough to actually handle dough on the dough hooks that come with them. Breville’s has 380 watts and seems like a good choice for this category.
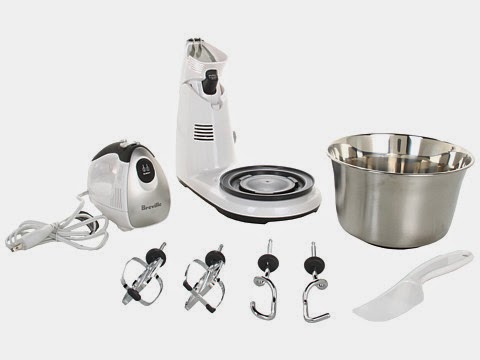
Breville Handy Stand Mixer
Stand Mixer “Standard” Accessories
These are standard for the Kitchen Aid mixer but most mixers should have the three standard mixing pieces. Here’s a quick video to demonstrate how the accessories attach to the mixer:
**Note that some accessories for Kitchen Aid are “coated” and some are not. The coating can chip off if you are very hard on them. NEITHER can go in the dishwasher – all of the mixing pieces are hand wash only!**
***These links might not go to your exact model number! Please search for the correct piece if you are looking to replace something on an existing machine!***
Wire Whip – This is the piece that looks like a whisk. You’re going to use this to make icing, meringue, whipped cream, or anything that calls for a whisk that isn’t too tough to mix through.
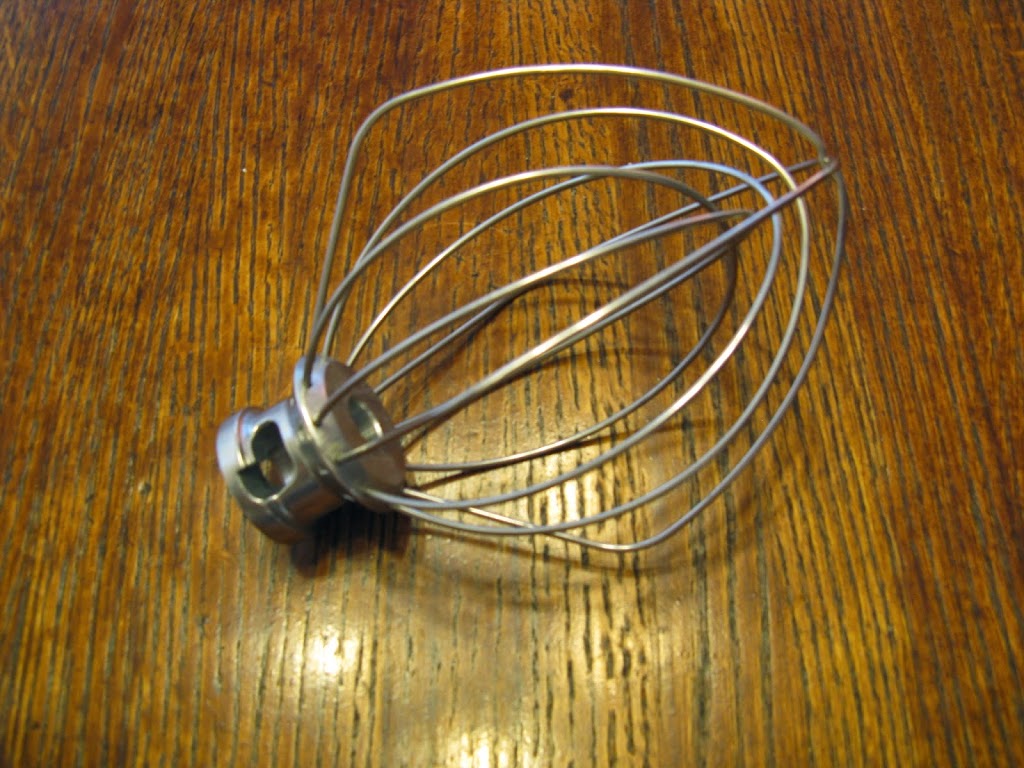
Wire whip
Dough Hook – This is the piece that looks like a pirate hook on the smaller machines, and on the larger ones it’s a tad curlier-looking. You’ll use this for bread or pizza dough, and you’ll know you made your dough correctly when you see it “tornado” up the hook.
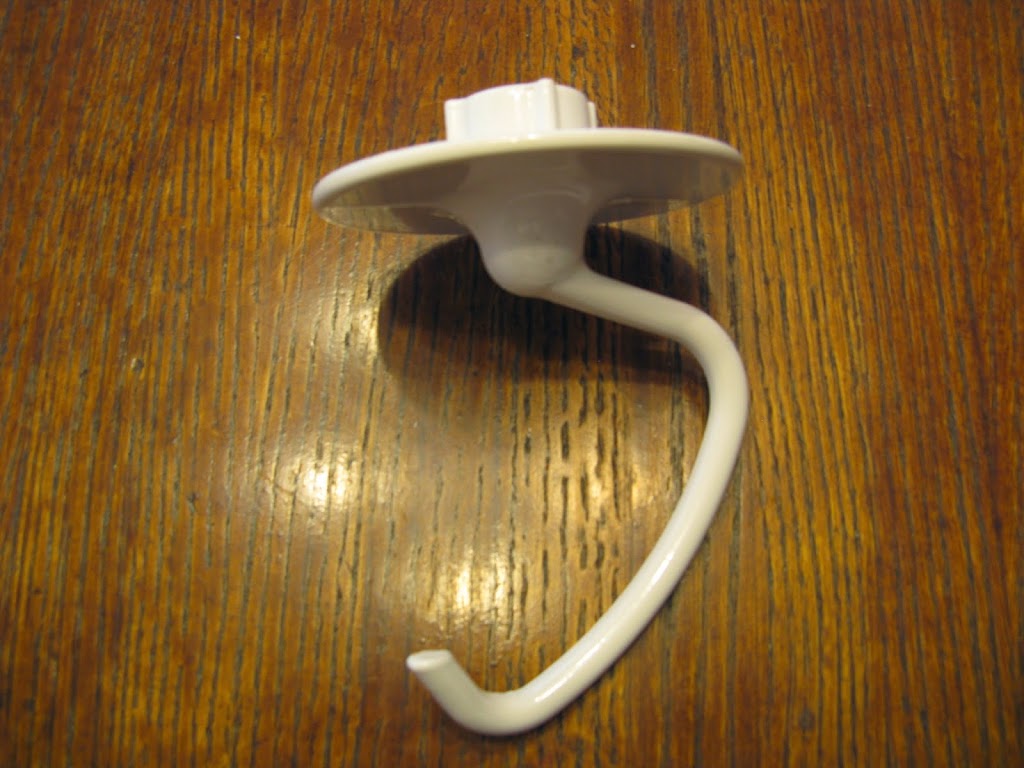
Coated dough hook
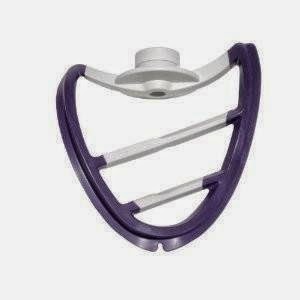
Flat Beater – This is the piece I use the most, it’s the flat triangular-looking piece. This is for cookies, cakes, etc. or anytime the recipe tells you to “beat” something.
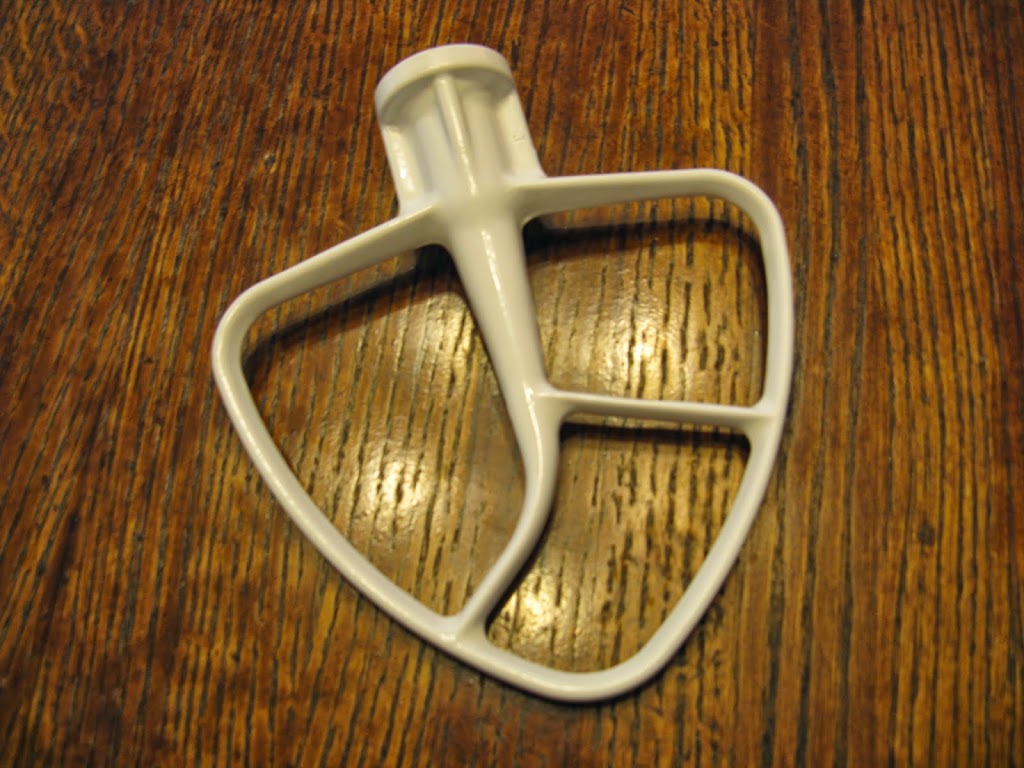
Coated flat beater
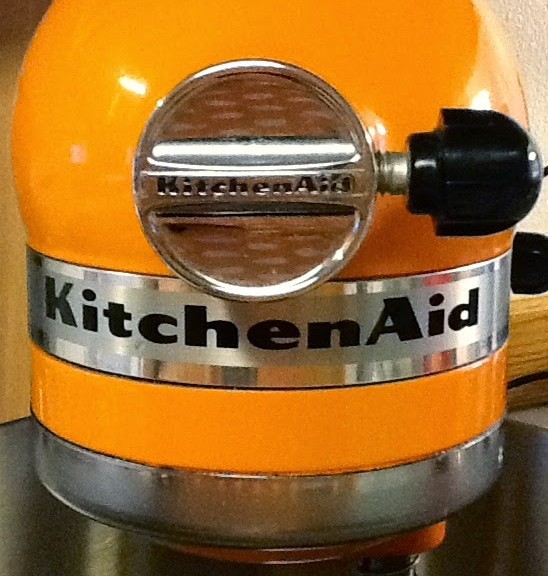
Power Hub – For attachments, which are sold separately. [We can discuss these further in a future blog!] When you put an attachment on the power hub, you turn the machine on the same way as if you were mixing, and yes, the lower piece where you attach the whip/beater/hook will spin around while you are using the attachment piece. Don’t worry!
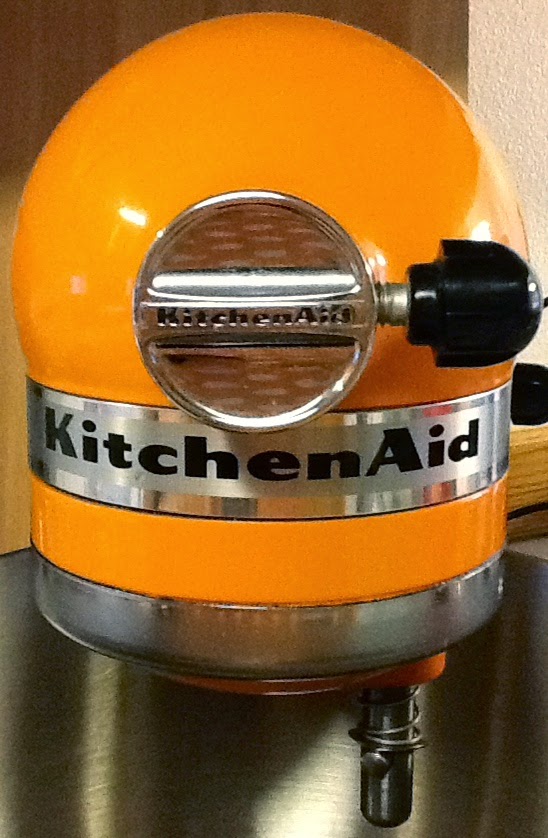
Kitchen Aid power hub
Pouring Shield – Older models may have come with a 2-piece pouring shield, but the newer ones are 1-piece on Kitchen Aid. Breville’s looks like it is 2 pieces. This is to prevent splatter coming out of the bowl but has a pour spout so you can add ingredients while the mixer is still running.
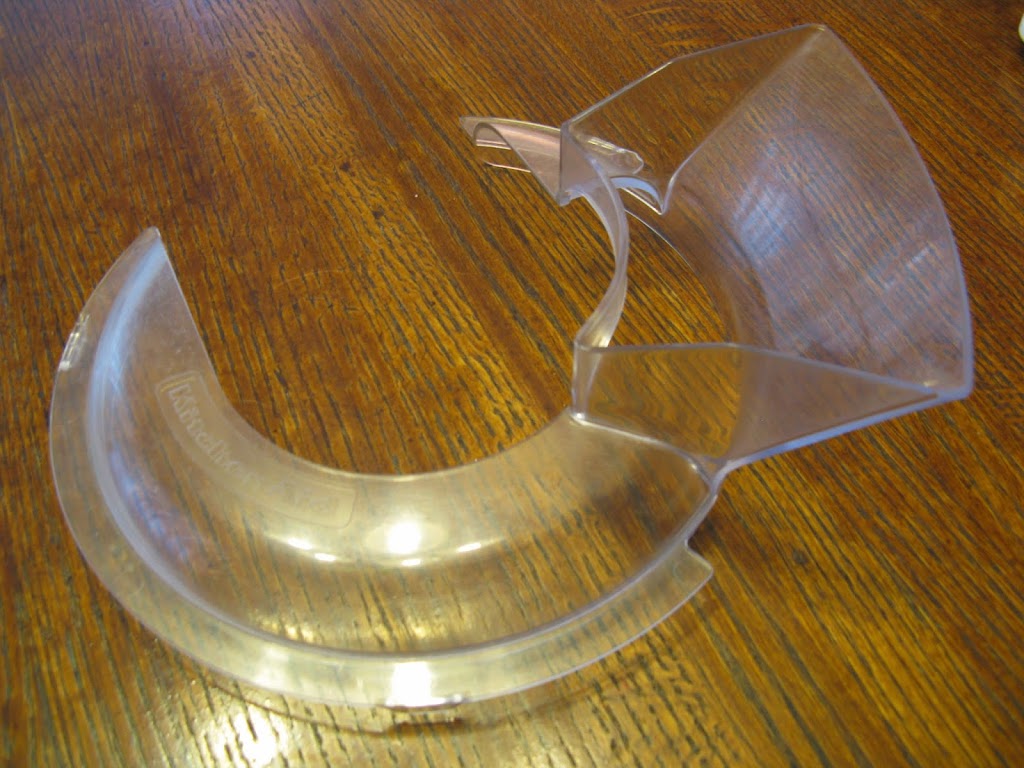
Kitchen Aid 1-piece pouring shield
Glass Bowl – Some of the new mixers have the option of a glass bowl, or you can purchase it separately for certain models to replace your stainless bowl with. It comes with a lid, which is helpful for refrigerator storage. It is extremely heavy, however, so think about when it’s full and having to maneuver it around! So far I know they make a 5 quart tilt head and a 6 quart bowl lift glass bowl. They are so popular I am sure they are working on them for the other models, be patient!
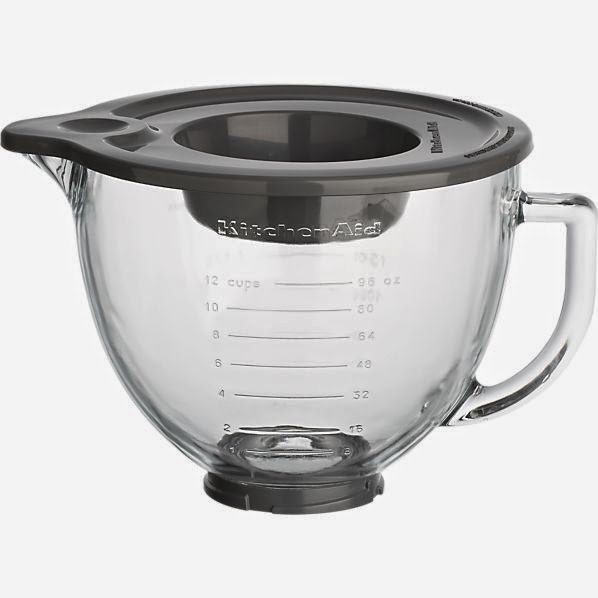
Kitchen Aid glass bowl w/ lid
Flex Edge Beater Blade – Kitchen Aid now makes a scraper blade attachment, but they were extremely reluctant to do so.
Beater Blade and Pourfect Scrape-A-Bowl – These two competitors came out with their silicone-edged flat beaters first, and technically using them violates your Kitchen Aid warranty, but people were buying them in handfuls anyway, so Kitchen Aid had to get on board and get some of that market!
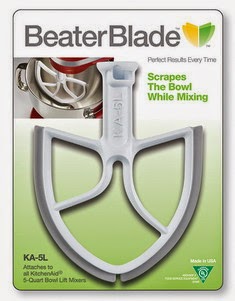
Beater Blade
Scrape-a-Bowl
**I personally just use a regular silicone spatula – it will heel to the mixer if you use it while turned on and won’t break or chip.**

Kitchen Aid Stand Mixer Attachments

Power hub
Kitchen Aid stand mixer attachments can be a great way to add on to your purchase with other small electrics you might want to add to your kitchen without taking up the full space of buying it as a separate unit. With the exception of the ice cream maker attachment, these all go on the power hub on the front of your Kitchen Aid mixer and work by turning the mixer on, just like you were using the mixer. I don’t think any of the attachment pieces are dishwasher safe, but always check the label, of course!
Here’s a video of the Food Grinder in action – grinding some turkey! You can see how the lower piece also moves when you are using the power hub.
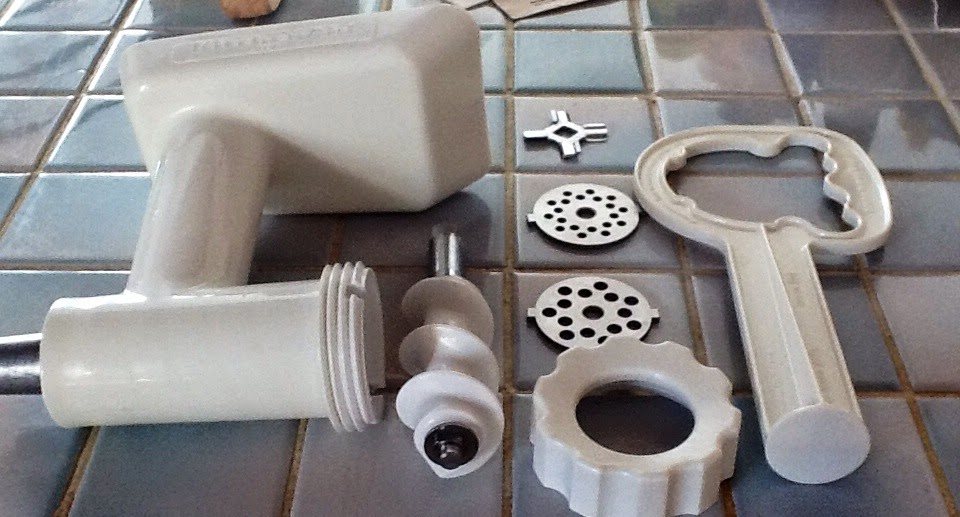
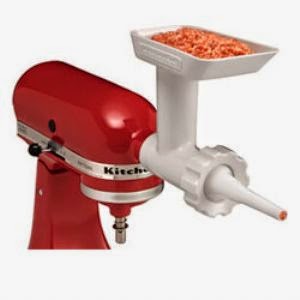
Food Grinder – Most people think of this for just grinding meats (and adding-on the sausage stuffer to make sausages!), but it’s also great for making salsa, guacamole, hiding veggies in sauces for picky eaters, grating hard cheeses, or making bread crumbs! Includes two different sized discs.
Food Grinder parts
**Food grinder user tip! The weird shaped handle on the pusher piece is because it doubles as a wrench for the front piece if you are having trouble unscrewing it!
Voila! See how the grooves fit?!

**Another user tip! I admit to forgetting this myself, but a lot of folks don’t realize the masticating piece pops out for easier cleaning. It’s separate in the photo above, but to emphasize, just push on the metal piece that connects to the power hub to pop it out!

Pop me out & clean!
  • Pasta Plates – You must have the Food Grinder attachment in order to utilize these pasta plates, but the set includes 5 different discs for various short noodle and macaroni shapes. I’m not sure if they are still selling these as they are not on Kitchen Aid’s website, but they were around $30.
  • Sausage Stuffer – You must have the Food Grinder attachment in order to utilize the sausage stuffer attachment, but it includes two different sized tubes for stuffing sausage casings.
The Sausage Stuffer is the cone sticking out of
the front of the Food Grinder that you wrap the casing around and the ground meat pushes into it!
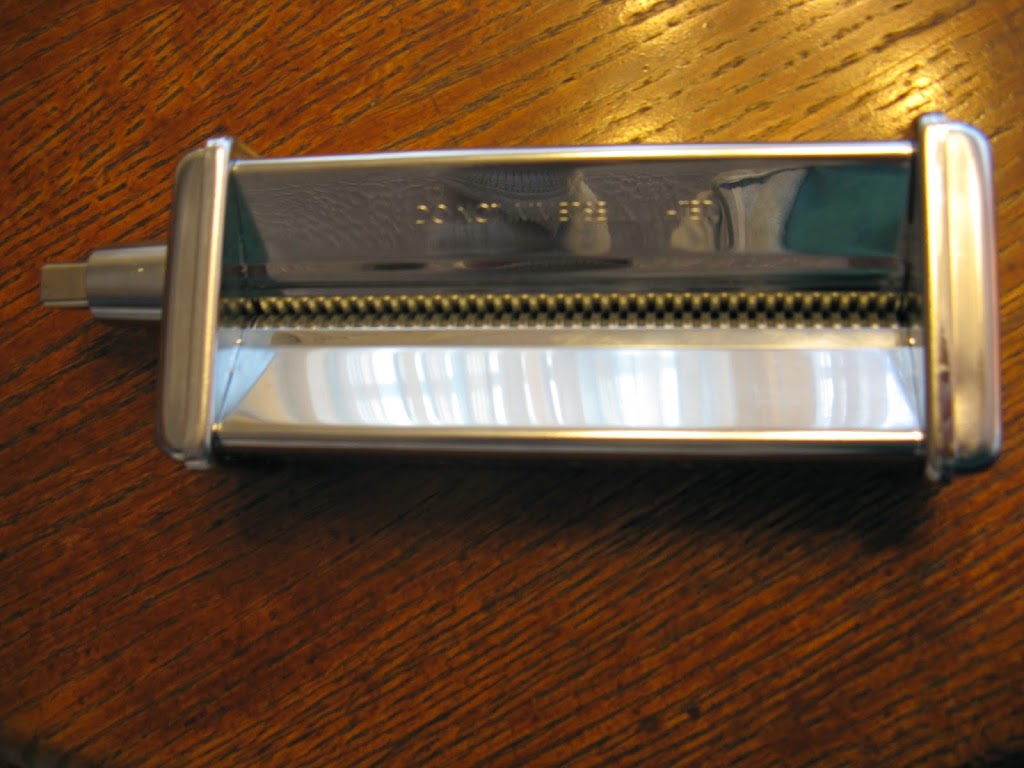
Pasta Making Attachments – I believe all of these come with a little brush to help brush out any dry pieces of noodle that might have gotten caught in them. They are all hand wash only.
Pasta attachment cleaning brush
 
Pasta Roller – This attachment is for rolling out sheets of pasta; you would essentially get a lasagna noodle out if it and require cutters to make anything else. Has a knob on the side where you can adjust the thickness of the pasta sheets you’re creating.
Pasta Roller
**Angel Hair Cutter – All capellini noodles, like spaghetti
Thick Noodle Cutter – Lasagnette noodles like fettuccine or egg noodles
**I get very annoyed that they use all of their pasta terms so interchangeably on the sets. There are only It makes it extremely difficult for both employees in stores as well as the end consumers to know exactly what they need. These two cutters individually are the ones in the Pasta Cutter Set (below) and are apparently a little more versatile with the sizes of noodles you can make.
Thin=Capellini=Spaghetti=Angel Hair
Thick=Lasagnette=Fettuccine=Egg Noodles
Pasta Sets:
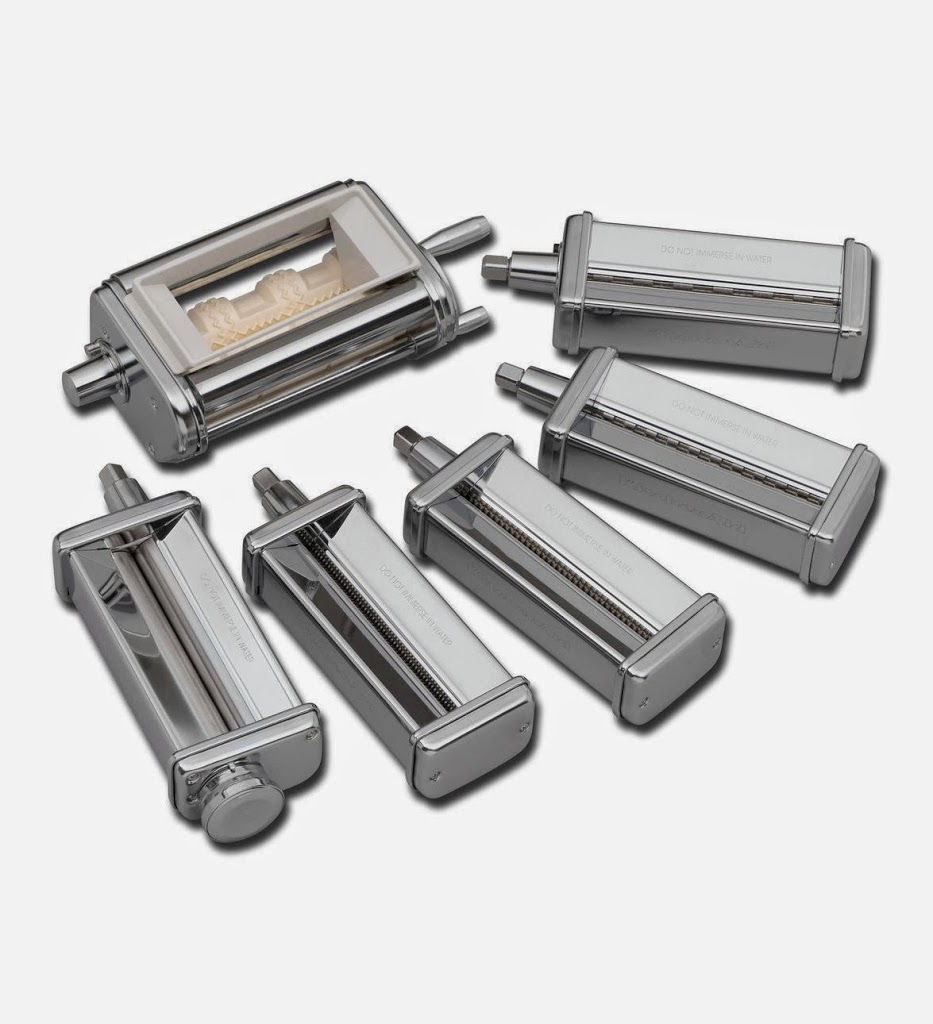
Pasta Excellence Set – Includes the pasta roller, ravioli maker, and capellini, lasagnette, fettuccine, and spaghetti cutters. It is essentially the next two sets listed below combined, plus the ravioli maker.
Pasta Excellence Set
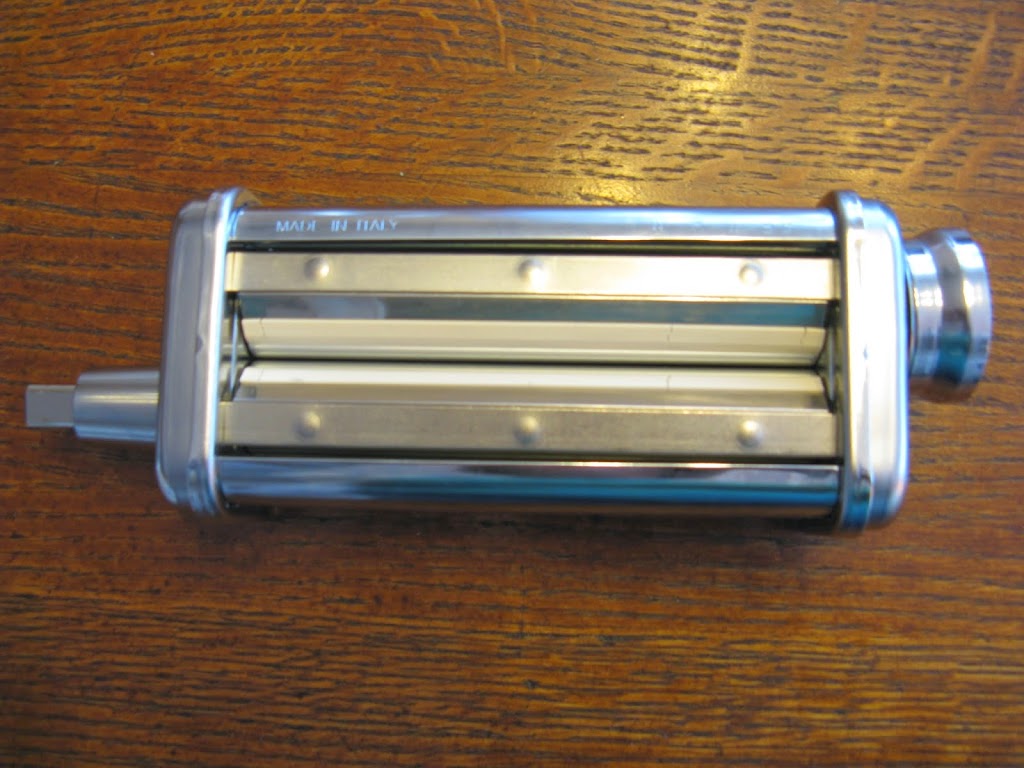
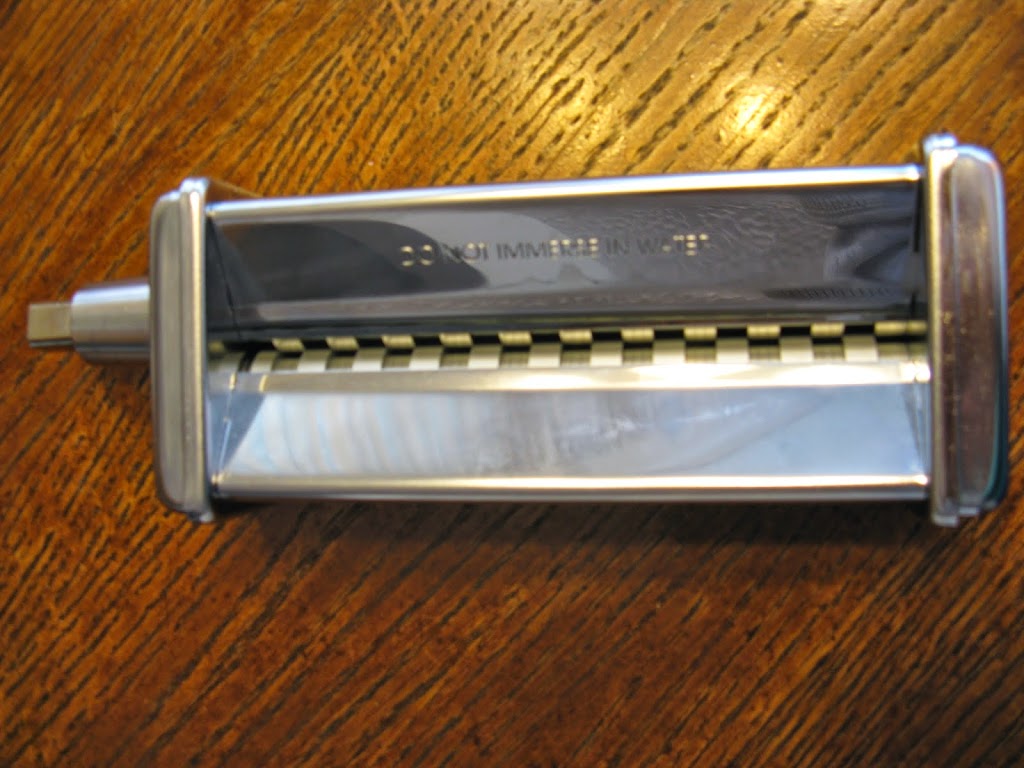
Pasta Roller & Cutter Set – Includes the pasta roller, fettuccine and spaghetti cutters. *The difference I’m seeing is that these aren’t wide enough to be egg noodles or thin enough to be angel hair noodles like the set below.
I have the Pasta Roller & Cutter set and these are the cutters.
It would seem this is the best deal if you don’t care about
making extra thin or thick noodles!
Pasta Cutter Set – **NO ROLLER** Includes lasagnette (fettuccine & egg noodles) and capellini cutters (spaghetti & angel hair)
[I personally think the metal roller and cutters are a great investment if you are serious about making pasta at home. Have you ever used a manual crank pasta machine? They are really hard to crank (they sell a $100 motor for the Atlas brand one because it’s so hard!), and it’s almost like you have to have two people to do it, one person to crank and one to pull the sheet of pasta forward as they are cranking it! The pasta plates that go with the Food Grinder and the Gourmet Pasta Press are pasta extruders – this means they work like a Play-Doh toy, pushing the pasta noodles out through different shaped plastic holes to get their shape.]
Ravioli Maker
Gourmet Pasta Press – This is a big step above the pasta plates you can get for the Food Grinder attachment. There are 6 pasta plates, and you can actually make spaghetti and bucatini pastas, along with your short noodles. It also has a conveniently attached storage piece for the plates you aren’t utilizing.
Gourmet Pasta Press
Ravioli Maker – Feed pasta sheets through either side of the machine and dump whatever you’re stuffing into the middle and it crimps and seals the raviolis for you!
Ravioli Maker in action!
Pasta Drying Rack – You don’t need to specifically buy Kitchen Aid’s drying rack for your pasta, but if you can’t find another brand, why not? Theirs, like Atlas’ is plastic and the arms rotate around for easier drying and storage purposes.
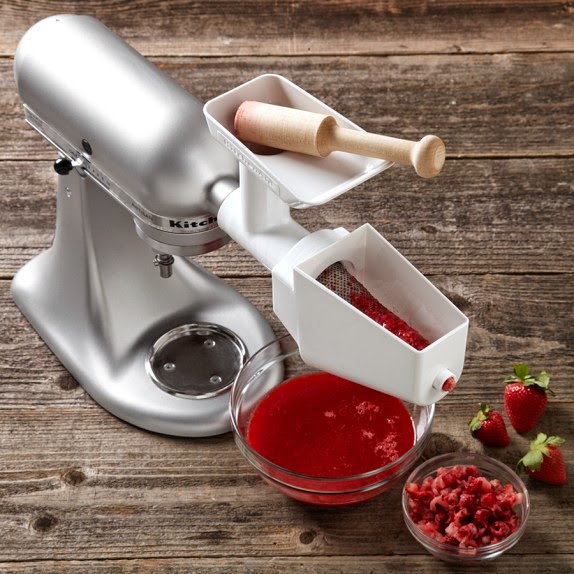
Fruit/Vegetable Strainer Set – Strain and puree fruits and vegetables just like you would with a manual food mill. Great for baby food and tomato sauce, and includes a strainer cone to keep any peels out.
Fruit & Vegetable Strainer
Food Tray – Larger food tray attachment to add on to the Food Grinder for holding more at once.
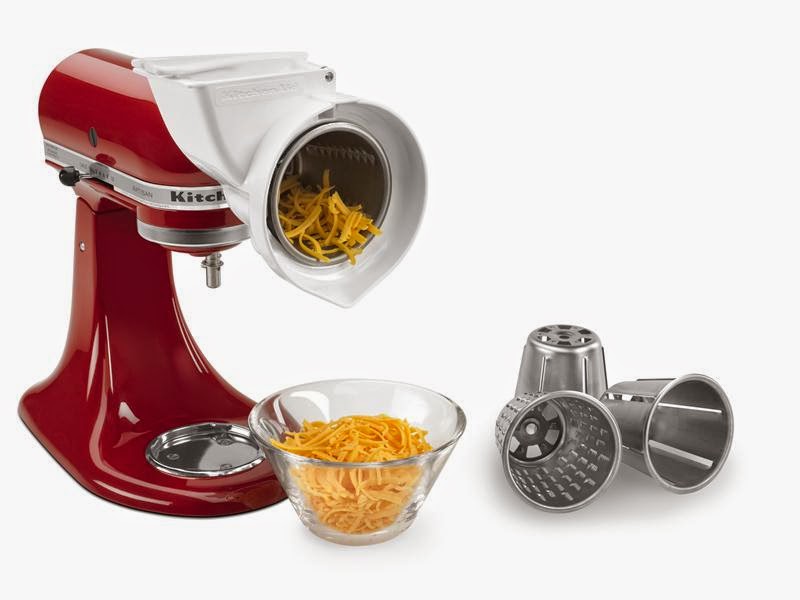
Slicer/Shredder – This is a pretty cool set if you don’t have a food processor already. It comes with 2 different sized shredding cones, and 2 different sized slicing cones.
Slicer/Shredder
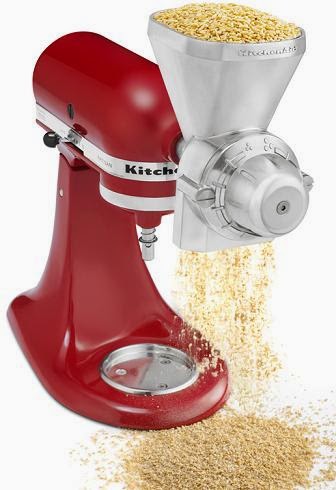
Grain Mill – This all-metal mill will help you make homemade flours and grind your own oats, etc. I recall a customer once telling me that it was difficult to find an electric mill that didn’t have any plastic pieces and she was very happy to find the Kitchen Aid one, but I’m not sure how true this is!
Grain Mill
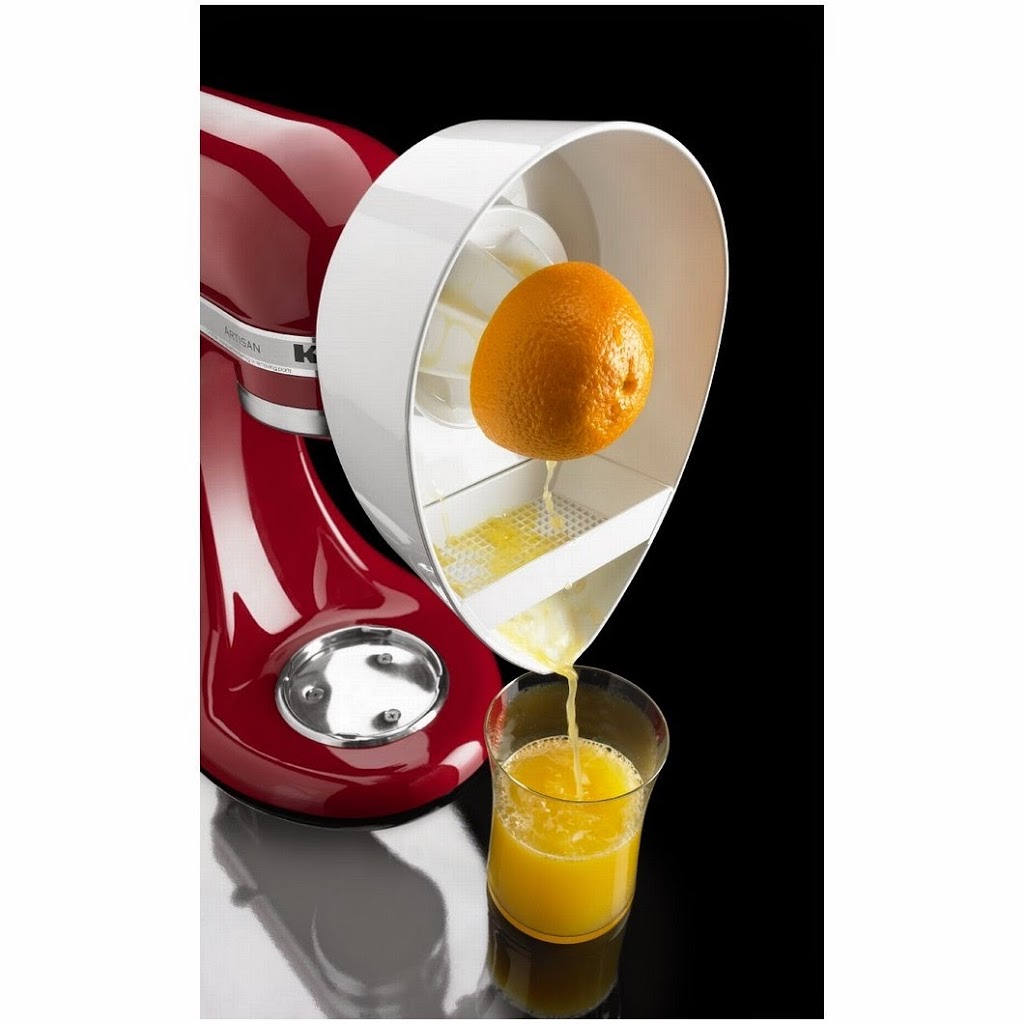
Citrus Juicer – This works just like any other electric citrus juicer would – the center piece has two sizes for different sizes of citrus, and when you turn the machine on the center piece spins while you hold the piece of fruit up to it and it juices it for you. There’s a little strainer piece that will help to catch any seeds or large pieces of pulp from falling into whatever receptacle you’ve chosen for the juice to fall into.
Citrus Juicer
Ice Cream Maker – This works just like most of the electric ice cream makers you see on the market these days. You have to freeze the bowl for several hours before you can make the ice cream and there is a paddle attachment that also comes with it to help churn the ice cream properly when you turn the machine on. This is the only attachment that doesn’t go on the power hub – you use it like you were using the mixer normally, just with a different paddle and bowl!
Ice Cream Maker

How I Learned to Stop Worrying and Love the Dishwasher

I will admit to you that a lot of issues with kitchen wares arise out of putting them in the dishwasher. I grew up without a dishwasher, so I’m pretty great at hand washing them and don’t have an issue doing them that way. I’m also pretty fast at it so it doesn’t take up hours of my day. 

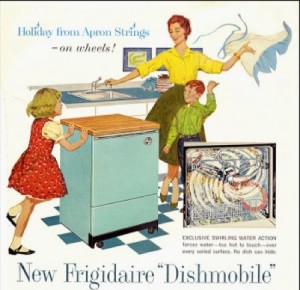
sexist_dishwasher_adI have used dishwashers since then. I’ve known people to have lovely looking dishes come out of theirs. I’ve lived with people who bought cheap dishwasher soap that didn’t work and had nightmarish issues with them at jobs. But now that I understand them a little bit more, how various products react in them, and have been using one in my own home a little more regularly – I have learned to stop worrying and love using my dishwasher!

The Basics:

  • Don’t put things in the dishwasher that aren’t dishwasher safe. They usually say that for a reason.
    • Cheap plastics leach BPA, some ceramics aren’t strong enough to handle bumping each other with the shaking motion of the washer, and certain finishes can’t handle the harsh environment, etc.
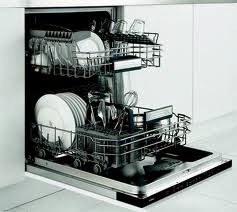
  • Pans on the bottom, plastic on the top. Some items will specify they are top-rack only. The heating element in the dishwasher is on the bottom, so this is to keep the item away from the heat.
  • Do not lay knives down on the top rack! If they don’t fit in the utensil holder, hand wash them.
  • Wood does not ever go in the dishwasher. (Epicurean brand can because it’s a special compressed wood that is dishwasher safe.)

Dishwashers get EXTREMELY hot, so that’s the reason a lot of items can’t go in them in the first place. They are the problem with plastic leaching BPA, so if you don’t have a dishwasher you really don’t need to worry about it. Plastic baby bottles are almost never dishwasher safe and unfortunately a lot of parents try putting them in on “sanitize mode” which is usually the hottest setting on the dishwasher. Not a good idea!

Notice the heating element is in the center of the inside of the machine.

I have overcome this issue by sticking to the lower-level settings on my dishwasher. I have a couple of settings above “normal wash” and I have never touched them. If you have anything dirtier than that it’s not even worth trying in the dishwasher, in my opinion. Whatever is stuck to the pan will just get baked on inside of the machine.

Which brings me my next tip – turn off the “heated dry” setting if your dishwasher allows you to. This is just a waste of electricity (in my opinion!) that literally just bakes the dishes after they are washed, so if anything is still stuck to them, it just got baked on harder. The dishes are hot and usually still moist anyway if you do use it, so what I do is turn it off and when the wash cycle is over I just open it up and pull the racks out so they can air-dry. The plastic storage stuff doesn’t seem to dry well so I pull them out and put them in the counter dish rack to dry. Of course this is easiest when done later in the evening so they can dry overnight.

dishwasherYour dishwasher shakes. A lot. Think about your dishes getting bumped around into each other inside of that thing for an hour while it runs. This is why ceramic dishes chip in the dishwasher, because they bump edges with each other. Same with your nonstick finish, if something is bumping into it in the same spot over and over – chipping. I worry about my ceramic bowls even though I put them on the top shelf and they are a really good brand name, so I put the dishwasher safe plastic items between all of the ceramic items to try to avoid them bumping into each other.

The worst is if you put your sharp knives flat on the top rack – they shake and cut into the plastic rungs. This is what causes  your flatware to rust, when the plastic coating is exposed inside of your dishwasher. You can sometimes remove this staining with Barkeeper’s Friend but usually you will end up having to replace all of your flatware and also replacing the racks inside of your dishwasher, which is very costly.

As I already said, if my pans are really dirty, I just resolve to hand washing them. I let them soak overnight and wash them with any other items I have that are not dishwasher safe.  Sometimes you can get away with scrubbing the pan with a dish brush or a scrub sponge and getting all the big stuff off of it so it is dishwasher-ready, however. I pretty much end up cleaning them first if I do this because if anything is stuck to the pan, it will be baked on in the dishwasher, usually. And if it does come out this way, dirty, resign yourself to hand washing them at that point – putting them in for another dishwasher cycle will not get it off!

happy-lady-with-dishwasherMy motto is, “If you love it, hand wash it,” so even a lot of the things I own that are dishwasher safe – I still hand wash. Some items I will throw in the dishwasher every now and again and it’s not the end of the world, but some little thing will happen that reminds me that I do indeed love it and I better wash it by hand next time. And actually, sometimes putting your stainless steel Kitchen Aid mixer bowl or stainless pot in the machine actually helps bring back its luster – just not every time so I only do it every handful of uses. One of my dearest kitchen store friend (and mentor) had the best saying about dishwashers: “It’s called a dishwasher for a reason. It’s not a pots and pans washer. It’s not a glassware washer.” So keep that in mind when putting items other than dishes in that machine, even if it does have special settings for those other things.

Speaking of glassware, I don’t put anything with a painted design in the dishwasher, nor any stemware. If you have really inexpensive, sturdy stemware like Libbey, that will probably hold up. Anything shaped like a martini glass is just asking to break because of the bumping. Luckily most stemware is too tall for most dishwashers unless you purchase one that has specific glassware settings. Use at your own risk! I find that the glassware tends to come out with a teensy bit of spotting, but maybe that’s because I don’t steam clean them afterwards with the “heated dry” setting!

If you just can’t stand to hand wash, make sure you read the labels of what you’re buying and avoid items that aren’t dishwasher safe. There are still kitchen items that you cannot find dishwasher safe, and I’m sorry, you’re just either going to have to not use it, hand wash it, or buy really cheap so you can afford to keep replacing it because you put it in the dishwasher anyway. 😛 (Meat tenderizer is the item I know you can’t find as dishwasher safe. Even the OXO one can’t go in there – it’s a kind of metal that will oxidize. All the generic metal meat tenderizers I have seen are the same kind of metal so there must be a reason for it.)

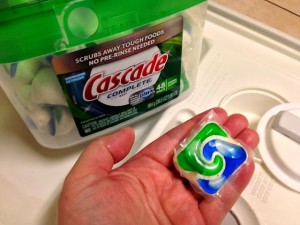
Cascade Complete Pac

My last tip will be on dishwasher detergent. The only thing I have found to work almost all the time are the Cascade dishwasher pacs. They now make a few different versions of this, and I find the Cascade Complete work the best. (Although now there is a “platinum” version I will have to try!)

Just use your best judgement, and the dishwasher can be a great help in your kitchen without costing you a fortune in replacement costs if you’re smart about how you utilize it. Of course spending the extra money for more durable kitchen wares always helps, but clearly we can’t always afford that. So the Dollar Tree items…those get hand washed in my house. 😉

And remember…if you love it, hand wash it!

Leave dishes to air dry, like this!

Happy Cleaning! 🙂

Read more about My Favorite Cleaning Gadgets.

Coffee Grinders

Coffee grinders are a pretty easy topic to discuss because it’s pretty straightforward as to what the differences are and most brands are good. What you need to know as the end user is whether or not these things are actually grinding your beans or just hacking at them.

You pay a lot for whole beans, usually. If you’re one of those folks after the perfect cup, you want the best grinder for your expensive beans. If you’re just after a fresher grind, it might not matter as much, just as long as you’ve got a cup of coffee.

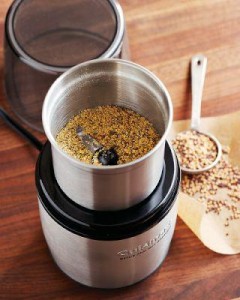
Cuisinart Spice and Nut Grinder

 Basic grinders tend to run about $20-40 a piece. These grinders aren’t actually grinders at all, but mini choppers. A lot of people actually purchase these to grind spices. Cuisinart now makes one specifically for grinding spices because of consumer complaints with regards to utilizing coffee grinders (they aren’t technically for spices, people! Haha). I would take a look at the blades and if at least one has an end piece pointing downwards, it’s probably decent for spices. The Cuisinart Spice and Nut Grinder is nicer because it’s larger, the blades cut lower into the cup, and the cup is removable so it’s easy to clean.

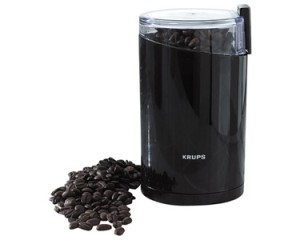
Krups Fast Touch coffee grinder

As for actually using a basic grinder for coffee, it’s just kind of hacking at your beans until you stop hacking. The more you hack, the more you reduce the flavor you’re going to get out of the beans. So if you’re spending a lot on beans, you might want to consider a burr grinder instead. Krups, Kitchen Aid, and Cuisinart all make decent basic coffee grinders, however. You put the beans in the container, put the lid on which usually also doubles as the power button on most basic grinders, and power the grinder until the beans are ground to your desired consistency. Remove the lid and dump the grounds out. The container doesn’t come apart for cleaning, which can make it difficult to switch between beans and spices.

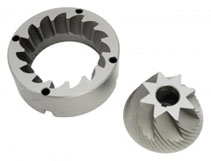
Burr grinders are great because they actually grind. You should be able to pull the burrs out for cleaning, so you can actually see how they align based on the grind settings you choose on the machine, making them closer or further apart from each other. These types of grinders are definitely preferred if you need a specific type of grind for something like French press or stovetop espresso, because you have actual settings to make it coarse or fine. You place the beans in the hopper at the top, and select your grind. A lot of burr grinders also have a selection for how many cups of coffee you’re brewing and will only grind that many beans for you.

These are the metal burrs.

There’s a slight downside to burr grinders, in that sometimes the beans can get clogged up because they all fall into the same spot while the machine is running. What you see more of on the market now are conical burr grinders. This is still the same burr grinder, but there’s a cone above the burrs to help the beans spread out as they fall downward into them. I think almost all grind and brew machines now come with conical burr grinders at this point, and it’s pretty difficult to find a stand-alone grinder that’s not conical, as well.

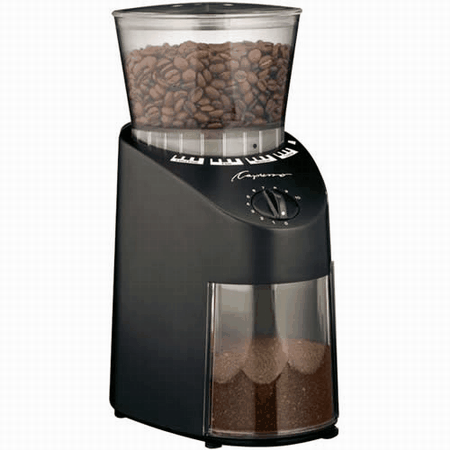
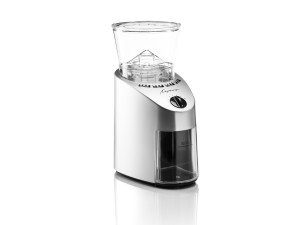
Capresso Infinity conical burr grinder

Capresso makes the most highly rated conical burr grinder and I can’t begin to tell you how many of these I’ve sold. The cup at the base that catches the grounds is anti-static, helping to keep them from sticking to the cup. It has a plethora of size settings and is a pretty reasonable price next to its competitors. Breville is also a good grinder, I’ve heard.

Empty so you can see the plastic cone in the hopper  

Coffee bean storage tip! Do NOT freeze your beans! This does nothing to help keep them fresh and actually makes the grounds staticky when you grind them. All of the experts will tell you this.

Another word of caution: I mention this in my drip coffee maker blog, but beware of grind and brew coffee makers. If the grinder is housed in the same area as the water tank, there’s higher potential for the grounds to get wet and the grinder to become clogged. Getting a machine where these components are separated is recommended, although the warm, moist air can still make its way over to the grinding unit sometimes.

Capresso CoffeeTeam grind and brew machine

Coffee Maker Basics