 |
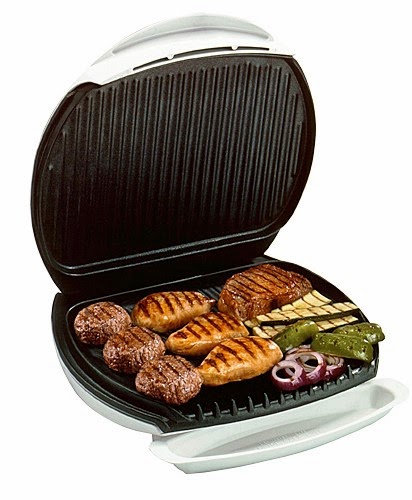
| George Foreman “original” |
Electric grills are one of those appliances that all the manufacturers seem frequently produce new models so it’s hard to keep up, so just keep in mind what options you are after and stick with a trusted brand name. If you treat it well, it should last you more than a few years, but always remember that they do not build appliances to last anymore!!
A lot of manufacturers now offer a multitude of options on the countertop grills, so think about how much versatility you’re looking for. Any of these styles will have a nonstick coating on the grill plates (silicone, plastic, or wood utensils only!) and should come with some sort of a removable grease drip cup or pan, FYI! Keep in mind that that most household electrics don’t have the power to get really high temperatures that some people prefer for grilling meats, so if you’re one of those folks, one of these probably isn’t going to satisfy your wants.
Standard/Basic/“Classic” Grills
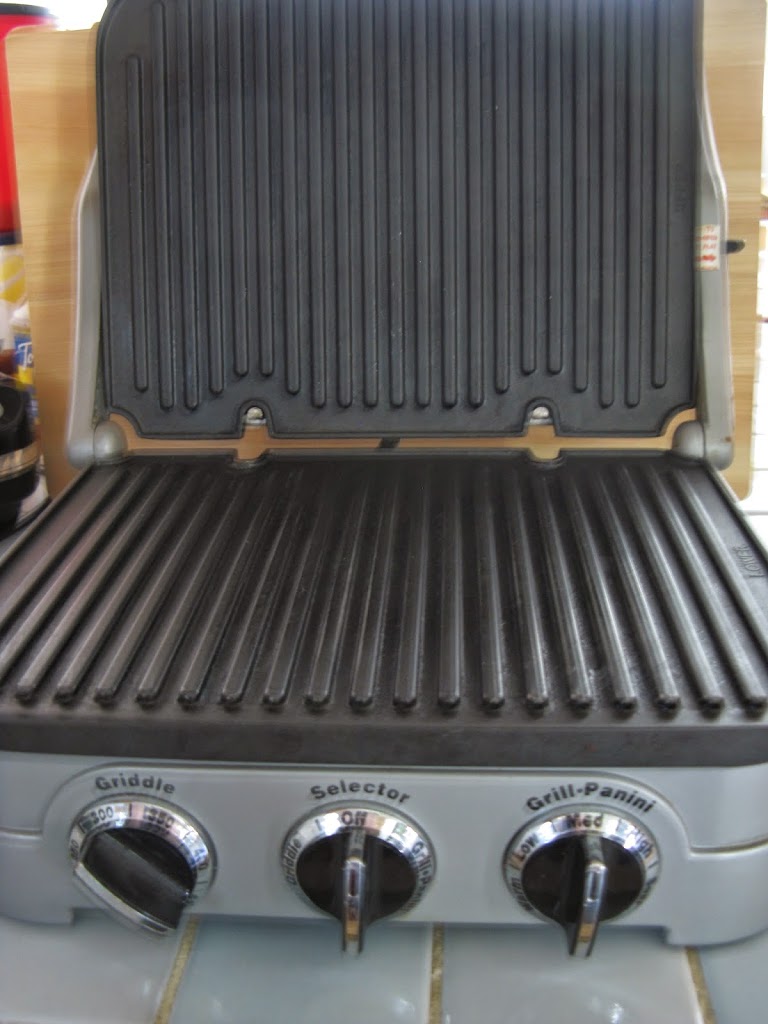
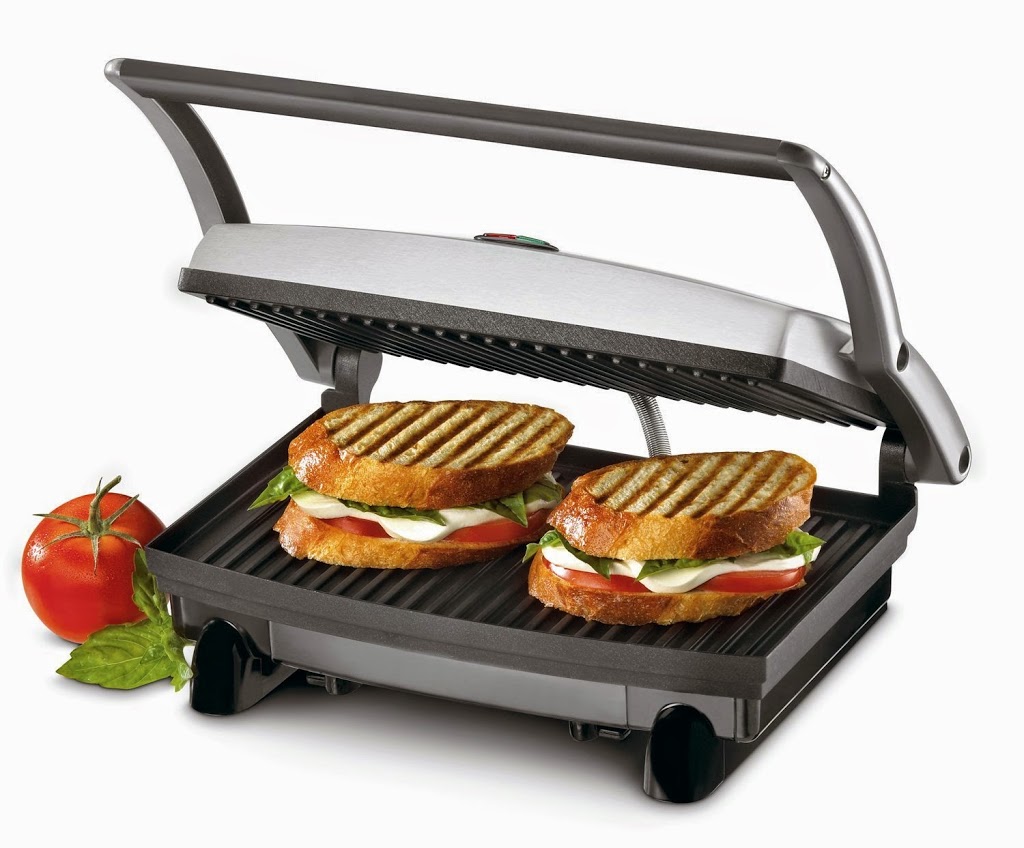 |
| Cuisinart Grill & Panini Press |
A standard countertop grill is something like the “classic” George Foreman grills. (I like the way they designate the categories on their site, so I am going to utilize those! Brilliant!) The grill plates do not come off, and on most of them the back hinge isn’t adjustable, so it seems to hinder what you can cook on some of the grills if they are not large enough. I actually knew a few people that had two or three different sizes of these so they could cook exactly what they needed on the right size grill. (The Breville Panini Grill has a floating hinge so you won’t have this issue – read more about floating hinges below!) Some offer the feature of opening up flat to increase your grilling surface, like the Cuisinart Grill & Panini Press.
 |
| Proctor Silex grill |
A lot of brands that make smaller ones call them sandwich or panini grills but you can fit small cuts of meat on these. BE CAREFUL! There are also actual “sandwich makers” that make pocket sandwiches, a whole different ballpark! This size makes a great gift for a single person. I had a Proctor-Silex sandwich-sized grill for years (looks like it’s just an earlier version of what they are still selling today – mine was white!) that never let me down and I ended up gifting it to a friend when I finally upgraded to a multi-plate grill/griddle.
These can be a pain to clean up – be prepared to waste a LOT of paper towels!
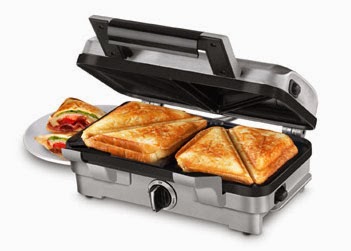 |
| Cuisinart Sandwich Maker – not a grill/panini/griddle! |
Removable-Plate Grills
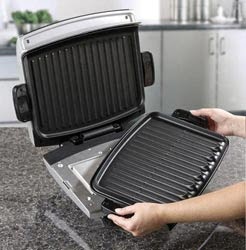 |
| George Foreman removable plate |
Removable-plate grills are basically the same as the standard/classic grill except that the grill plates are removable for easier cleanup. Usually they can go in the dishwasher, but I really wouldn’t recommend it. I put mine in the dishwasher once or twice and I’m pretty sure that helped the nonstick coating come completely off in a few spots where it was beginning to wear down, and it also looked very dull. The good thing is that reputable manufacturers will be able to sell you replacement grill plates, so your machine could end up lasting a lot longer since that’s usually why people end up getting rid of their classic models, not because they’re broken.
Multi-Plate Grills
Multi-plate grills are really cool, because they offer more versatility in helping you keep your kitchen clear of a few more appliances! Usually they are grill/griddle options, but a few manufacturers have now come out with waffle plate options, which is really cool.
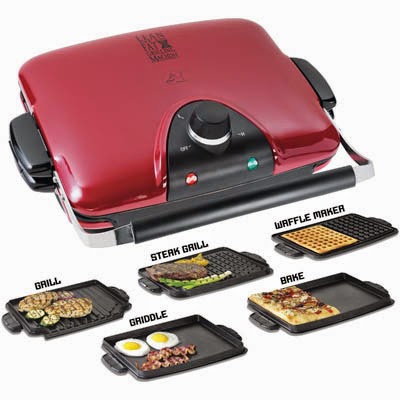 |
| George Foreman 6-Plate Grill |
I own the original version of the Cuisinart Griddler (mine has a drip cups instead of a built-in drip tray like the one in the link) and I’ve had it for many years now. I mainly use the grill plates, but the griddle plates have definitely been handy when moving and the stove is covered in boxes!! I have decided to start making more pancakes and am going to start using the griddle plates on my Griddler instead of frying pans to see if I fare any better at making decent-looking pancakes! (They taste fine, but boy are they ugly!)
 |
| My Cuisinart Griddler cooking up some grilled cheese! |
For this newer version of the Griddler, you can purchase waffle plates separately, which I find interesting since their “Deluxe” and “Elite” models don’t have waffle plates and cost more. Those models have an added “top melt” heating feature and can sear at 500 degrees for two minutes at a time, which is a huge benefit because most countertop appliances cannot attain that high temperature. One of these models would definitely be what the high-heat griller in your life is looking for!
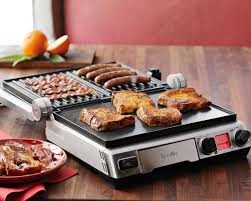 |
| Breville Smart Grill |
Black & Decker makes a 3-in-1 machine that has reversible grill/waffle plates and separate griddle plates, although their website doesn’t show images of the grill plate sides at all.
There are larger electric reversible grill/griddle appliances that are an “open” grill, meaning there’s no lid to put pressure on what you’re grilling, so you’d have to actually flip your food over to cook it like a real grill. These can be good for large families or people who do a lot of entertaining because they are generally much larger. A few examples are Cuisinart, Wolfgang Puck, & Hamilton Beach.
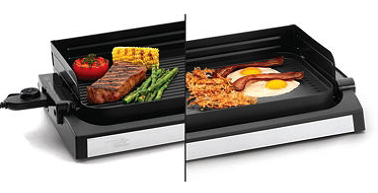 |
| Wolfgang Puck Reversible Electric Grill/Griddle |
Floating Hinge
One thing I love about my Griddler is the “floating hinge” feature, and I strongly recommend finding a model with an option similar to that because I think it helps cook larger items more evenly by putting an even amount of pressure on the items. With my old Proctor-Silex I always felt the front of burgers weren’t getting cooked and was constantly turning them. Now I can make thick panini sandwiches and use a potholder to push on the top of the grill to make sure it is perfectly flat and cooking the sandwich evenly. It looks like Breville uses a floating hinge on both their Smart Grill and their Panini Grill.
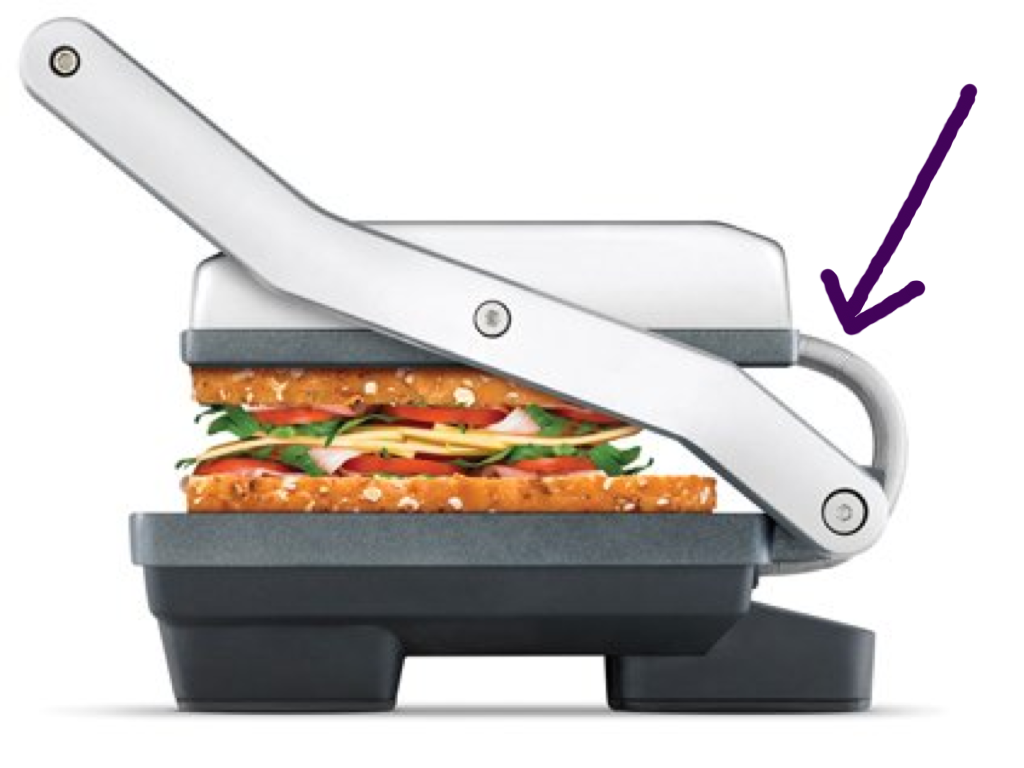 |
| Breville Panini Grill floating hinge |
Indoor/Outdoor Electric Grills
You can now find a variety of freestanding electric grills to cater to the growing market of consumers who aren’t allowed to have propane or charcoal grills in their apartment complexes but still want to grill! The great thing about these is that they can be used inside or outside, the bad news is you might not have that much room in the house. Also, if you are using a larger grill at full capacity, it might produce too much smoke to use indoors.
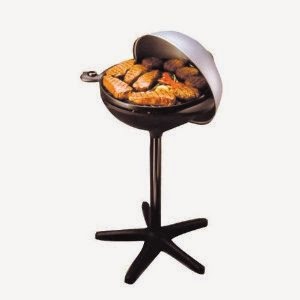 |
| George Foreman indoor/outdoor electric grill |
There’s now actually a really cool George Foreman indoor/outdoor grill that comes apart so you can use it as a countertop model indoors – the others all need to remain on their stands if brought inside.
Outdoor Electric Grills
Generally you are not going to be using anything over 1500 watts inside of your home, so anything above that is going to be able to reach higher temperatures and need to be utilized outside. The majority of outdoor electric grills are tabletop design as the intended audience are folks living in small spaces like apartment complexes that don’t allow propane or charcoal grills. Some of the popular propane and charcoal grill companies make electric outdoor grills now, which I’m sure are as good of quality as their counterparts.
Cuisinart actually makes several propane and charcoal grills, but they specifically make a tabletop outdoor electric grill or you can get it with a three-position telescoping base for the option to make it taller like a real grill.
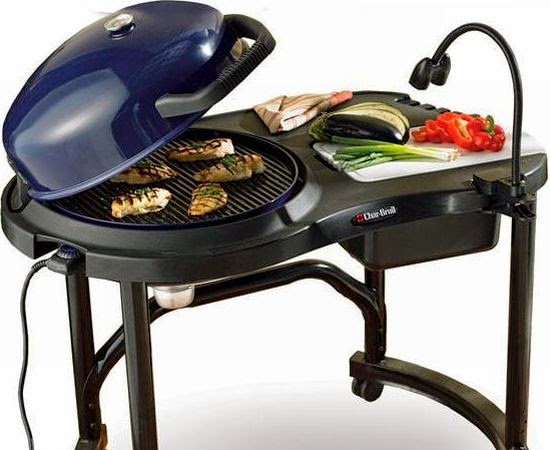 |
| Char-Broil outdoor electric grill |
HELPFUL LINKS:
 |
| My Griddler with original grill plates – still going strong! |